Pottery throwing has become increasingly popular in recent years, both as a hobby and as an art form. Many people are drawn to the tactile nature of working with clay and the satisfaction of creating something beautiful and functional with their own hands. Whether you are a beginner or an experienced potter, this comprehensive guide will provide you with all the information you need on how to throw pottery skills.

“To throw pottery, first center a ball of clay on a pottery wheel, then use your hands and water to shape it into your desired form while keeping the wheel spinning.”
Table of Contents
Introduction to Pottery Throwing: Understanding the Basics
Pottery throwing is the process of shaping clay on a pottery wheel to create various forms such as cups, bowls, plates, and vases. This technique has a long history, dating back thousands of years to ancient civilizations such as the Egyptians and Greeks. Today, pottery throwing is not only a practical skill but also a form of artistic expression.
There are many benefits to practicing pottery throwing as a hobby. It can be a therapeutic and meditative activity, allowing you to focus on the present moment and relieve stress. It also provides a creative outlet for self-expression and can be a great way to relax and unwind after a long day.
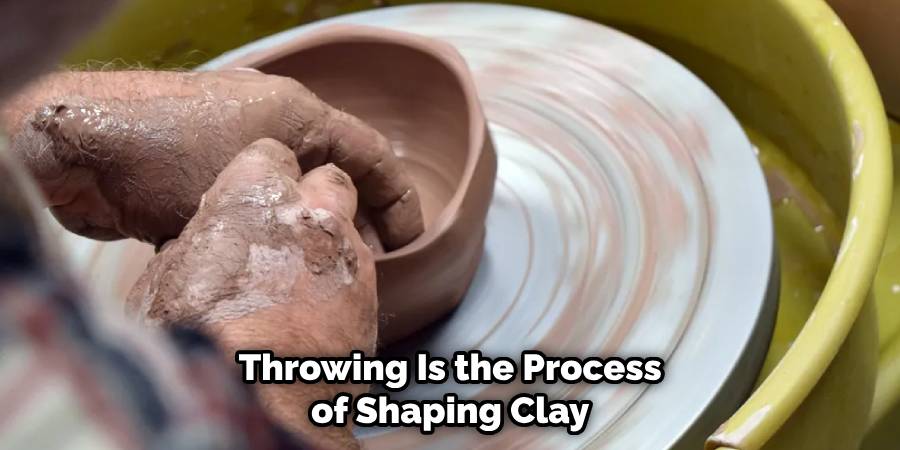
The basic steps of pottery throwing involve preparing the clay, centering it on the wheel, pulling and shaping the clay, and then trimming and finishing the piece. Each step requires practice and skill, but with time and patience, you can create beautiful pottery pieces.
8 Steps How to Throw Pottery
Choosing the Right Clay for Your Pottery Project
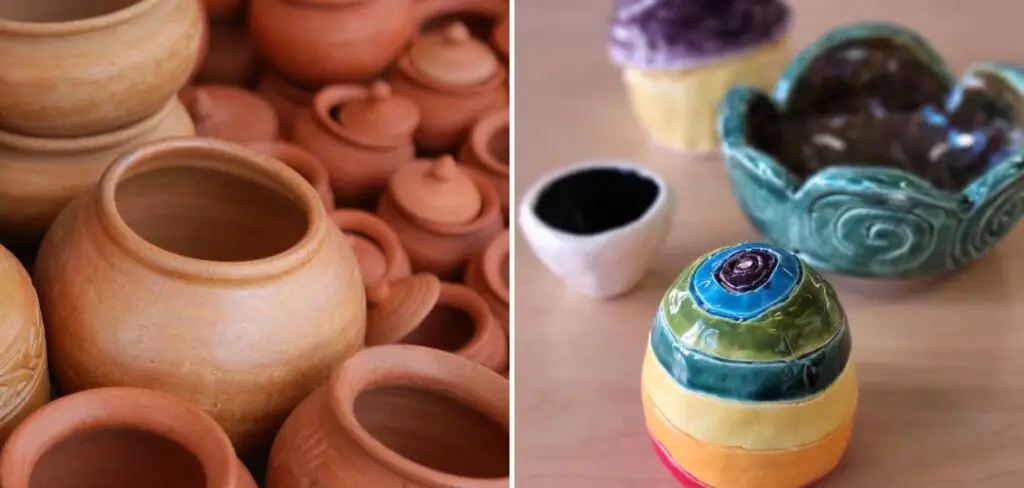
Choosing the right clay is crucial for the success of your pottery project. There are different types of clay available, each with its own unique properties. The two main types of clay used for pottery throwing are earthenware and stoneware.
Earthenware clay is softer and easier to work with, making it ideal for beginners. It has a lower firing temperature and produces pottery with a porous surface. Stoneware clay, on the other hand, is more durable and has a higher firing temperature. It produces pottery with a denser and less porous surface.
When choosing clay for your project, consider the intended use of the piece and the desired aesthetic. Some clays are better suited for functional pottery, while others are more suitable for decorative pieces. It’s also important to consider the firing temperature of the clay and ensure that it is compatible with your kiln.
Before using the clay, it’s important to prepare it properly. This involves wedging, kneading, and centering the clay to remove air bubbles and ensure an even consistency. Proper clay preparation is essential for successful pottery throwing.
Preparing Your Clay: Wedging, Kneading, and Centering
Preparing your clay before throwing is a crucial step that should not be overlooked. Wedging, kneading, and centering the clay helps to remove air bubbles and ensure an even consistency, making it easier to work with on the wheel.
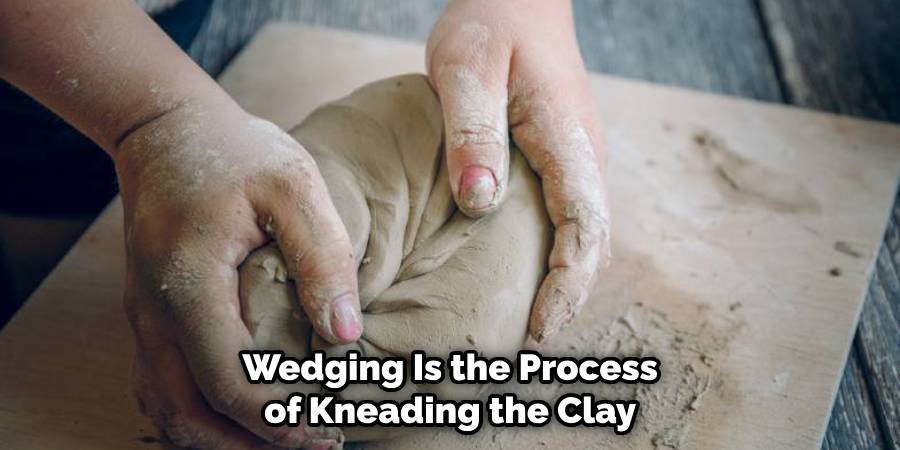
Wedging is the process of kneading the clay to remove air bubbles and create a uniform texture. To wedge the clay, start by cutting it into smaller pieces and then slam them together forcefully on a wedging table or surface. Repeat this process several times, rotating the clay each time, until it becomes smooth and pliable.
Kneading is similar to wedging but involves a gentler motion. It helps to further remove air bubbles and ensure an even consistency. To knead the clay, use your hands to push and fold the clay in a rhythmic motion. Continue kneading until the clay becomes smooth and pliable.
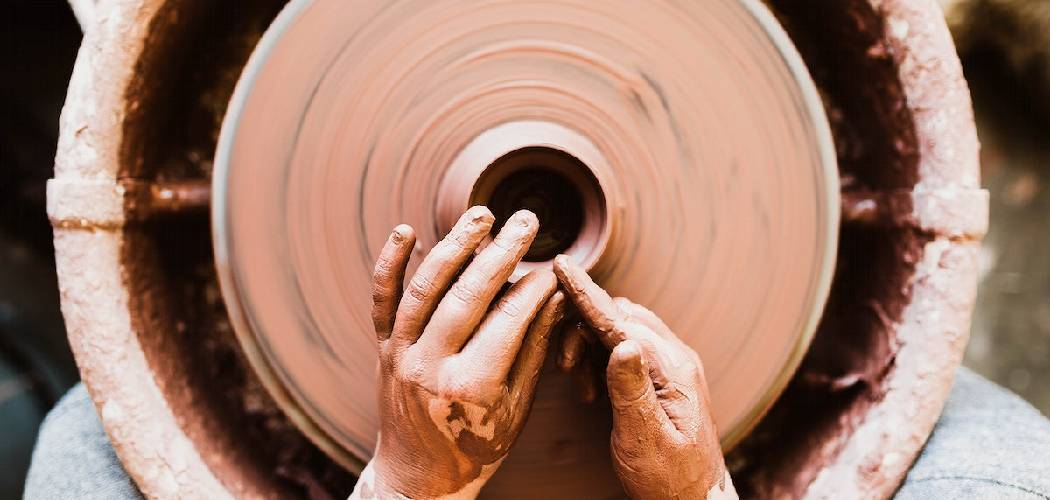
Centering the clay is the process of positioning it in the center of the pottery wheel so that it spins evenly. To center the clay, place it on the wheel head and use your hands to apply pressure while the wheel is spinning. Gradually increase the speed of the wheel until the clay is centered.
Properly preparing your clay before throwing is essential for achieving good results. Take your time and practice these techniques until you feel comfortable with them.
The Pottery Wheel: Types, Features, and Maintenance
The pottery wheel is an essential tool for pottery throwing. There are different types of pottery wheels available, each with its own features and advantages.
The two main types of pottery wheels are electric wheels and kick wheels. Electric wheels are powered by electricity and offer more control and consistency in speed. They are ideal for beginners and those who prefer a more controlled throwing experience. Kick wheels, on the other hand, are powered by foot pedals and require more physical effort. They offer a more traditional and hands-on experience.
When choosing a pottery wheel, consider factors such as your skill level, budget, and personal preferences. Electric wheels are generally more expensive but offer more control and convenience. Kick wheels are more affordable but require more physical effort.
To maintain your pottery wheel, it’s important to keep it clean and lubricated. Regularly clean the wheel head and remove any clay residue or debris. Lubricate the moving parts of the wheel to ensure smooth operation. It’s also important to check the tension of the drive belt and adjust it if necessary.
Choosing the right pottery wheel and properly maintaining it will ensure optimal performance and longevity.
Throwing Techniques: Pulling, Pushing, and Shaping
Once your clay is prepared and your wheel is ready, it’s time to start throwing pottery. There are different techniques for throwing pottery, including pulling, pushing, and shaping.
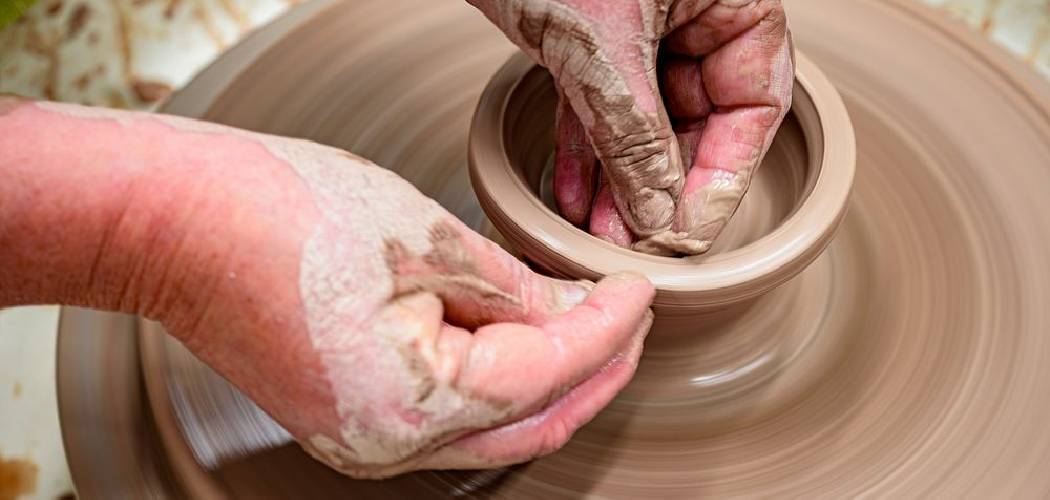
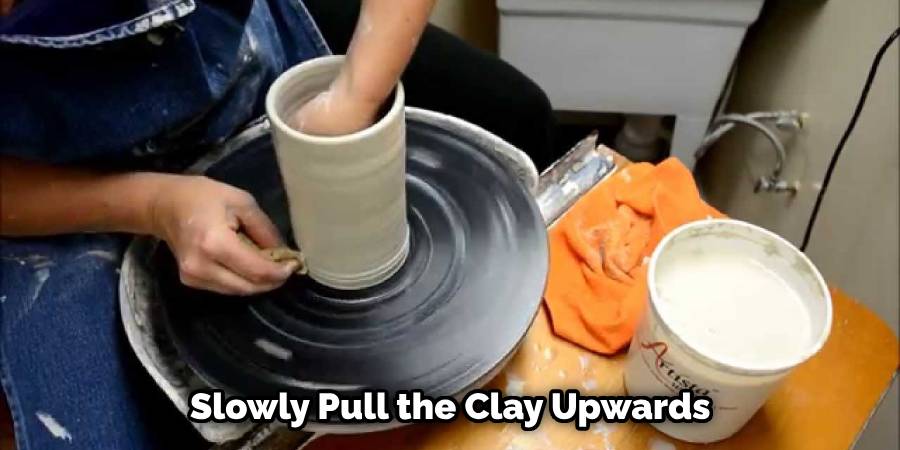
Pulling is the process of using your hands to pull the clay upwards to create height and shape. To pull the clay, place your hands on either side of the clay and gently apply pressure while the wheel is spinning. Slowly pull the clay upwards, gradually increasing the height and shape of the piece.
Pushing is the process of using your hands to push the clay outwards to create width and shape. To push the clay, place your hands on either side of the clay and gently apply pressure while the wheel is spinning. Slowly push the clay outwards, gradually increasing the width and shape of the piece.
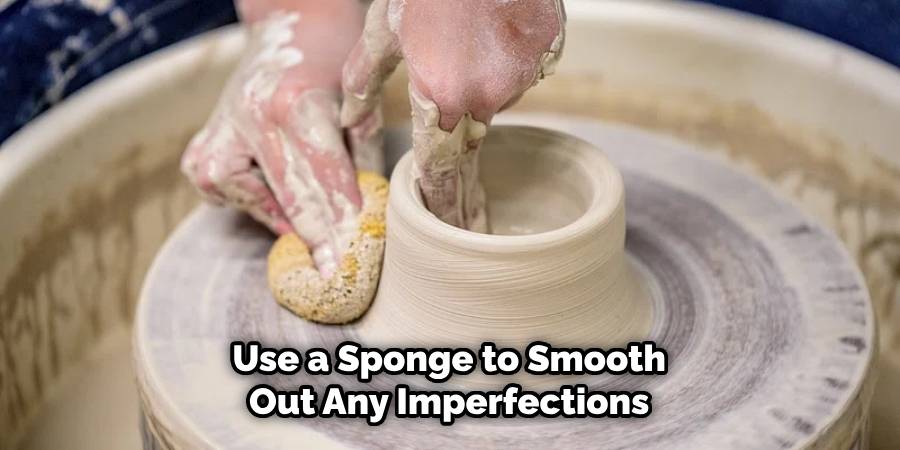
Shaping is the process of using your hands and various tools to refine the form of the pottery. This can involve smoothing the surface, adding texture, or creating decorative elements. Use your fingers, a sponge, or other tools to shape and refine the piece according to your desired design.
It’s important to practice these techniques and experiment with different shapes and forms. Each potter develops their own unique style and technique over time.
Creating Different Forms: Cups, Bowls, Plates, and Vases
Pottery throwing allows you to create a wide range of forms, from cups and bowls to plates and vases. Each form requires a slightly different approach and technique.
To create a cup, start by centering the clay and pulling it upwards to create height. Use your fingers to shape the clay into a cup-like form, gradually thinning the walls and shaping the rim. Smooth the surface and refine the shape as desired.
To create a bowl, start by centering the clay and pushing it outwards to create width. Use your fingers to shape the clay into a bowl-like form, gradually thinning the walls and shaping the rim. Smooth the surface and refine the shape as desired.
To create a plate, start by centering the clay and pushing it outwards to create width. Use your fingers to shape the clay into a flat disc-like form, gradually thinning the walls and shaping the rim. Smooth the surface and refine the shape as desired.
To create a vase, start by centering the clay and pulling it upwards to create height. Use your fingers to shape the clay into a vase-like form, gradually thinning the walls and shaping the neck. Smooth the surface and refine the shape as desired.
Adding handles and other decorative elements to your pottery is another way to enhance the form and design. Experiment with different techniques and styles to create unique and personalized pieces.
Trimming and Finishing: Smoothing, Cutting, and Decorating
Trimming and finishing your pottery is an important step that helps to refine the form and surface of the piece. It involves smoothing the surface, cutting excess clay, and adding decorative elements.
To smooth the surface of your pottery, use a sponge or a rib tool to gently smooth out any imperfections or unevenness. This will create a clean and polished look.
To cut excess clay from the bottom of your pottery, use a wire tool or a trimming tool. Carefully cut away any excess clay, creating a foot or a base for your piece. This will give your pottery stability and a finished look.
Decorating your pottery can involve adding texture, carving designs, or applying glazes. Use various tools and techniques to create unique and personalized designs. Experiment with different textures, patterns, and colors to create visually interesting pieces.
Drying and Firing: Understanding the Kiln and the Firing Process
Drying and firing your pottery is a crucial step that transforms the clay into a durable and functional piece. The kiln is used to heat the pottery to high temperatures, causing the clay to harden and become permanent.
Before firing your pottery, it’s important to let it dry completely. This can take several days or even weeks, depending on the size and thickness of the piece. Place your pottery in a cool and dry place, away from direct sunlight or drafts. This will ensure even drying and prevent cracking or warping.
Once your pottery is dry, it’s ready to be fired in the kiln. The firing process involves heating the pottery to specific temperatures, depending on the type of clay and glaze used. Follow the instructions provided by the manufacturer of your clay and glaze to determine the appropriate firing temperature and duration.
It’s important to load the kiln properly to ensure even heating and prevent damage to your pottery. Place your pottery on kiln shelves, leaving enough space between each piece for air circulation. Avoid placing pieces too close to the heating elements or walls of the kiln.
During the firing process, it’s important to monitor the temperature and make any necessary adjustments. Follow the firing schedule provided by the manufacturer and keep a close eye on the kiln. If any issues or abnormalities occur, such as cracking or bloating, make note of them and adjust your firing process accordingly.
Glazing and Firing: Adding Color and Texture to Your Pottery
Glazing your pottery is an important step that adds color, texture, and protection to your pieces. Glazes are made from a mixture of minerals and chemicals that melt and fuse with the clay during firing, creating a glass-like surface.
When choosing a glaze for your pottery, consider factors such as the desired color, texture, and finish. Glazes come in a wide range of colors and finishes, from glossy to matte. Experiment with different glazes to create unique and visually interesting pieces.

To apply glaze to your pottery, use a brush or dip the piece into a glaze bath. Apply multiple coats of glaze to achieve the desired color and texture. Allow each coat to dry before applying the next one.
Once your pottery is glazed, it’s ready to be fired in the kiln again. Follow the instructions provided by the manufacturer of your glaze to determine the appropriate firing temperature and duration. Monitor the kiln closely during the firing process and make any necessary adjustments.
After firing, your pottery will have a beautiful and durable finish. It’s important to handle your pottery with care to avoid chipping or breaking. Enjoy your finished pieces and showcase them proudly.
Tips and Tricks for Successful Pottery Throwing: Practice, Patience, and Perseverance
Pottery throwing is a skill that takes time and practice to master. Here are some tips and tricks to help you improve your pottery throwing skills:
1. Practice regularly: The more you practice, the better you will become. Set aside dedicated time each week to practice pottery throwing and experiment with different techniques and forms.
2. Be patient: Pottery throwing requires patience and perseverance. Don’t get discouraged if your first few attempts don’t turn out as expected. Keep practicing and learning from your mistakes.
3. Take breaks: Pottery throwing can be physically demanding. Take breaks when needed to rest your hands and prevent fatigue or injury.
4. Seek guidance: Take pottery classes or workshops to learn from experienced potters. They can provide valuable guidance and feedback to help you improve your skills.
5. Experiment and have fun: Don’t be afraid to experiment with different techniques, forms, and glazes. Pottery throwing is a creative process, so have fun and let your imagination run wild.
6. Learn from others: Study the work of other potters and learn from their techniques and styles. Attend pottery exhibitions or visit pottery studios to gain inspiration and insights.
7. Embrace imperfections: Pottery throwing is a handmade process, and each piece will have its own unique characteristics. Embrace the imperfections and appreciate the beauty of handmade pottery.
Conclusion
Pottery throwing is a rewarding and fulfilling hobby that allows you to create beautiful and functional pieces with your own hands. This comprehensive guide has provided you with all the information you need to get started or improve your pottery-throwing skills.
Remember to choose the right clay for your project, prepare it properly, and use the right techniques on the pottery wheel. Trim, finish, and decorate your pottery to create unique and personalized pieces. Finally, dry and fire your pottery in the kiln, and glaze it to add color and texture. Thanks for reading, and we hope this has given you some inspiration on how to throw pottery!
