Creating beautiful and intricate designs with polymer clay is a beloved craft that allows artists and hobbyists to express their creativity. Once your polymer clay masterpiece is shaped and detailed, the crucial step of sealing it follows. Sealing polymer clay serves multiple purposes beyond simply enhancing its appearance.
It not only adds a protective layer that safeguards your creation from dust, moisture, and fading but also imparts a professional finish that accentuates colors and details. Whether you’re a beginner or a seasoned polymer clay enthusiast, understanding the various sealing techniques and products available can greatly impact the longevity and overall appeal of your artwork.
In this article, we will delve into how to seal polymer clay, exploring different methods such as varnishes, sealers, and glazes, while providing valuable insights into the application process and tips for achieving a flawless, durable finish. Unveil the secrets of perfecting your polymer clay creations through the art of effective sealing.
Table of Contents
Importance of Sealing Polymer Clay Creations
Sealing polymer clay creations is essential for protecting them from wear and tear. When left unsealed, polymer clay can be easily scratched or damaged, especially if it is being used for jewelry or other items that will be handled frequently. Sealing the clay creates a protective barrier that helps to prevent these types of damage. Additionally, sealing polymer clay creations helps to preserve the colors and textures of the clay.
Polymer clay can fade or become dull over time if it is not sealed, especially if it is exposed to sunlight or other harsh conditions. Sealing the clay helps to lock in the vibrant colors and maintain the original texture of the creation. Lastly, sealing polymer clay creations helps to prevent dust and dirt buildup. Unsealed polymer clay can attract dust and dirt particles, which can make the creation look dirty or dull. Sealing the clay creates a smooth surface that is easier to clean and maintain.
Types of Sealants for Polymer Clay
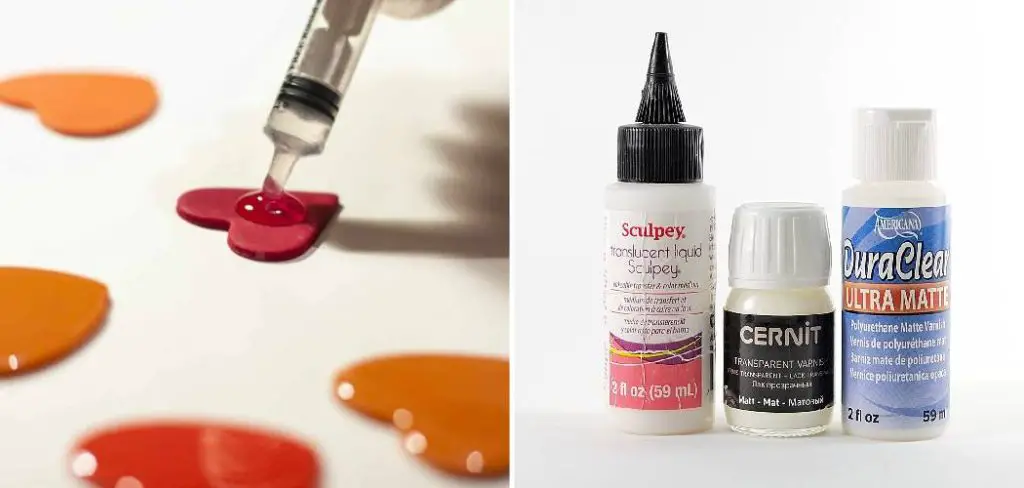
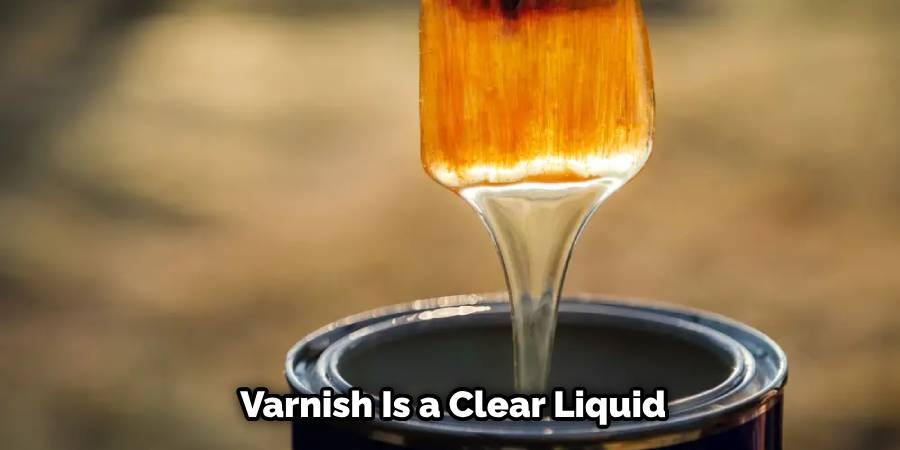
There are several types of sealants that can be used to seal polymer clay creations. The most common types include varnish, glaze, resin, and wax. Varnish is a clear liquid that can be brushed onto the surface of the clay. It dries to a hard, protective finish that is resistant to water and other liquids. Glaze is similar to varnish, but it has a glossy finish.
It can be applied in the same way as varnish and provides a shiny, polished look to the clay. Resin is a two-part liquid that is mixed together and poured onto the clay. It creates a thick, clear coating that is extremely durable and long-lasting. Wax is another option for sealing polymer clay creations. It can be applied with a soft cloth or brush and creates a smooth, matte finish.
Choosing the Right Sealant for Your Project
When choosing a sealant for your polymer clay project, there are several factors to consider. First, you need to ensure that the sealant is compatible with your polymer clay creation. Some sealants may react with certain types of polymer clay and cause discoloration or other issues. It is important to test the sealant on a small, inconspicuous area of the clay before applying it to the entire creation.
Additionally, you should consider the desired finish and level of protection. If you want a glossy, shiny finish, then a glaze or resin may be the best option. If you prefer a matte finish, then wax may be more suitable. Finally, consider the durability and longevity of the sealant. Some sealants may need to be reapplied periodically to maintain their protective properties, while others may provide long-lasting protection with minimal maintenance.
Preparing Your Polymer Clay Creation for Sealing
Before applying any sealant to your polymer clay creation, it is important to properly prepare the surface. Start by cleaning the clay to remove any dust or dirt particles. You can use a soft brush or cloth to gently wipe away any debris. Next, sand the surface of the clay to create a smooth and even texture. Use fine-grit sandpaper or a sanding sponge to gently sand the clay in circular motions. This will help to remove any imperfections or rough spots.
After sanding, wipe away any dust or residue with a clean cloth. Finally, ensure that the clay is completely dry before applying the sealant. Moisture can interfere with the adhesion and drying process of the sealant, so it is important to allow the clay to air dry for at least 24 hours before sealing.
Applying Sealant to Polymer Clay
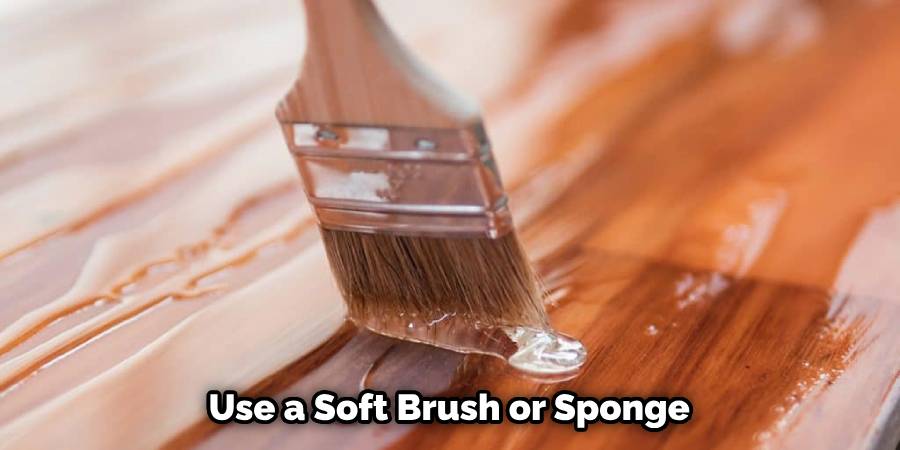
When applying sealant to polymer clay, it is important to use the right techniques to achieve a smooth and even finish. Start by applying a thin, even coat of sealant to the entire surface of the clay. Use a soft brush or sponge to spread the sealant in smooth, even strokes. Avoid applying too much sealant at once, as this can lead to bubbles or streaks in the finish.
If bubbles do appear, gently blow on them or use a heat gun on a low setting to remove them. Allow the first coat of sealant to dry completely before applying additional coats. Depending on the type of sealant and the desired level of protection, you may need to apply multiple coats. Follow the manufacturer’s instructions for drying times between coats.
10 Steps How to Seal Polymer Clay
Step 1: Gather Your Materials
Before you begin sealing your polymer clay creations, it’s important to gather all the necessary materials. You will need:
- Polymer clay creations
- Oven
- Polymer clay sealer (water-based or solvent-based)
- Soft paintbrushes
- Disposable gloves
- Baking sheet or tile
- Toothpicks or craft needles
- Soft cloth or microfiber cloth
- Mild soap and water
Step 2: Bake Your Polymer Clay Creations
Before sealing, ensure that your polymer clay creations are properly baked. Follow the manufacturer’s instructions for baking time and temperature to achieve optimal results. Using a dedicated oven thermometer is recommended to monitor the temperature accurately and ensure the clay cures evenly.
Step 3: Allow Creations to Cool
After baking, let your polymer clay creations cool completely. This step is crucial to prevent any warping or distortion that might occur if you seal the clay while it’s still warm. Patience during this phase will pay off in the final result.
Step 4: Clean the Surface
Clean the surface of your polymer clay creations using a soft cloth or microfiber cloth. Even though the clay has been baked, it’s still susceptible to dust and oils, which could affect the adhesion of the sealer. Gently wipe away any dust particles or fingerprints that might have accumulated during the baking and cooling process.
Step 5: Choose the Right Sealer
Choosing the appropriate sealer is a vital decision in the sealing process. Two main types of polymer clay sealers exist: water-based and solvent-based. Water-based sealers are non-toxic, have minimal odor, and are generally safe for most polymer clay brands. Solvent-based sealers provide a stronger barrier but can have a stronger odor and require proper ventilation during application. Carefully consider the characteristics of your project and personal preferences to make the right choice.
Step 6: Test on a Sample Piece
Before applying the sealer to your main polymer clay creations, it’s a good idea to test it on a small, inconspicuous sample piece. This proactive approach allows you to ensure that the sealer doesn’t react negatively with the clay or alter its appearance in an undesirable way. Take note of any changes or adverse reactions during this testing phase.
Step 7: Apply the Sealer
Put on disposable gloves to avoid transferring oils from your skin to the clay. Dip a soft paintbrush into the sealer, and gently apply an even coat to the surface of the polymer clay. A smooth and consistent application is key to achieving a polished finish. Make sure to cover the entire surface, paying special attention to intricate details and textures.
Step 8: Pay Attention to Edges and Seams
Edges and seams are often more vulnerable to wear and tear over time. Use a toothpick or craft needle to ensure that the sealer reaches and seals these areas effectively. This step helps reinforce these potentially weak points and provides extra protection against chipping or peeling.
Step 9: Allow to Dry
After applying the sealer, carefully transfer your polymer clay creations onto a clean baking sheet or tile. Allow them to dry according to the sealer manufacturer’s instructions. This drying period is essential for the sealer to cure and create a strong protective barrier. Avoid touching or moving the creations during this time to prevent any disturbances.
Step 10: Apply Additional Coats (Optional)
Depending on the desired level of protection and finish, you can apply additional coats of sealer. Each coat should be applied only after the previous one has fully dried. Patience is key to achieving a flawless finish, as rushing through this step could lead to uneven texture or adhesion issues. For those seeking a matte finish, consider using a matte sealer for the final coat.
Tips for Achieving a Professional Finish
To achieve a professional finish when sealing polymer clay creations, there are several tips and tricks to keep in mind. First, make sure you are working in a clean and dust-free workspace. Any dust or debris on your work surface can transfer onto the clay and affect the finish. Clean your workspace thoroughly before starting the sealing process.
Additionally, it is important to work in a well-ventilated area when applying sealant. Some sealants can emit fumes that may be harmful if inhaled, so it is important to have proper ventilation. Finally, use the right tools for the job. Choose brushes or sponges that are specifically designed for applying sealants to ensure a smooth and even application.
Curing and Drying Your Polymer Clay Creation
After sealing your polymer clay creation, it is important to properly cure and dry it to ensure the sealant sets correctly. Curing refers to the process of baking the clay in an oven to harden it. Follow the manufacturer’s instructions for the recommended temperature and baking time for your specific type of polymer clay. It is important to monitor the clay closely while it is baking to prevent over-baking or burning.
Once the clay has been cured, allow it to cool completely before handling or applying any additional sealant. After the clay has cooled, you can proceed with the drying process. Depending on the type of sealant used, drying times may vary. Follow the manufacturer’s instructions for the recommended drying time before handling or displaying your sealed polymer clay creation.
Maintaining Your Sealed Polymer Clay Creation
To maintain the appearance and longevity of your sealed polymer clay creation, it is important to properly clean and store it. Use a soft cloth or brush to gently wipe away any dust or debris that may accumulate on the surface. Avoid using harsh chemicals or abrasive cleaners, as these can damage the sealant. When storing your creation, avoid exposing it to extreme heat or direct sunlight, as this can cause fading or discoloration.
It is also important to avoid placing heavy objects on top of the creation, as this can cause indentations or other damage. If your sealed polymer clay creation does become scratched or damaged, you can touch up the affected areas with additional sealant or a matching paint.
Conclusion
Sealing polymer clay creations is a crucial step in the crafting process that should not be overlooked. Not only does it provide protection for your creations, but it also helps to maintain their original colors and textures. Without proper sealing, your polymer clay creations are susceptible to wear and tear, which can cause them to become damaged over time.
Additionally, dust and dirt buildup can accumulate on unsealed creations, making them look dirty and unappealing. There are several types of sealants available for polymer clay creations, each with its own unique properties and finishes. Varnish is a popular choice for sealing polymer clay as it provides a glossy finish and is easy to apply.
Glaze is another option that provides a shiny finish but can be more difficult to apply evenly. Hopefully, this article gave you some helpful tips about how to seal polymer clay successfully, so now that you have the proper knowledge on how to get the job done, why not give it a try today?


