Do you want to get creative and explore the world of sculpting? Air-dry clay is a fantastic way to start, but before your project can be complete, you must learn how to seal it. Sealing air dry clay helps protect the finished sculpture from dirt and moisture while also giving your piece an even coat of color or glossy finish.
In this blog post, we will cover everything you need to know about how to seal air dry clay, including what materials are necessary, the most effective technique for applying a sealer, and tips for getting beautiful results. Read on for all the information you need!
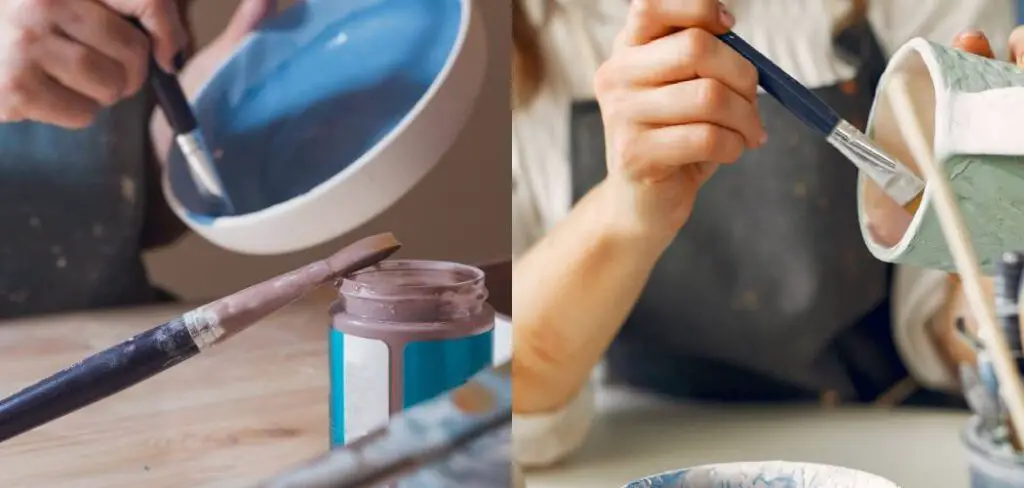
To seal air-dry clay, apply a clear varnish or sealant using a brush or spray. Ensure the clay is completely dry before sealing, and follow the product instructions for best results.
Table of Contents
Understanding Air Dry Clay
Characteristics of Air Dry Clay
Air dry clay is super convenient. It doesn’t need to be baked or fired like traditional clay—just leave it out, and it hardens over time. It’s soft, lightweight, and easy to mold, making it perfect for artists of all levels.
Common Uses in Crafts and Art
From miniature sculptures and ornaments to decorative bowls and wall hangings, air dry clay is a go-to medium for all kinds of projects. It’s especially popular in DIY circles because it’s affordable and easy to use.
Drying vs. Sealing — What’s the Difference?
Drying makes your clay hard, but it doesn’t protect it. Sealing creates a barrier against water, dust, and other elements. Without a proper seal, your dried clay can easily crack or absorb moisture and become mushy again.
When and Why to Seal Air Dry Clay
Protection from Moisture
Air dry clay is porous. That means it can soak up water like a sponge. Sealing helps keep moisture out, so your piece doesn’t warp or break down.
Enhancing Durability
Let’s be honest—clay is fragile. A sealed piece is far more resistant to bumps, chips, and accidental drops. It’s a game changer if you want your project to last.
Improving Appearance and Finish
A good sealant can turn a dull finish into something glossy and eye-catching. Or go the other route—matte sealants offer a smooth, modern vibe.
Choosing the Right Sealant
Types of Sealants
- Glossy – Reflective and shiny, great for decorative pieces.
- Matte – No shine, gives a natural, understated finish.
- Satin – The happy medium—subtle sheen, smooth surface.
Spray vs. Brush-On Sealers
Sprays are quick and cover evenly. Brush-ons offer more control but can leave streaks if not applied properly. Choose based on your project’s needs.
Pros and Cons of Popular Products
- Mod Podge – Versatile, affordable, dries clear. Not fully waterproof.
- Krylon Spray – Fast-drying and waterproof but strong fumes.
- DecoArt DuraClear – Durable, variety of finishes, non-toxic.
Can You Seal Air Dry Clay to Make It Waterproof?
Yes, you can seal air-dry clay to make it waterproof. The most common way to do this is by using a sealant such as Mod Podge or an acrylic spray sealer. These sealants will help protect the clay from moisture and keep it from cracking or warping over time.
When applying a sealant, it’s important to use a light, even coat and allow it to fully dry in between coats. This will help ensure that the sealant is evenly distributed and your clay is properly protected. It’s also important to note that while some sealants may be labeled as waterproof, this doesn’t mean they can completely protect air-dry clay from water damage forever.
After some time, the sealant will start to wear off and need to be reapplied. Therefore, it’s best to keep your air-dry clay projects away from any extended exposure to moisture or water, if possible.
10 Methods How to Seal Air Dry Clay
1. Pre-Bake Your Clay
If you plan on painting your air dry clay project, pre-baking the clay will help to ensure that your paint adheres to the surface of the clay. To pre-bake your clay, simply place it on a baking sheet and bake it in a preheated oven at 200 degrees Fahrenheit for 30 minutes. Make sure to keep an eye on your project while it is baking, as the clay can burn easily.
2. Seal with Mod Podge
Mod podge is a water-based sealer that can be used on a variety of surfaces, including air-dry clay. To seal your clay with mod podge, simply brush a thin layer over the surface of the clay and allow it to dry. Repeat this process until the desired level of protection is achieved.
This method will not only protect your air-dry clay from cracking and breaking, but it will also add a glossy finish to the surface of your project. If you are using paint or ink on your clay, be sure to seal it before applying the Mod Podge, as this will help to ensure that the colors stay bright and true.
3. Seal with Acrylic Varnish
Acrylic varnish is another type of sealer that can be used on air dry clay. Like mod podge, the acrylic varnish will help to protect your clay from damage and keep paint from chipping or flaking off. To use acrylic varnish, simply brush a thin layer over the surface of the clay and allow it to dry. You can also use a spray-on varnish for even coverage.
Once the varnish is completely dry, you can then paint and decorate the piece as desired. For extra protection, you can apply multiple layers of acrylic varnish until the desired look is achieved. Keep in mind that if you use acrylic paint on the clay, you should also use acrylic varnish to seal the piece.
4. Use a Spray Sealer
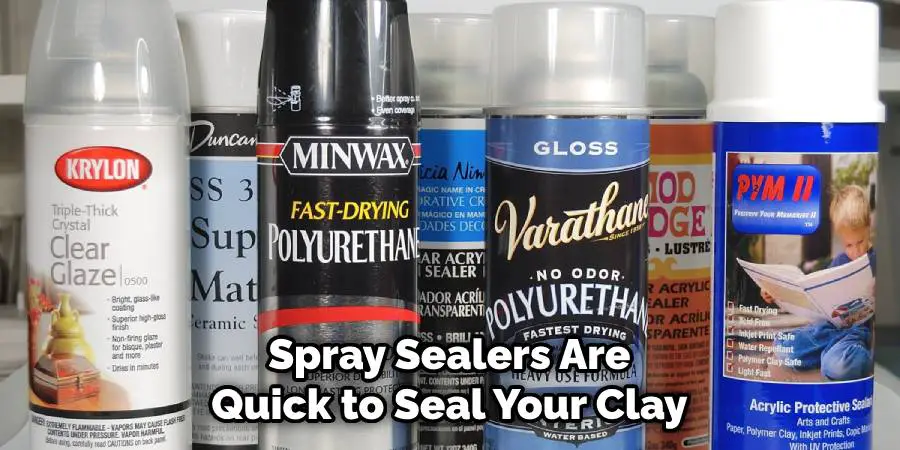
Spray sealers are another option for sealing air dry clay. They provide a quick and easy way to seal your clay without having to brush on a sealer. Simply hold the can about 6 inches away from the surface of the clay and spray evenly over the entire surface.
Allow the sealer to dry before painting or to handle the clay. Spray sealers can be found at craft and art supply stores. Be sure to follow all of the manufacturer’s instructions when using a spray sealer.
5. Paint Before You Bake
If you plan on painting your air dry clay project, you can actually paint the clay before you bake it. This will help to prevent the paint from chipping or flaking off when you bake the clay. Simply paint your design onto the surface of the raw clay and then bake according to the directions.
The paint will not burn off and will result in vibrant colors once the clay is finished baking. If you don’t plan to paint your project, you can skip this step.
6. Sand before You Paint
If you want a smooth finish for your air dry clay project, sanding before you paint is a good idea. Sanding will help to smooth out any bumps or imperfections on the surface of the clay. To sand your air-dry clay, use fine-grit sandpaper and lightly sand over the entire surface. Wipe away any dust with a damp cloth before painting.
This will help to give your project a professional look. Once you have finished sanding, your air-dry clay is ready to be painted. You can use any type of paint that you like. Acrylic and spray paint are both great options for air-dry clay projects.
7. Use an Underglaze
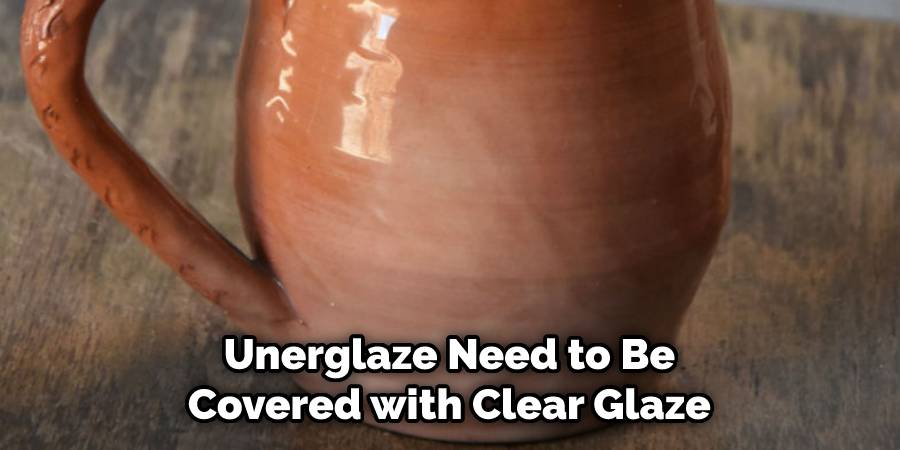
Underglazes are ceramic paints that can be used on raw or bisque-fired ceramics. They are available in a wide variety of colors and can be applied directly to the surface of air-dry clay. Once applied, they need to be covered with a clear glaze before being fired in a kiln. However, they can also be left unglazed if desired.
8 . Use Watercolors
Watercolors can also be used on air dry clay projects. They provide a beautiful translucent color that can add depth and dimension to your project. Watercolors can be applied directly to the surface of raw or bisque-fired air-dry clay. Once applied, they need to be covered with a clear glaze before being fired in a kiln; however, they can also be left unglazed if desired.
9. Use an Oil Pastel
Oil pastels are a great way to add color and texture to air-dry clay projects. They provide a rich, vibrant color that can be used to create beautiful designs on the surface of your project. Oil pastels should not be fired in a kiln; instead, they should be sealed with a varnish or sealer before being left to air-dry.
10. Seal with a Clear Glaze
Lastly, if you plan on firing your air dry clay project in a kiln, it’s best to use a clear glaze as the final sealant. Clear glazes help to protect the surface of the clay while providing a glossy finish that will last for years.
When applying the glaze, use a soft brush and apply a thin layer of glaze over the entire surface of your project. Let it dry completely before baking in a kiln according to the manufacturer’s instructions. Once complete, your project will be ready to enjoy!
Best Practices for Sealing Air Dry Clay
Temperature and Humidity Considerations
Work in a dry, warm area. Too much humidity can mess with drying times and sealant adhesion.
Thin Layers vs. Thick Coats
Always apply thin, even layers. Thick coats can cause dripping or uneven drying.
Drying Times and Patience Tips
Don’t rush the process. Use a fan if needed, but avoid direct heat—it can cause cracking.
4 Things to Consider When Sealing Air Dry Clay:
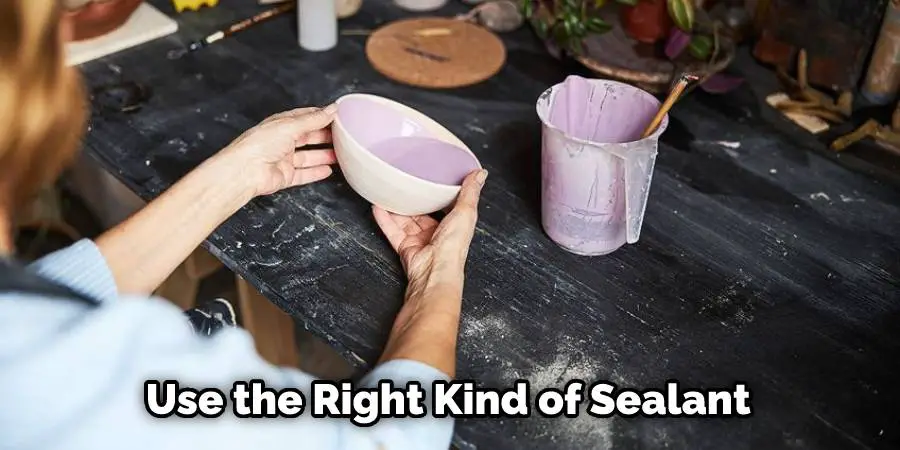
1. Pick the Right Sealant:
The type of sealant you choose will depend on the type of air-dry clay you’re using and the project you’re working on. For most projects, a clear acrylic sealer or a matte varnish is best.
2. Test First:
Before sealing your entire project, always test the sealant on a small piece of air-dry clay first. This will allow you to ensure that the sealant is compatible with your clay and that it provides the effect you’re looking for.
3. Prepare Your Clay:
Before applying any sealant, make sure your project is completely dry and free from dust or other particles. You can use a soft brush to gently remove any dust.
4. Apply the Sealant:
Apply the sealant in thin layers with a foam brush or spray can, making sure to cover all areas of your project. Allow the sealant to dry completely before applying a second coat. It’s best to apply two or more coats of sealant for a better, longer-lasting finish.
Common Mistakes to Avoid
Sealing Before Drying
Huge no-no. Trapping moisture inside will ruin your piece over time.
Using Incompatible Paints or Sealants
Oil-based sealers over acrylic paints? Not a good match. Always check product labels for compatibility.
Over-Applying Sealer
Less is more. Too many layers can make your piece look plastic-y or cause bubbles.
Alternatives to Sealing
Using Varnish
Varnish is a strong, glossy alternative that adds a hard finish. Just be cautious with yellowing over time.
Mod Podge as a Sealant
It’s not technically a sealant, but it works! Especially for indoor pieces or light-use items.
Epoxy Resin for a Hard Finish
Want your piece to feel like ceramic? Epoxy gives it a thick, glossy coat—super durable but requires more effort.
Conclusion:
Sealing air dry clay is important to prevent it from drying out and cracking. There are a few different ways that you can seal your air dry clay, depending on what you have available. You can use clear nail polish, Mod Podge, or even just a spray sealer. Make sure to test a small area of your project before applying the sealant all over, in case there is any adverse reaction.
Once you’ve sealed your project, it will be protected from the elements and should last for many years to come! Thanks for reading our blog post on how to seal air dry clay! We hope you found it helpful and informative. Happy Sealing!


