Sealing acrylic paint on a ceramic plate is a crucial step in transforming ordinary dinnerware into stunning pieces of functional art. Whether you’re an experienced artist or a creative enthusiast looking to personalize your ceramics, this process ensures your designs remain vibrant and protected over time. In this article, we’ll delve into how to seal acrylic paint on ceramic plate, guiding you through the essential steps required to achieve a professional finish.
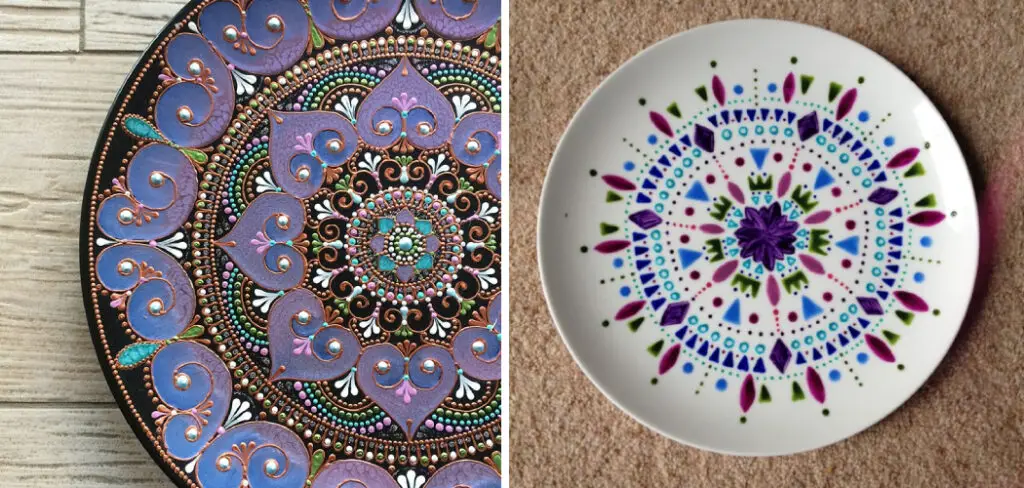
Acrylic paint offers versatility and vibrancy, making it a popular choice for decorating ceramic surfaces. However, without proper sealing, these intricate designs can easily chip, fade, or wash away with time and use. The sealing process not only safeguards your artistic creations but also allows you to make your ceramic plates dishwasher-safe, ensuring both durability and practicality.
“To effectively seal acrylic paint on a ceramic plate, start by ensuring your painted design is fully dry and cured. Then, select an appropriate sealant such as ceramic glaze or dishwasher-safe clear glaze. Apply the sealant evenly over the painted surface using a soft brush, following the specific drying and curing instructions provided by the manufacturer. This sealing process not only protects your artwork but also adds a glossy finish and, in the case of dishwasher-safe clear glaze, makes your plate suitable for everyday use in the dishwasher.”
Table of Contents
Importance of Sealing Acrylic Paint on Ceramic Plates
1. Protects the paint from chipping or fading: Acrylic paint is known for its durability, but it can still be susceptible to chipping or fading, especially when exposed to regular use and washing. By sealing the paint, you create a protective barrier that helps prevent damage and ensures that your artwork stays vibrant and intact for a longer period of time.
2. Makes the plate safe for food use: If you plan on using your painted ceramic plates for serving food, it is crucial to seal the paint to make it food-safe. Acrylic sealants are non-toxic and provide a safe barrier between the paint and the food, ensuring that no harmful chemicals or pigments leach into the food.
3. Enhances the appearance of the plate: Sealing acrylic paint on ceramic plates can also enhance the overall appearance of your artwork. The sealant adds a glossy or matte finish, depending on your preference, which can make the colors appear more vibrant and give the plate a professional and finished look.
10 Steps How to Seal Acrylic Paint on Ceramic Plate
Step 1: Gather Your Materials
Before you begin, it’s important to gather all the necessary materials. You’ll need:
- Ceramic plate(s)
- Acrylic paint and brushes
- Paper towels or rags
- Mild soap and water
- Sealant (ceramic or dishwasher-safe clear glaze)
- Paint palette
- Mixing palette knife
- Soft paintbrush (for applying sealant)
- Plastic wrap
- Disposable gloves (optional)
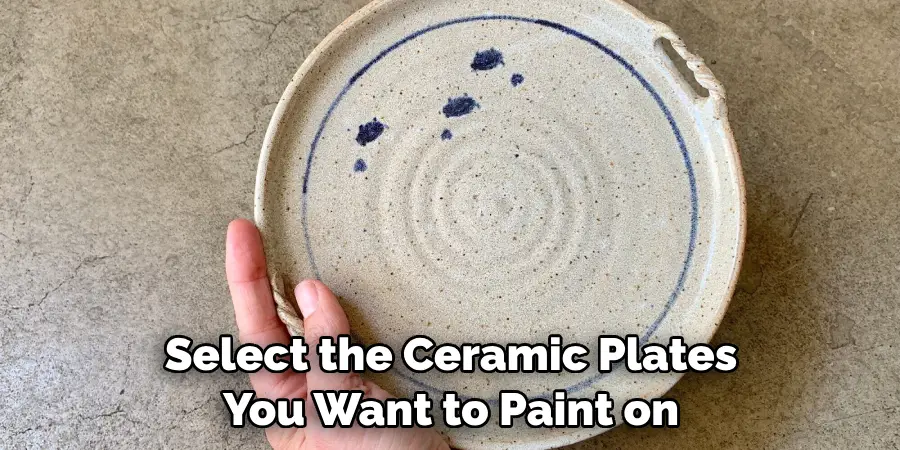
Step 2: Choose Your Ceramic Plates
Select the ceramic plates you want to paint on. Make sure they are clean and free of any dust, dirt, or residue. You can choose either new, plain ceramic plates or repurpose old ones.
Step 3: Plan Your Design
Before you start painting, plan your design. Sketch it on paper or have a clear vision in mind. This will help you work more efficiently when you start applying acrylic paint to the ceramic surface.
Step 4: Prepare Your Work Area
Set up a clean and well-ventilated workspace. Lay down newspaper or a drop cloth to protect your working surface. Make sure you have adequate lighting to see your work clearly.
Step 5: Apply Acrylic Paint
Now it’s time to paint your design on the ceramic plate. Use your acrylic paints and brushes to create your chosen design. Be patient and allow each layer to dry completely before adding the next one. This may take several hours or even a day, depending on the complexity of your design.
Step 6: Clean Your Brushes
Between color changes or at the end of your painting session, clean your brushes with mild soap and water. This prevents the acrylic paint from drying on the bristles and ruining your brushes.
Step 7: Let the Paint Cure
After you’ve completed your design, allow the paint to cure for at least 24 hours. Curing time ensures that the acrylic paint fully adheres to the ceramic surface.
Step 8: Apply the Sealant
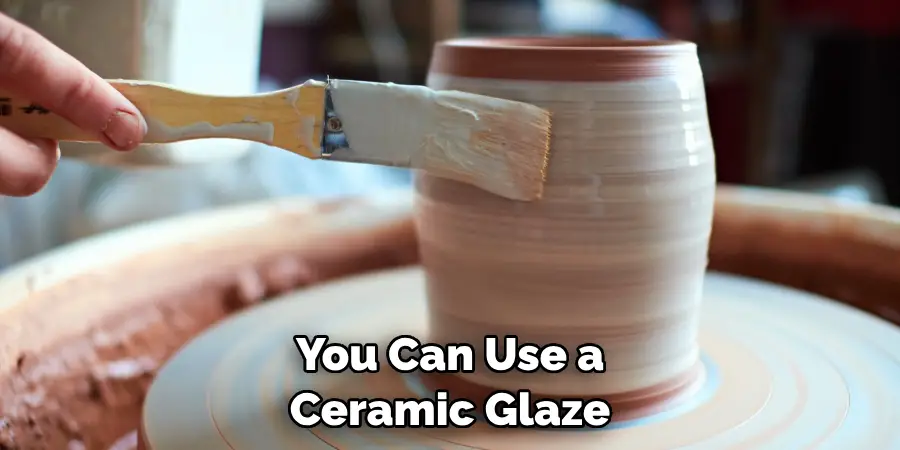
Once your acrylic paint is completely dry and cured, it’s time to apply the sealant. You have two main options for sealants:
- Ceramic Glaze: If you want a glossy finish, you can use a ceramic glaze. Brush a thin, even layer of glaze over the entire painted surface of the plate. Make sure to follow the manufacturer’s instructions for drying and firing the glaze, as it typically needs to be fired in a kiln for a permanent finish.
- Dishwasher-Safe Clear Glaze: If you want your plates to be dishwasher-safe, opt for a clear, dishwasher-safe glaze. Apply it in thin, even coats, allowing each coat to dry before applying the next. Follow the manufacturer’s instructions for drying and curing this glaze. It may involve air drying or low-temperature baking.
Step 9: Protect Your Plates During Curing
While the sealant is drying and curing, you’ll need to protect your plates from dust and debris. Cover them with plastic wrap or place them in a clean, dust-free area. Allow the sealant to cure according to the manufacturer’s instructions. This curing process can take several hours or days, depending on the type of sealant used.
Step 10: Test Your Plates
Once the sealant has fully cured, it’s time to test your plates. Check for any imperfections or areas that may need touch-ups. If you find any issues, you can typically sand them down and reapply the sealant as needed. If everything looks good, your acrylic-painted ceramic plates are ready to use or display.
Tips for Achieving a Smooth and Even Seal on Ceramic Plates
To achieve a smooth and even seal on ceramic plates, consider the following tips:
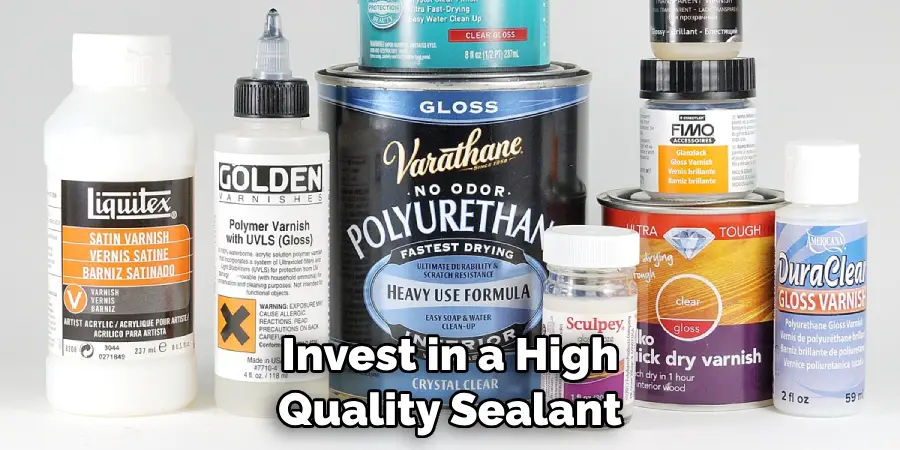
1. Use a high-quality sealant: Invest in a high-quality acrylic sealant that is specifically designed for use on ceramics. Cheaper sealants may not provide the same level of protection or durability, and they may not adhere well to the painted surface.
2. Apply thin coats: It is better to apply multiple thin coats of sealant rather than one thick coat. Thin coats dry faster and are less likely to result in drips or uneven coverage. Allow each coat to dry completely before applying the next.
3. Avoid over-brushing: When applying the sealant, avoid over-brushing or going over the same area repeatedly. This can cause streaks or brush marks in the finish. Instead, use smooth and even strokes to apply the sealant in one direction.
Common Mistakes to Avoid When Sealing Acrylic Paint on Ceramic Plates
To ensure a successful sealing process, avoid the following common mistakes:
1. Applying too thick of a coat: Applying a thick coat of sealant may seem like a time-saving technique, but it can actually result in an uneven finish and longer drying times. Thin coats are easier to control and provide better coverage.
2. Not letting the sealant dry completely: Patience is key when sealing acrylic paint on ceramic plates. Rushing the drying process can lead to smudging, smearing, or even lifting of the paint. Allow each coat of sealant to dry completely before applying the next or using the plate.
3. Using a low-quality sealant: Using a low-quality sealant may save you money upfront, but it can compromise the longevity and durability of your artwork. Invest in a high-quality sealant that is specifically designed for use on ceramics to ensure the best results.
How Long Does it Take for the Seal to Dry on Ceramic Plates?
The drying time for the sealant on ceramic plates can vary depending on factors such as humidity, temperature, and the brand of sealant used. In general, it takes approximately 24-48 hours for the sealant to dry completely. It is important to be patient and avoid any contact with the plate during this time to prevent smudging or damaging the sealant.
How to Maintain the Seal on Ceramic Plates Over Time
To maintain the seal on ceramic plates over time, follow these tips:
1. Hand wash only: Avoid using a dishwasher to clean your painted ceramic plates, as the harsh detergents and high temperatures can damage the sealant. Instead, wash the plates by hand using mild dish soap and a soft sponge or cloth.
2. Avoid abrasive cleaners: Abrasive cleaners or scrub brushes can scratch or wear down the sealant over time. Stick to gentle cleaning methods and avoid using any harsh chemicals or abrasive materials on the painted surface.
3. Reapply sealant as needed: Over time, the sealant on ceramic plates may start to wear off or become less effective. If you notice any signs of chipping or fading, it may be time to reapply the sealant. Follow the same steps outlined earlier to apply a new coat of sealant and ensure the longevity of your artwork.
Alternative Methods for Sealing Acrylic Paint on Ceramic Plates
If you prefer alternative methods for sealing acrylic paint on ceramic plates, consider the following options:
1. Baking the plate in the oven: Some artists choose to bake their painted ceramic plates in the oven to set the paint and create a durable finish. Follow the instructions provided by the manufacturer of the acrylic paint to determine the appropriate temperature and baking time.
2. Using a spray sealant: Spray sealants are another option for sealing acrylic paint on ceramic plates. They provide a quick and even coverage, but make sure to choose a spray sealant that is specifically designed for use on ceramics.
Conclusion and Final Thoughts
Sealing acrylic paint on ceramic plates is a crucial step in ensuring the longevity, durability, and safety of your artwork. By protecting the paint from chipping or fading, making the plate safe for food use, and enhancing its appearance, sealing the paint adds value and longevity to your creations. With the right materials and techniques, you can achieve a smooth and even seal that will withstand regular use and washing.
So, don’t forget to seal your acrylic paint on ceramic plates for a longer-lasting and more beautiful finished product. Follow these simple instructions outlined in this blog post about how to seal acrylic paint on ceramic plate, and you’ll be able to get the job done with ease.


