Acrylic paint on ceramic surfaces can result in stunning, vibrant artwork, whether you’re decorating pottery, creating custom tiles, or simply adding a personal touch to everyday ceramic items. However, to ensure your acrylic masterpieces stand the test of time, it’s crucial to seal them properly. Sealing not only protects the paint from chipping, fading, or peeling but also enhances the overall appearance of your artwork, making it more durable and long-lasting.
In this article, we will delve into the world of ceramic artistry, guiding you through the step-by-step process of how to seal acrylic paint on ceramic, offering tips and insights to help your artwork retain its beauty and brilliance for years to come. Whether you’re a seasoned artist or a beginner looking to embark on a creative journey, understanding the techniques and products required for sealing acrylic paint on ceramic is essential.
Table of Contents
Benefits of Sealing Acrylic Paint on Ceramic
There are several benefits to sealing acrylic paint on ceramic. One of the main benefits is protection against scratches, fading, and chipping. Ceramic surfaces can be prone to wear and tear, especially if they are frequently used or exposed to harsh conditions. By sealing the acrylic paint, you create a protective barrier that helps prevent these damages and keeps your artwork or project looking fresh and vibrant for longer.
Another benefit of sealing acrylic paint on ceramic is that it enhances the vibrancy and longevity of the paint. Acrylic paint can fade over time when exposed to sunlight or other environmental factors. Sealing the paint helps to lock in the colors and prevent them from fading, ensuring that your artwork or project retains its original vibrancy for years to come.
Additionally, sealing acrylic paint on ceramic makes the surface easier to clean and maintain. Ceramic surfaces can be difficult to clean, especially if they have porous or textured surfaces. Sealing the paint creates a smooth and non-porous surface that is easier to wipe clean and maintain. This is particularly important for functional ceramic pieces, such as mugs or plates, that may come into contact with food or liquids.
10 Steps How to Seal Acrylic Paint on Ceramic
Step 1: Gather Your Materials
Before you begin the sealing process, it’s essential to have all the necessary materials at hand. You’ll need:
- Acrylic paints and brushes for your artwork.
- Ceramic items to be sealed.
- Acrylic paint sealer or varnish (water-based or solvent-based).
- A clean, soft paintbrush for applying the sealer.
- Clean water and a container for rinsing brushes.
- Paper towels or rags for cleaning and wiping.
- Sandpaper or a sanding sponge (optional, for smoothing the surface).
- Mild soap and water for cleaning the ceramic surface.
- Latex or nitrile gloves to protect your hands.
- A well-ventilated workspace to avoid inhaling fumes.
Step 2: Create Your Ceramic Artwork
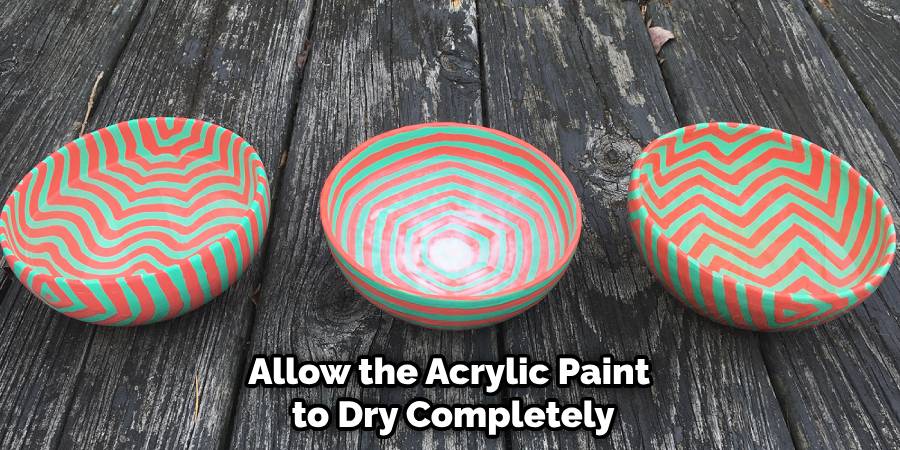
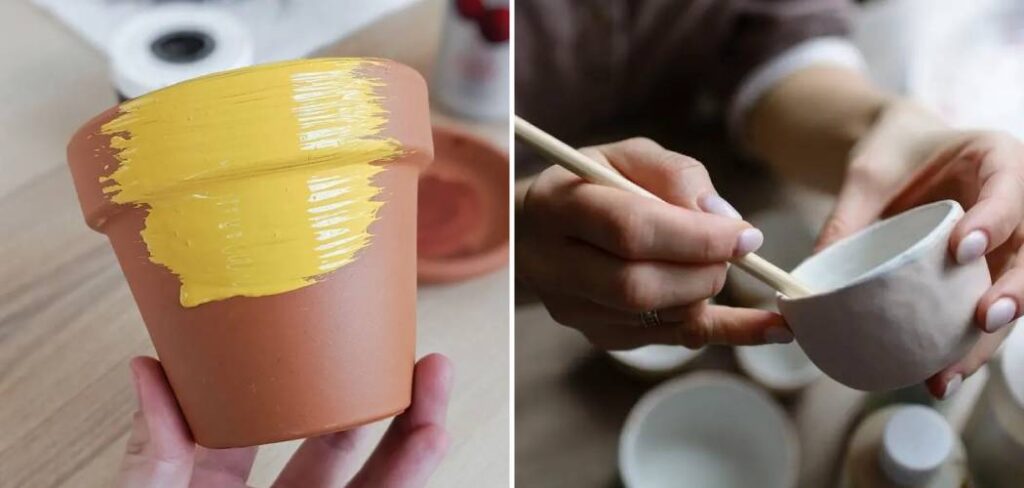
Start by designing and painting your ceramic item with acrylic paints. Allow the acrylic paint to dry completely before moving on to sealing. This step involves your creativity and artistic skills, and the options are endless, from intricate designs to simple color applications.
Step 3: Prepare the Ceramic Surface
If the ceramic surface has any imperfections, such as rough spots or blemishes, consider lightly sanding it with fine-grit sandpaper or a sanding sponge to smooth it out. This step is optional and depends on the condition of your ceramic piece.
Step 4: Clean the Surface
Before applying the sealer, make sure the ceramic surface is clean and free of dust, dirt, or any residue. Wipe it down with a damp cloth or sponge using mild soap and water. Rinse thoroughly and allow it to dry completely.
Step 5: Choose the Right Sealer
Select the appropriate sealer for your project. Acrylic paint sealers come in two main types: water-based and solvent-based. Water-based sealers are often recommended for most projects because they are non-toxic, have low odor, and dry clear. Solvent-based sealers are more durable and can be used for outdoor or heavy-duty applications but may have stronger fumes and require proper ventilation.
Step 6: Test the Sealer
It’s a good practice to perform a small test on a less visible area of your ceramic piece before applying the sealer to the entire artwork. This test ensures that the sealer is compatible with your acrylic paint and does not cause any undesirable effects, such as smudging or discoloration.
Step 7: Apply the First Sealer Coat
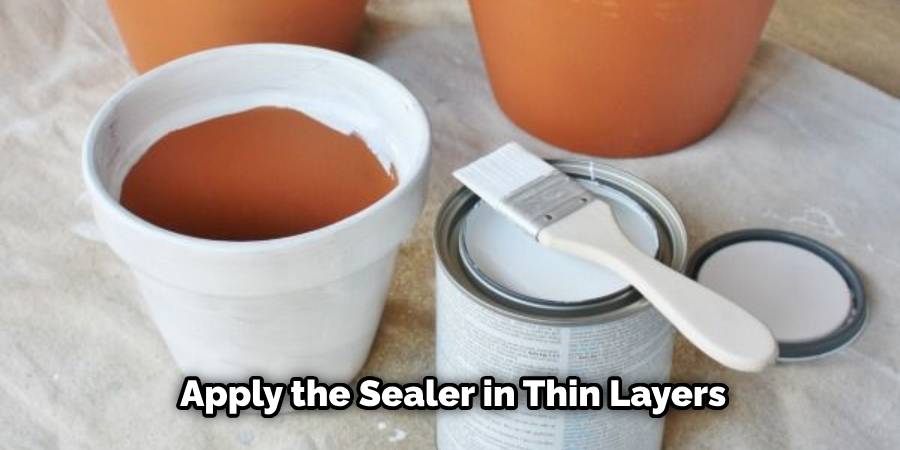
Once you’re confident with your choice of sealer, use a clean, soft paintbrush to apply the first coat evenly over the entire painted ceramic surface. Work in smooth, consistent strokes to avoid streaks or brush marks. It’s essential to apply the sealer in thin layers to prevent it from pooling or becoming uneven. Allow this first coat to dry thoroughly, which typically takes several hours or as per the manufacturer’s instructions.
Step 8: Sand and Smooth (Optional)
If you notice any imperfections, bubbles, or brush marks after the first coat has dried, you can lightly sand the surface with fine-grit sandpaper or a sanding sponge. Be gentle to avoid damaging the artwork. After sanding, wipe away any dust or debris with a clean, dry cloth.
Step 9: Apply Additional Sealer Coats
Apply subsequent coats of sealer, typically two to three more, following the same process as the first coat. Each coat should be applied after the previous one has dried. These additional coats help build up a protective barrier and enhance the longevity of your artwork.
Step 10: Allow for Proper Drying Time
After applying all the sealer coats, allow your ceramic piece to dry for at least 24 hours or as recommended by the sealer manufacturer. This ensures that the sealer cures properly and provides maximum protection.
Tips for Achieving a Smooth and Even Seal
Achieving a smooth and even seal requires some tips and techniques. By following these tips, you can ensure a professional-looking finish and avoid common mistakes.
First, use a light touch when applying the sealer. Apply gentle pressure with the brush or sponge to avoid pushing or dragging the paint. This helps to prevent streaks or brush marks and ensures an even application.
Second, work in a well-ventilated area when applying the sealer. Some sealers emit strong fumes or contain toxic chemicals, so it is important to have proper ventilation to avoid inhaling these substances. Open windows or use a fan to circulate fresh air during the sealing process.
Third, allow each coat of sealer to dry completely before applying the next. This ensures that the sealer has enough time to bond with the paint and create a strong protective barrier. Drying times may vary depending on the type of sealer used, so refer to the manufacturer’s instructions for specific guidelines.
Drying and Curing Time for Acrylic Paint Sealers on Ceramic
Understanding the difference between drying and curing is important when sealing acrylic paint on ceramic. Drying refers to the time it takes for the sealer to become touch-dry, while curing refers to the time it takes for the sealer to fully harden and reach its maximum durability.
The drying time for acrylic paint sealers on ceramic can vary depending on the type of sealer used and the environmental conditions. Water-based sealers typically dry within a few hours, while solvent-based sealers may take longer, up to 24 hours or more. Spray sealers generally have a faster drying time compared to brush-on sealers.
Curing time for acrylic paint sealers on ceramic can take several days or even weeks. During this time, the sealer continues to harden and reach its maximum durability. It is important to avoid using or handling the sealed ceramic piece during the curing process to prevent any damage or premature wear.

To determine the exact drying and curing times for your specific sealer, refer to the manufacturer’s instructions. They will provide guidelines and recommendations based on the specific product and conditions.
Maintaining the Sealed Acrylic Paint on Ceramic
Once the acrylic paint on ceramic is sealed, it is important to maintain the surface properly to ensure its longevity and durability. This involves regular cleaning, avoiding harsh chemicals or abrasive materials, and touching up any chips or scratches as needed.
Cleaning the surface is an important part of maintaining the sealed acrylic paint on ceramic. Use a mild detergent or soap and warm water to clean the surface regularly. Avoid using harsh chemicals or abrasive materials that can damage the sealer or paint. Gently scrub with a soft brush or sponge and rinse with clean water. Dry the surface thoroughly after cleaning to prevent any moisture from seeping into the sealer.
Avoid using harsh chemicals or abrasive materials on the sealed surface. These can strip away the sealer or damage the paint. Instead, use gentle cleaning products and soft cloths or sponges to clean the surface. If necessary, use a non-abrasive cleaner specifically designed for sealed surfaces.
Common Mistakes to Avoid when Sealing Acrylic Paint on Ceramic
When sealing acrylic paint on ceramic, there are some common mistakes that should be avoided to achieve the best results. These mistakes include applying too thick of a coat, not allowing enough drying time between coats, and using the wrong type of sealer for the project.
Applying too thick of a coat can lead to drips, pooling, or an uneven finish. It is important to apply the sealer in thin, even coats to achieve a smooth and professional-looking result. If necessary, apply multiple thin coats rather than one thick coat to avoid these issues.
Not allowing enough drying time between coats can also result in a poor finish. Each coat of sealer needs time to dry completely before applying the next. Rushing the process can lead to smudging, streaks, or lifting of the previous coat. Follow the manufacturer’s instructions for drying times and allow each coat to dry fully before proceeding.
Conclusion
Sealing acrylic paint on ceramic is an important step in protecting and enhancing your artwork or project. It provides protection against scratches, fading, and chipping, enhances the vibrancy and longevity of the paint, and makes the surface easier to clean and maintain. By following the steps on how to seal acrylic paint on ceramic, you can achieve a smooth and professional-looking finish.
When sealing acrylic paint on ceramic, choose the right type of sealer for your project and apply it in thin, even coats. Prepare the ceramic surface properly by cleaning it, sanding it lightly, and removing any residue or debris. Allow each coat of sealer to dry completely before applying the next and follow the manufacturer’s instructions for drying and curing times.
