To restore ceramic tile floors, clean them thoroughly and repair any damaged tiles. Apply a fresh sealer for protection.
Ceramic tile floors are durable and attractive but can lose their shine over time. Regular maintenance and proper restoration can bring back their original beauty. A thorough cleaning removes dirt and grime, while repairing damaged tiles ensures the floor looks seamless.
Applying a new sealer provides a protective layer, enhancing the tiles’ durability and appearance. This process not only extends the lifespan of your flooring but also keeps it looking fresh and new. Following these steps will help you maintain the elegance and functionality of your ceramic tile floors, making your home look clean and well-kept.
Table of Contents
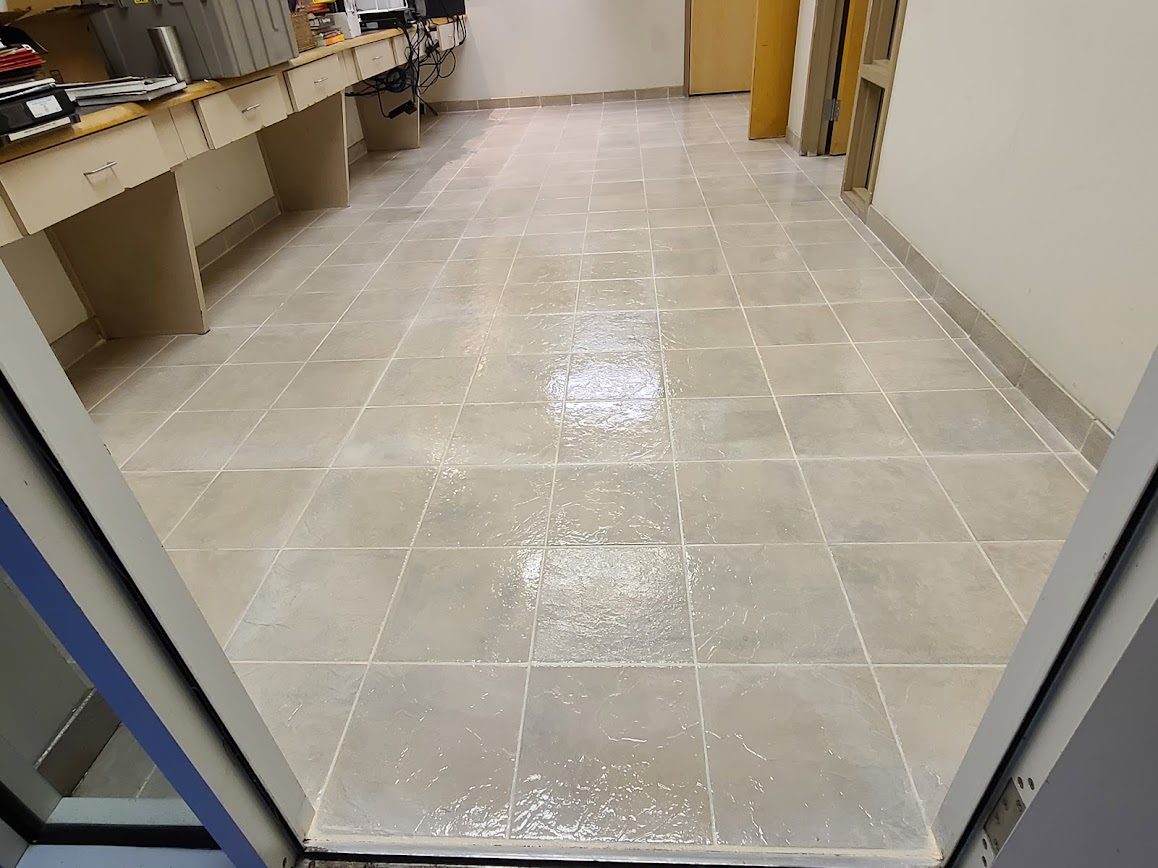
Credit: rexprosealers.com
Assessing Tile Condition
Before you start restoring ceramic tile floors, assess their condition. This step helps you understand what needs fixing. It also ensures you focus on the right areas.
Identifying Damage
First, check each tile for visible damage. Look for these signs:
- Cracks
- Chips
- Loose tiles
Use a flashlight to spot small cracks. Run your hand over each tile. Feel for any uneven surfaces. Pay close attention to high-traffic areas. These spots often show more wear and tear.
Evaluating Grout
Next, examine the grout lines. Grout holds the tiles together. It also prevents water from seeping under the tiles.
| Grout Condition | Signs |
|---|---|
| Healthy Grout | Even color, no gaps |
| Damaged Grout | Cracks, missing pieces, discoloration |
Use a small brush to clean a section of grout. This helps you see any damage clearly. Press gently on the grout lines. Check for loose or crumbling sections.
If grout is damaged, plan to repair or replace it. Damaged grout can lead to more tile problems.
Credit: www.reddit.com
Cleaning The Tiles
Restoring the shine of ceramic tile floors starts with thorough cleaning. Clean tiles ensure that any restoration work is effective. Let’s explore the steps to clean your ceramic tiles.
Choosing The Right Cleaner
Selecting the correct cleaner is crucial for achieving a sparkling floor. Use a cleaner specifically designed for ceramic tiles. Avoid harsh chemicals that may damage the tiles.
Here is a simple table to help you choose the right cleaner:
| Type of Cleaner | Use For |
|---|---|
| Mild Detergent | General cleaning |
| Vinegar Solution | Removing grime |
| pH-Neutral Cleaner | Deep cleaning |
Deep Cleaning Techniques
Deep cleaning ensures your tiles look brand new. Follow these steps for a deep clean:
- Sweep the floor to remove loose dirt.
- Mix a mild detergent with warm water.
- Use a soft brush to scrub the tiles gently.
- Rinse the floor with clean water.
- Dry the tiles with a soft cloth.
For stubborn stains, use a vinegar solution. Mix equal parts of water and vinegar. Apply to the stained area and scrub with a brush. Rinse thoroughly with water.
Avoid abrasive tools like steel wool to prevent scratching the tile surface.
Regular cleaning helps maintain the shine and longevity of your ceramic tile floors.
Repairing Cracks And Chips
Cracks and chips can make your ceramic tile floors look old. Fixing these issues is essential to restore the floor’s beauty. The process is simple and can be done in a few steps.
Materials Needed
- Tile filler or epoxy
- Putty knife
- Fine-grit sandpaper
- Rag or sponge
- Matching paint or glaze
- Sealant
Step-by-step Repair
- Clean the Area: Use a rag or sponge to clean the damaged tile. Remove any dirt or debris.
- Prepare the Filler: Mix the tile filler or epoxy as per instructions. Ensure it’s smooth and ready to apply.
- Apply the Filler: Use a putty knife to fill the cracks and chips. Smooth it out evenly.
- Let it Dry: Allow the filler to dry completely. This can take a few hours.
- Sand the Surface: Use fine-grit sandpaper to smooth the filled area. Make sure it’s level with the tile surface.
- Paint or Glaze: Apply matching paint or glaze to the repaired area. Use a small brush for precision.
- Seal the Repair: Once the paint is dry, apply a sealant to protect the repair. This will ensure it lasts longer.
Follow these steps to repair your ceramic tile floors. Your floors will look new again.
Grout Restoration
Grout plays a key role in the look of your ceramic tile floors. Over time, grout can become dirty or damaged. Restoring grout can make your floors look new again. Follow these steps for effective grout restoration.
Grout Cleaning
Cleaning grout can remove dirt and stains. Use a grout cleaner that is safe for your tiles. Apply the cleaner to the grout lines. Let it sit for a few minutes. Then, scrub with a stiff brush.
For tough stains, mix baking soda with water. Apply the paste to the grout lines. Scrub with a brush. Rinse with water and dry with a cloth.
| Supplies | Steps |
|---|---|
| Grout Cleaner | Apply and scrub with a brush |
| Baking Soda | Make paste, apply, scrub, and rinse |
Regrouting Tips
Sometimes, grout is too damaged to clean. Regrouting can help. Remove the old grout first. Use a grout removal tool. Clean the area well.
Mix new grout following the instructions. Apply it with a grout float. Press it into the grout lines. Wipe away excess grout with a damp sponge. Let it dry and then seal the grout.
- Remove old grout with a removal tool.
- Clean the area thoroughly.
- Mix new grout as per instructions.
- Apply grout with a grout float.
- Wipe away excess with a damp sponge.
- Let it dry, then seal.
Regrouting can make tiles look new. It also extends the life of your floors.
Sealing The Tiles
Sealing ceramic tile floors is crucial. It helps protect tiles from stains and damage. A good sealer also enhances the tile’s appearance. Let’s explore the different types of sealers and their application process.
Types Of Sealers
There are several types of sealers available. Each type has unique benefits. Below are the most common sealers:
| Type of Sealer | Benefits |
|---|---|
| Penetrating Sealers | These sealers absorb into the tile. They provide deep protection. |
| Surface Sealers | These sealers form a protective layer on the surface. They are easy to apply and give a glossy finish. |
| Enhancing Sealers | These sealers enhance the tile’s color. They also offer protection. |
Application Process
The application process is simple but requires attention to detail. Follow these steps:
- Clean the tiles: Ensure the tiles are free from dust and debris. Use a mild cleaner if needed.
- Choose the right sealer: Select a sealer based on your needs. Refer to the table above for guidance.
- Apply the sealer: Use a paintbrush or roller. Apply an even coat on the tiles.
- Allow to dry: Let the sealer dry completely. This usually takes a few hours.
- Apply a second coat: For better protection, apply a second coat. Allow it to dry completely again.
Sealing your ceramic tile floors is a simple process. It ensures longevity and maintains their beauty. Always follow the manufacturer’s instructions for the best results.
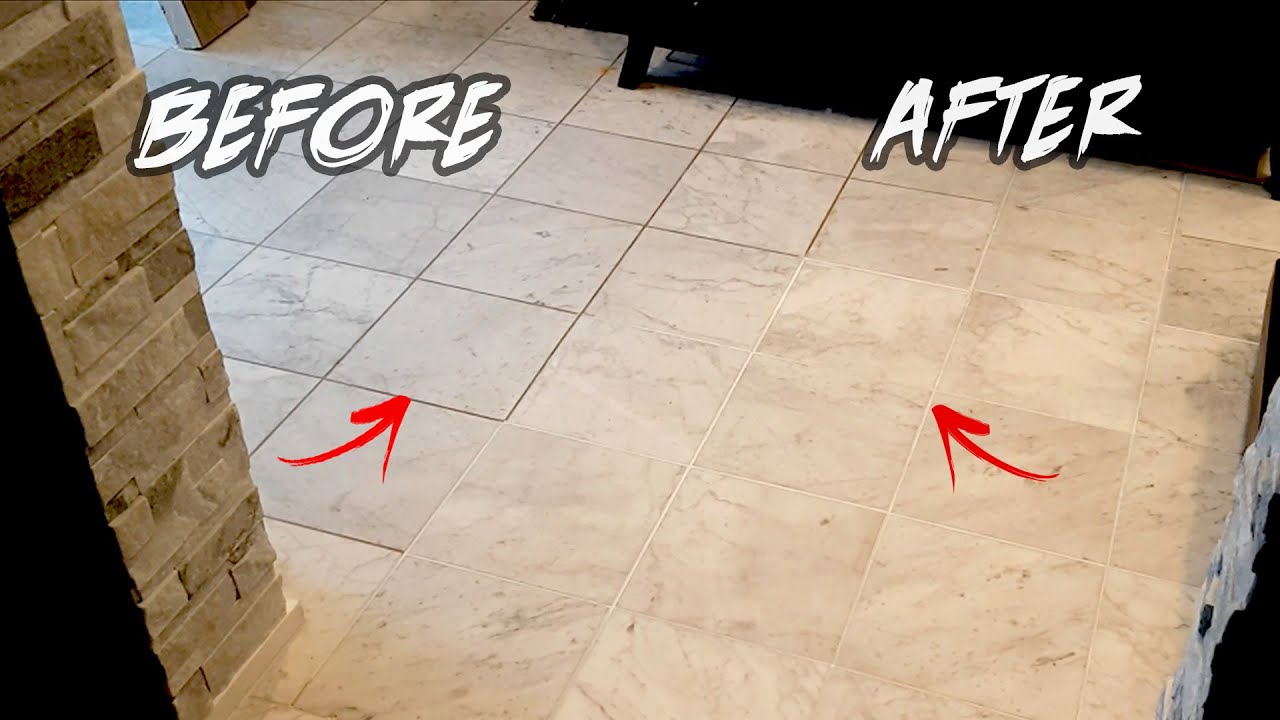
Credit: www.youtube.com
Preventive Maintenance
Preventive maintenance is key to keeping your ceramic tile floors looking new. By taking simple steps, you can avoid major damage and extend the lifespan of your tiles. Focus on regular cleaning and protective measures to maintain the beauty of your flooring.
Regular Cleaning
Regular cleaning prevents dirt and grime buildup on your ceramic tiles. Use a soft broom to sweep the floors daily. This removes loose dirt and prevents scratches.
Mop the floors weekly with warm water and a mild detergent. Avoid harsh chemicals as they can damage the tile surface.
Consider using a microfiber mop for a gentle yet effective clean. Dry the floor with a soft towel to prevent water spots.
Protective Measures
Protective measures are essential to keep your ceramic tiles in top condition. Place doormats at entrances to reduce dirt tracked in. Use felt pads under furniture legs to prevent scratches.
Avoid dragging heavy items across the floor to prevent cracks and chips. If you have pets, keep their nails trimmed to avoid scratches on the tiles.
| Item | Protective Measure |
|---|---|
| Furniture | Use felt pads under legs |
| Heavy Items | Avoid dragging them |
| Pets | Keep their nails trimmed |
By following these steps, you can enjoy beautiful ceramic tile floors for many years. Regular cleaning and protective measures are simple yet effective ways to maintain your investment.
Common Mistakes To Avoid
Restoring ceramic tile floors can make your home look new. But, people often make mistakes. These errors can cause more harm than good. Learn the common mistakes to avoid below.
Overlooking Small Repairs
Many people ignore small cracks and chips. Over time, these can get worse. Small repairs are easy to fix if caught early.
Use a grout sealer to fill gaps. This prevents water from seeping in. Check tiles for damage before starting any major work. Fixing small issues saves time and money later.
Using Harsh Chemicals
Harsh chemicals can damage tile surfaces. They can also harm the grout. Use pH-neutral cleaners for tile floors. Avoid bleach and acidic solutions.
Here is a simple table showing safe and unsafe cleaners:
| Safe Cleaners | Unsafe Cleaners |
|---|---|
| pH-neutral cleaners | Bleach |
| Mild dish soap | Ammonia |
| Vinegar and water | Acidic solutions |
Always read labels before using a cleaner. Choose products designed for ceramic tiles. This ensures you do not damage your floors while cleaning.
Conclusion
Restoring ceramic tile floors can breathe new life into your home. With the right tools and techniques, you can achieve stunning results. Regular maintenance will keep your tiles looking pristine. Follow these steps to ensure your floors remain beautiful and durable.
Enjoy the refreshed look and feel of your revitalized ceramic tile floors.


