To repaint ceramic figurines, clean the surface thoroughly and apply a suitable primer. Use acrylic paints for vibrant, lasting results.
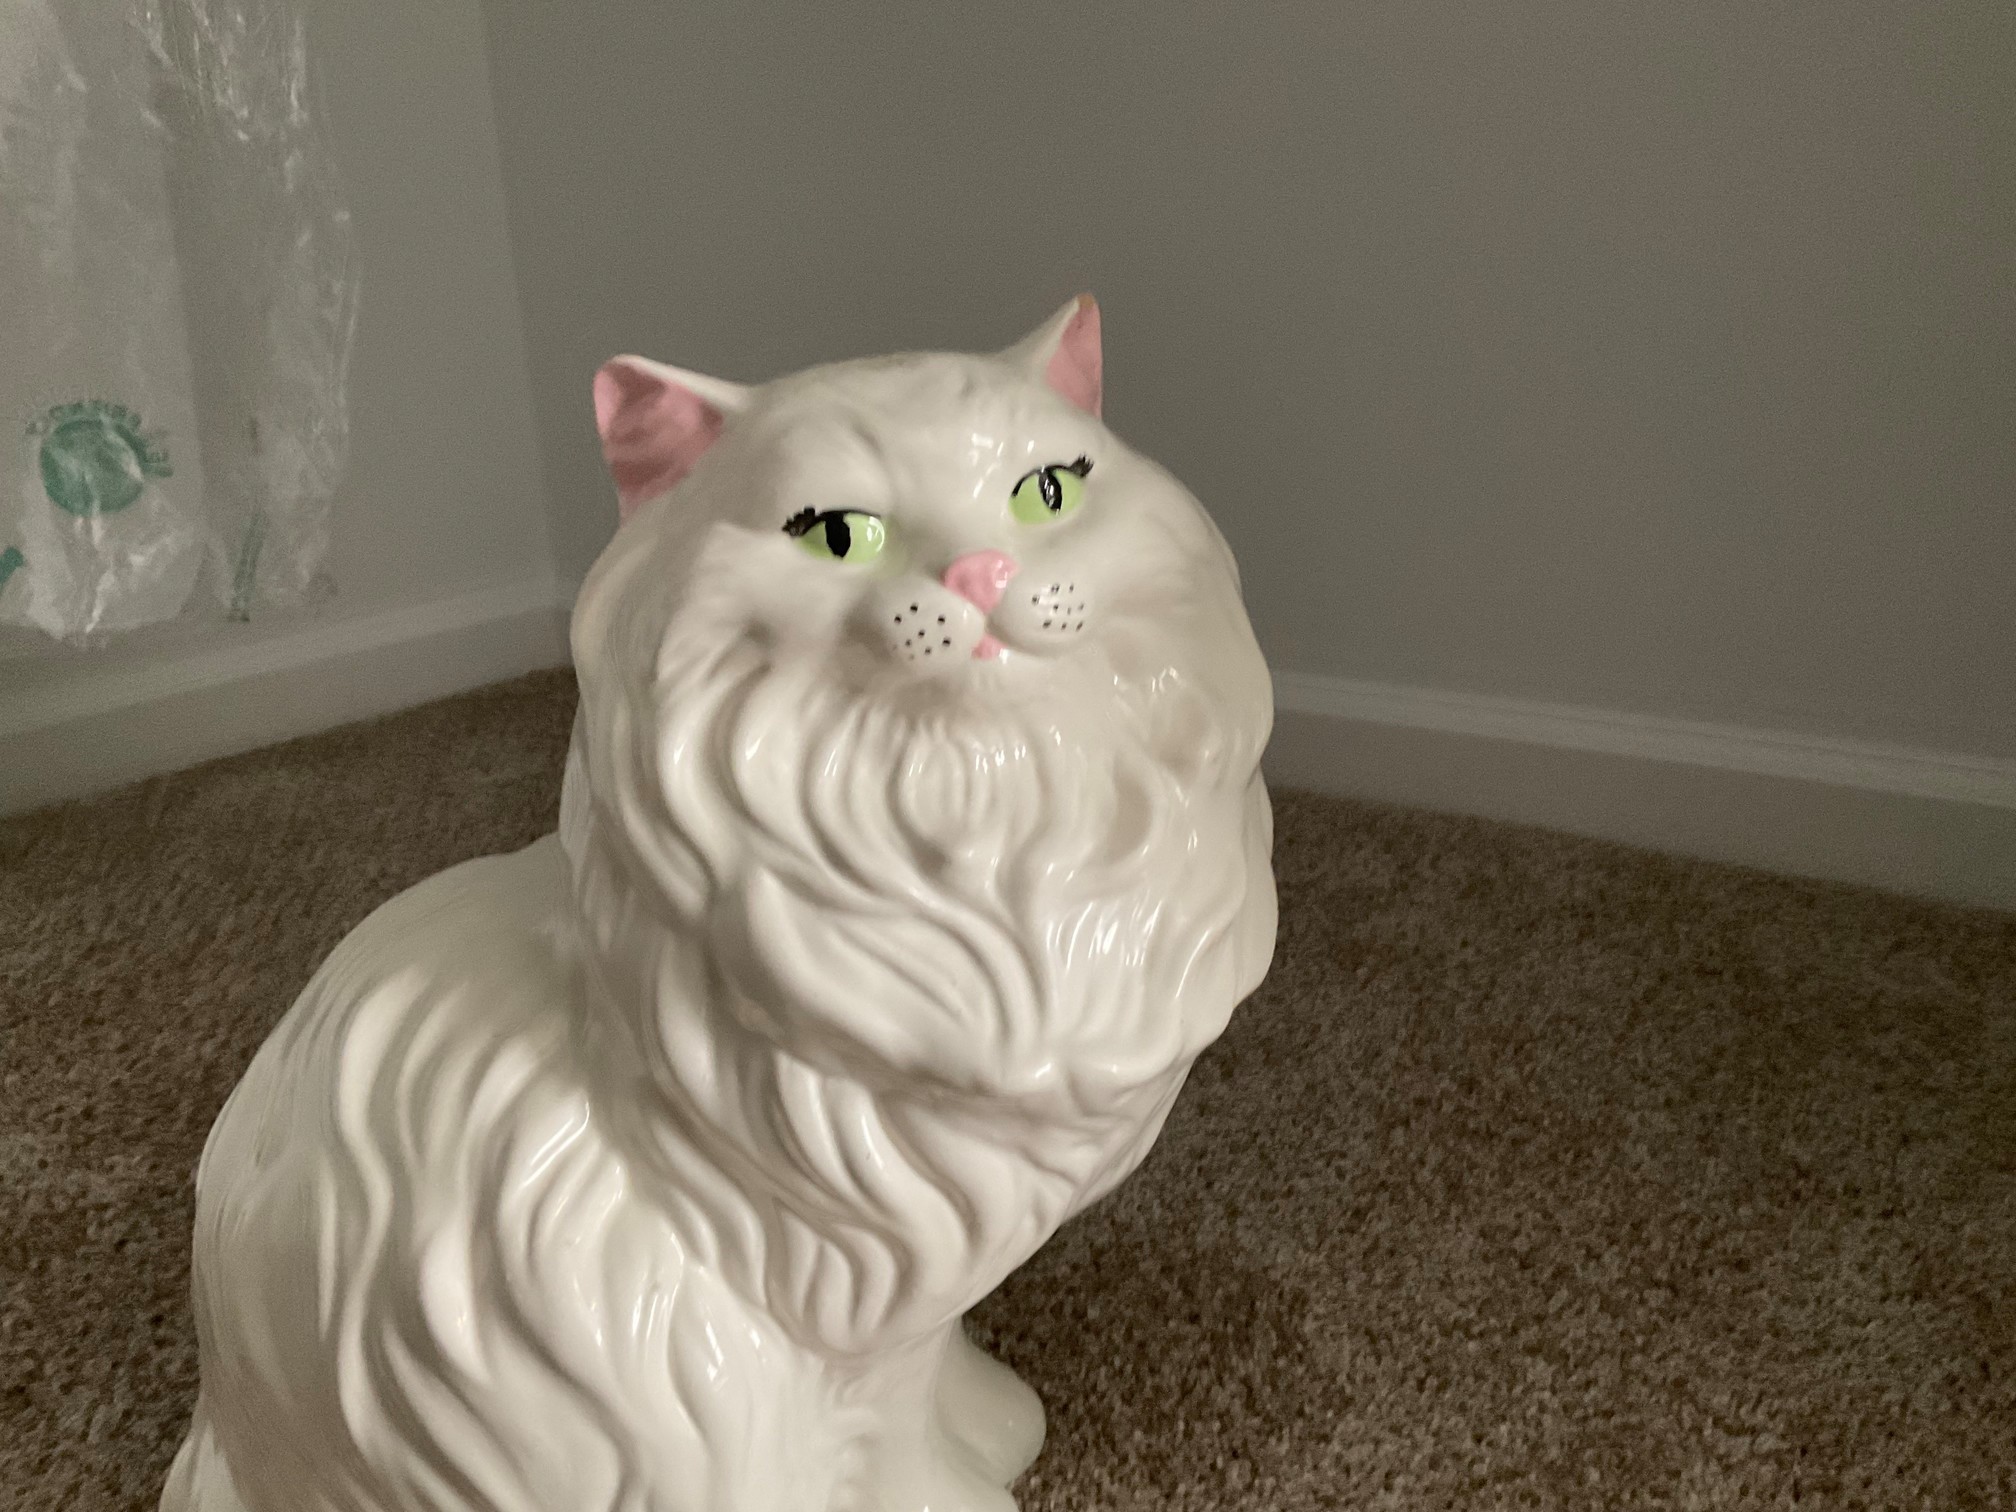
Repainting ceramic figurines can breathe new life into old or damaged pieces. It’s a simple process that requires basic tools and materials, making it accessible to anyone. Start by cleaning the figurine to remove dust and grime. This ensures that the primer adheres properly.
Choose a primer compatible with ceramics to create a smooth base for your paint. Acrylic paints are ideal because they offer vibrant colors and durability. Applying multiple thin layers helps achieve a professional finish. Seal the painted figurine with a clear varnish to protect your work. With a little patience and creativity, you can transform any ceramic figurine into a stunning masterpiece.

Credit: m.youtube.com
Table of Contents
Choosing The Right Materials for Repaint Ceramic Figurines
Repainting ceramic figurines can be a fun and rewarding activity. The right materials will ensure a smooth and professional finish. This section will guide you in selecting the best materials for the job.
Paint Types
Choosing the correct paint is crucial. Acrylic paints are water-based and dry quickly. They are ideal for ceramic surfaces. Enamel paints are oil-based and provide a durable finish. They take longer to dry but offer a glossy look.
Here is a quick comparison table for easy reference:
Brush Selection
Brushes come in various shapes and sizes. Detail brushes are perfect for small areas and intricate designs. Flat brushes are excellent for covering larger surfaces.
Consider the following types of brushes:
- Round brushes: Great for outlining and detailed work.
- Flat brushes: Ideal for broad strokes and covering large areas.
- Fan brushes: Useful for blending and creating textures.
Investing in quality brushes will make a significant difference. Look for brushes with synthetic bristles for acrylic paints. For enamel paints, natural bristles work best.
Credit: forum.lettucecraft.com
Preparing The Figurine
Repainting ceramic figurines can bring new life to your cherished collectibles. The process begins with careful preparation. Properly preparing the figurine ensures the paint adheres well and lasts longer. Follow these steps to prepare your figurine for a fresh coat of paint.
Cleaning
First, clean the figurine to remove any dust or dirt. Use a soft cloth or sponge with mild soap and water. Gently scrub all surfaces, reaching into any crevices. Rinse the figurine thoroughly with clean water to remove any soap residue. Let it dry completely before proceeding to the next step.
Sanding
After the figurine is clean and dry, the next step is sanding. Sanding helps to create a smooth surface for the paint to adhere to. Use fine-grit sandpaper, around 220-grit is ideal. Gently sand the entire surface of the figurine, focusing on any rough or glossy areas. Be careful not to sand too hard, as this can damage the figurine.
Once sanding is complete, wipe the figurine with a damp cloth to remove any dust. Allow it to dry completely again before you start painting.
Applying A Base Coat
Repainting ceramic figurines can breathe new life into old treasures. The first step to achieve a smooth and vibrant finish is applying a base coat. This foundational layer ensures the paint adheres well and provides a uniform color. Let’s dive into the essential steps for this process.
Primer Application
Before painting, it’s crucial to apply a primer. Primer helps the paint stick to the ceramic surface.
- Clean the figurine thoroughly to remove dust and dirt.
- Choose a primer suitable for ceramics, often labeled as “ceramic primer.”
- Shake the primer can well to mix the contents.
- Spray or brush the primer evenly over the figurine.
- Ensure all areas are covered, including crevices and detailed parts.
Drying Time
Allow the primer to dry completely. This step is crucial for the final outcome.
- Place the figurine in a dust-free area.
- Refer to the primer instructions for exact drying times.
- Typically, it takes about 24 hours for the primer to dry.
- Check if the surface feels dry to the touch before proceeding.
Once the primer is dry, you’re ready to apply your chosen paint. Remember, the base coat sets the stage for a beautiful, long-lasting finish on your ceramic figurines.
Painting Techniques
Repainting ceramic figurines can bring them back to life. Using the right painting techniques ensures a vibrant and lasting finish. Mastering techniques like layering colors and blending can make a huge difference. Let’s dive into these techniques.
Layering Colors
Layering colors adds depth to your ceramic figurines. Start with a base coat. This coat should be a solid color that covers the entire figurine. Allow the base coat to dry completely. Use a thin brush for detailed areas. Follow these steps:
- Apply the base coat and let it dry.
- Add a second coat for a richer color.
- Use lighter shades to highlight raised areas.
- Apply darker shades in recessed areas for shadows.
Each layer must dry before adding another. This prevents colors from mixing. Patience is key for a professional finish.
Blending Techniques
Blending colors can create smooth transitions. This is ideal for realistic effects. You will need two or more colors for blending. Follow these steps:
- Apply the first color to the figurine.
- Before it dries, apply the second color next to it.
- Use a clean, dry brush to blend the edges.
Blend in small areas at a time. This keeps the paint workable. Practice blending on a scrap piece first. Mastering this technique takes practice. Use the following tips for better blending:
- Work with small amounts of paint.
- Use a soft brush for smoother transitions.
- Keep the brush clean to avoid muddy colors.
Blending gives your figurines a lifelike appearance. It enhances details and creates a seamless look.
Detailing And Fine Lines
Repainting ceramic figurines can be a fun and rewarding hobby. Detailing and fine lines are crucial for achieving a professional look. These elements bring your figurines to life, adding depth and character. Let’s explore how to master these skills.
Using Fine Brushes
Fine brushes are essential for precise detailing. Choose brushes with thin, soft bristles. They help in creating sharp, clean lines. Here’s a quick guide on selecting the right brushes:
| Brush Size | Usage |
|---|---|
| 00 | Very fine details |
| 0 | Small lines and edges |
| 1 | General detailing |
Follow these steps to use fine brushes effectively:
- Dip the brush in paint sparingly.
- Use a light hand to apply paint.
- Clean the brush frequently to maintain sharpness.
Adding Highlights
Adding highlights enhances the figurine’s features. Highlights create a sense of depth and realism. Use a lighter shade of the base color for highlights. Here are some tips for adding highlights:
- Use a dry brush technique for subtle highlights.
- Apply highlights to raised areas and edges.
- Blend the highlights smoothly into the base color.
Experiment with different techniques to find what works best. With practice, your figurines will look more detailed and vibrant.

Credit: www.youtube.com
Sealing The Paint
Repainting ceramic figurines can be a fun project. But, the final step is crucial. Sealing the paint ensures your hard work lasts. It protects the paint and adds a professional finish. Let’s dive into the key aspects of sealing the paint.
Choosing A Sealant
Choosing the right sealant is vital. There are various types of sealants available. Each has its own benefits. Here are some common options:
| Type of Sealant | Benefits |
|---|---|
| Acrylic Spray Sealant | Easy to apply, quick-drying |
| Brush-on Varnish | Offers more control, durable finish |
| Polyurethane Sealant | Extremely durable, glossy finish |
Application Methods
Once you have selected a sealant, the application method is next. Here are some tips:
- Ensure the paint is completely dry.
- Work in a well-ventilated area.
- For spray sealants, shake the can well.
- Hold the can 6-12 inches away from the figurine.
- Apply in light, even coats.
- Let each coat dry before applying the next.
- For brush-on varnish, use a high-quality brush.
- Apply thin, even layers.
Sealing your ceramic figurine properly will ensure it remains beautiful. Happy painting!
Common Mistakes To Avoid
Repainting ceramic figurines can be a fun and rewarding activity. But, there are some common mistakes that can ruin your hard work. Knowing what to avoid will make your project look professional. Here are two major pitfalls to watch out for.
Overloading Paint
Many beginners tend to overload their brushes with paint. This can cause several issues:
- Uneven surfaces: Too much paint can create bumpy textures.
- Longer drying times: Thick layers of paint take longer to dry.
- Details loss: Excess paint can cover fine details of the figurine.
To avoid these problems, use a small amount of paint. Thin layers work best. Apply multiple thin coats for better results.
Ignoring Drying Times
Ignoring drying times is another common mistake. Rushing through the drying process can lead to smudging and uneven finishes. Here are some tips to avoid this:
- Patience is key: Allow each coat to dry fully before applying the next.
- Check manufacturer instructions: Different paints have different drying times.
- Use a timer: Set a timer to remind you when a layer is dry.
Waiting for the paint to dry can be tedious, but it ensures a smooth and professional finish.
| Common Mistake | Why It’s a Problem | How to Avoid |
|---|---|---|
| Overloading Paint | Causes uneven surfaces and longer drying times | Use thin layers of paint |
| Ignoring Drying Times | Leads to smudging and uneven finishes | Allow each coat to dry fully |
Final Touches
Now that you have repainted your ceramic figurine, it’s time for the final touches. These steps ensure your work looks professional. Let’s dive into the last details to make your figurine shine.
Inspecting For Flaws
Before displaying your figurine, inspect it closely. Look for any small flaws or missed spots. Use a magnifying glass to see fine details. Touch up any areas that need more paint.
Check the figurine from all angles. Ensure the paint is even and smooth. Feel the surface with your fingers. It should be free of bumps and rough spots. If you find any, sand them gently and repaint.
Displaying The Figurine
Decide where you want to display your figurine. Choose a spot with good lighting. This will highlight your hard work.
Consider using a display case. This protects your figurine from dust and damage. Place it on a shelf at eye level. This makes it easy to see and admire.
Arrange other items around your figurine. This can include plants, books, or other decorations. Make sure the figurine is the main focus.
| Step | Action |
|---|---|
| Inspect | Look for flaws and touch up paint. |
| Check | Ensure the surface is smooth. |
| Display | Choose a well-lit spot. |
| Protect | Use a display case if possible. |
| Arrange | Place other items around the figurine. |
Conclusion
Repainting ceramic figurines can be a fun and rewarding project. Follow the steps carefully for the best results. With patience and creativity, your figurines will look stunning. Enjoy the process and showcase your artistic skills. Share your newly painted treasures with friends and family. Thanks for reading, and we hope this has given you some inspiration on how to repaint ceramic figurines.
Happy painting!


