Painting porcelain opens up a realm of artistic possibilities, allowing individuals to transform plain ceramics into personalized and visually striking pieces. Whether you’re looking to add a unique touch to your tableware or create decorative art objects, learning how to paint porcelain is a rewarding and creative skill. Porcelain, with its smooth and non-porous surface, requires specific techniques and materials for successful painting.
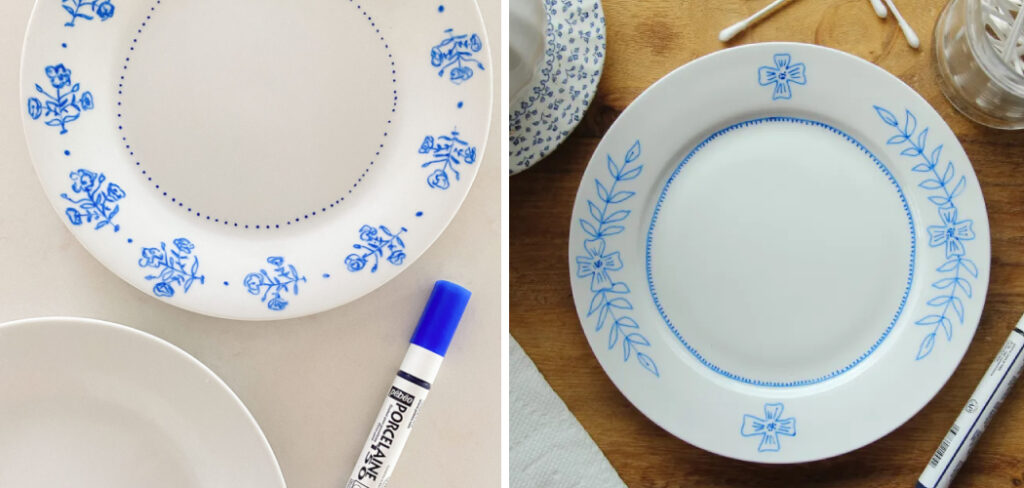
In this comprehensive guide, we will explore the step-by-step process of painting porcelain, covering essential aspects such as surface preparation, choosing the right paints, and mastering various decorative techniques. Join us on this artistic journey as we unravel the secrets of porcelain painting, offering insights, tips, and inspiration to help you turn ordinary porcelain items into extraordinary works of art.
Table of Contents
Definition of Porcelain
Porcelain, also referred to as ‘china’, is a form of ceramic characterized by its white, translucent appearance. Known for its high strength, toughness, and delicate beauty, porcelain is manufactured by heating raw materials, typically including clay in the form of kaolinite, in a kiln to temperatures between 1200 and 1400 °C.
The distinctive properties of porcelain — its hardness, durability, and resistance to chemical attack — owe to the formation of glass and mineral mullite during this high-temperature firing process. This versatility makes porcelain a favored material for a variety of applications, including tableware, decorative objects, and, notably, artistic endeavors like painting.
Choosing Porcelain for Painting
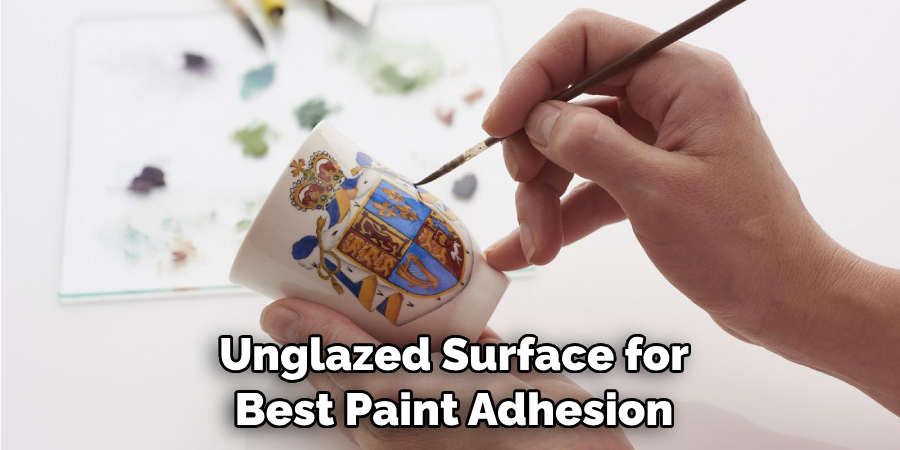
When it comes to selecting porcelain for painting, there are a few factors to consider. Firstly, choose pieces with a smooth, unglazed surface for best paint adhesion. Items with intricate designs or textures may present a challenge, especially for beginners. Secondly, consider the shape and size of the item. Flat surfaces are typically easier to paint on than curved or irregular shapes.
Smaller objects may be more manageable for your first few projects before progressing to larger, more complex pieces. Lastly, remember that the color of the porcelain can impact the final appearance of your painting. White porcelain is the most versatile as it provides a neutral backdrop for any color palette. Ultimately, the choice of porcelain should align with your creative vision and project needs.
Types of Porcelain Suitable for Painting
There are various types of porcelain suitable for painting, each bringing its unique characteristics to your art project.
- Hard-paste porcelain: This type of porcelain, composed mainly of kaolin and feldspathic rock, is renowned for its durability and resistance to scratching or chipping, making it a reliable choice for everyday objects like mugs or plates.
- Bone china: Known for its warm white color and exceptional strength, bone china adds an element of elegance to painted pieces. Its delicate translucency enhances the depth and richness of paint colors.
- Soft-paste porcelain: Soft-paste porcelain offers a slightly porous surface, which can absorb paint well. Its creamy white color provides a distinctive backdrop for bold and vibrant paint designs.
- Vitreous china: Distinguished by its glossy finish, vitreous china offers a sleek and smooth canvas for painting. Its high resistance to stains, scratches, and fading preserves the beauty and integrity of paint designs for a long time.
Remember, irrespective of the type of porcelain you choose, ensure that the surface is clean, unglazed, and free of any defects or irregularities for optimal paint adhesion and aesthetic results.
10 Ways How to Paint Porcelain
1. Choose the Right Paint
The first step to painting porcelain is to choose the right paint. It is important to use a paint that is specifically designed for use on ceramics and porcelain. This type of paint will adhere better to the surface and provide a more durable finish.
2. Clean the Surface
Before painting, make sure to thoroughly clean the porcelain surface with warm water and dish soap. This will remove any dirt or oils that may prevent the paint from adhering properly.
3. Sand the Surface
If you are painting on a glossy or glazed surface, it is recommended to lightly sand it with fine-grit sandpaper before painting. This will create a rougher surface for the paint to adhere to.
4. Use Thin Coats
When applying the paint, it is best to use thin coats rather than one thick coat. This will help prevent drips and ensure an even application of color.
5. Let Each Coat Dry Completely
It is important to let each coat of paint dry completely before applying another layer or handling the piece. This will prevent smudging or smearing of the paint.
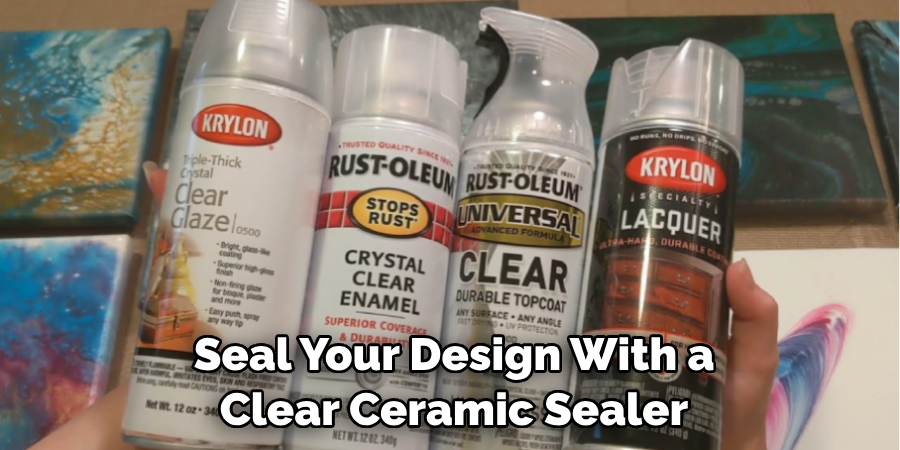
6. Use a Sealer
Once you have finished painting, seal your design with a clear ceramic sealer. This will protect your design from chipping or fading over time. Once again, make sure to allow the sealer to dry completely before handling.
7. Consider Using Stencils
If you are not confident in your freehand painting skills, consider using stencils for more precise designs and patterns. These can be easily found at craft stores or online.
8. Experiment with Different Brushes
Different types of brushes can create different effects when painting on porcelain. Experiment with different brush sizes and shapes to achieve your desired look. Although, it is recommended to use soft-bristled brushes to prevent scratching the surface of the porcelain.
9. Add Details with Acrylic Paints
For finer details or accents, you can use acrylic paints on top of your ceramic paints once they have dried completely. However, avoid using acrylic paint on surfaces that will come into contact with food or drinks.
10. Use Heat-Setting Method for Dishwasher-Safe Pieces
To make your painted porcelain pieces dishwasher-safe, follow the heat-setting method by placing the piece in a cold oven, turning it on to 350 degrees Fahrenheit, and letting it bake for 30 minutes. Turn off the oven and let the piece cool completely before removing it.
Firing the Painted Porcelain
Once your painted design is dry and you’re satisfied with your work, the final step is firing the porcelain, a crucial process for ensuring the durability and longevity of your paint job.
1. Prepare for Firing
Before firing, ensure your painted porcelain piece is completely dry. Any moisture can lead to cracking during the firing process.
2. Set Up Your Kiln
The ideal environment for firing porcelain is a kiln. Ensure your kiln is clean, and position your porcelain piece on a kiln shelf, ensuring there’s ample space around it for even heat distribution.

3. Temperature and Time
Generally, painted porcelain requires a temperature of around 800 to 830 degrees Celsius (1472 – 1526 degrees Fahrenheit) for firing. The process usually takes between 8 to 10 hours, including both heating and cooling times.
4. Cooling Down
Once the firing process is complete, let the porcelain piece cool down gradually in the kiln. Rapid cooling could cause the porcelain to crack.
5. Inspection
After the piece has cooled, inspect your work. The paint should now be permanently fused with the porcelain, creating a smooth, glossy finish that’s resistant to chipping or fading.
Remember, safety is paramount when using a kiln. Always follow the manufacturer’s instructions and take appropriate precautions. If you don’t have access to a kiln, consider using a local pottery studio’s services.
Sealing and Finishing
The final stages of painting porcelain require just as much attention to detail as the initial steps. Sealing and finishing your porcelain piece properly can greatly enhance its durability and longevity.
1. Choose the Right Sealer
Ensure you choose a sealer that is suitable for porcelain and specifically for the type of paint you used. The sealer should also be food-safe if you plan to use the porcelain for food or drink.
2. Apply the Sealer
Using a clean brush, apply the sealer evenly over the painted area. Ensure you cover every bit of the painted design. Be patient and allow the sealer to dry completely before proceeding to any further steps.
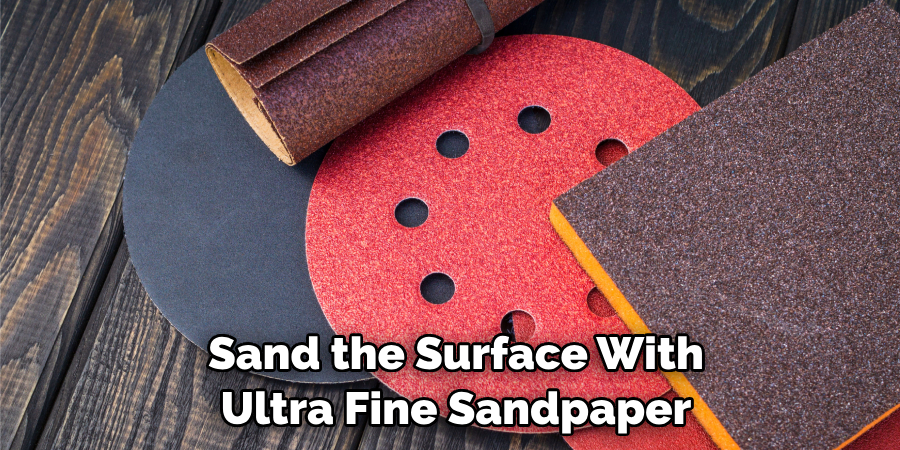
3. Sanding
Once the sealer has fully dried, lightly sand the surface with ultra-fine sandpaper. This will even out any potential bumps or irregularities and will provide a smooth finish. Always remember to dust off any residue after sanding.
4. Final Inspection
After the sealer has been applied and sanded, inspect your work for any missed spots or potential imperfections. If needed, you can apply another layer of sealer and repeat the sanding process until you’re satisfied with the finish.
5. Final Firing
The final step involves one last firing in the kiln. This will set the sealer and ensure your painted design is permanently fused to the porcelain. Remember to follow the same firing and cooling guidelines as before.
Conclusion
In conclusion, painting porcelain may seem like a daunting task at first, but with the right tools and techniques, it can be an enjoyable and rewarding experience. We have explored the different types of porcelain paints available, as well as the steps to properly prepare and paint your porcelain pieces. We also discussed some tips and tricks to help you achieve a flawless finish.
Whether you are a beginner or an experienced painter, these methods will surely bring life to your porcelain creations. Lastly, if you have any questions or need further tips on how to paint porcelain, feel free to reach out to our community of fellow porcelain painters. We are here to support and inspire each other in our artistic journey.


