Creating a vase with clay is a rewarding and creative endeavor that allows you to craft a functional and aesthetically pleasing piece of art. To make vase with clay, shape a ball of clay into the desired vase form, ensure even thickness, and allow it to dry or be fired in a kiln if necessary before adding decorative elements and painting if desired. This ancient art form offers a wide range of possibilities for self-expression, enabling you to shape and mold your imagination into a tangible object.
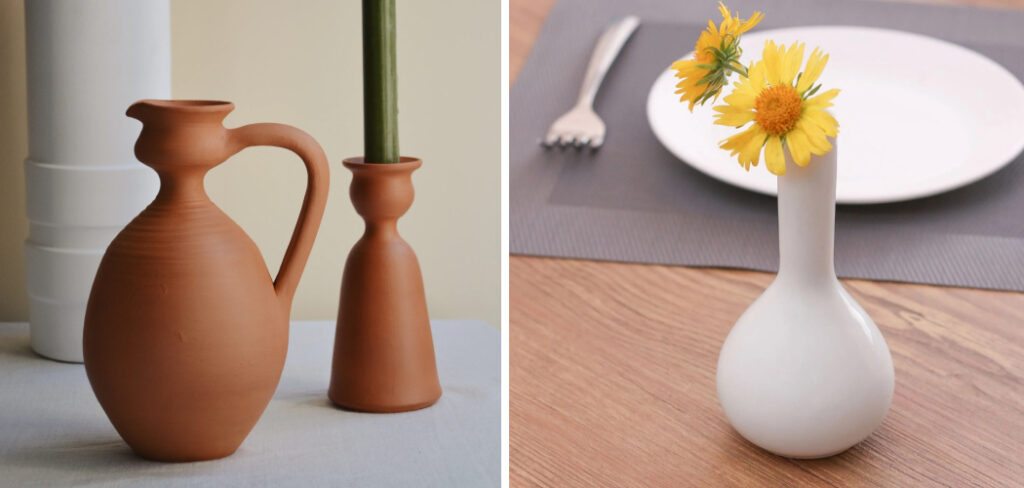
In this article, we will delve into how to make vase with clay from start to finish, guiding you through the essential steps, techniques, and tips. From selecting the right type of clay to mastering the art of coiling, pinching, or throwing on a potter’s wheel, you will discover the secrets to creating a beautiful and functional vase that can grace your home or be given as a heartfelt gift. So, grab your clay, roll up your sleeves, and let’s embark on this artistic journey to transform raw earth into a work of art.
Table of Contents
Introduction on How to Make Vase with Clay
The art of making vases with clay dates back thousands of years, with evidence of pottery production found in ancient civilizations such as Mesopotamia, Egypt, and China. Clay vases have been used for practical purposes, such as holding water or storing food, as well as for decorative purposes, adding beauty to homes and ceremonies. Today, clay vase making continues to be a popular craft, allowing individuals to create unique and personalized pieces of pottery.
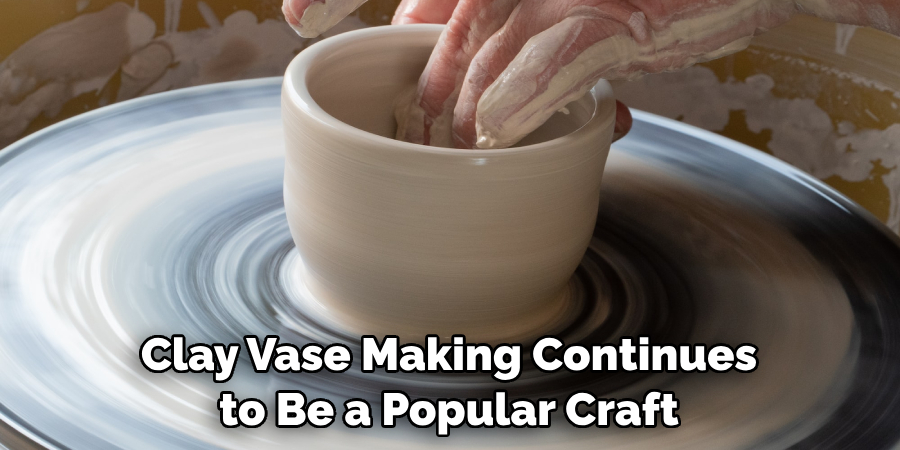
There are several benefits to making a vase with clay. Firstly, it allows for creative expression and the opportunity to create something truly unique. Each vase made with clay is one-of-a-kind, reflecting the individuality and artistic vision of the creator. Additionally, working with clay can be therapeutic and relaxing, providing a sense of mindfulness and focus. Finally, clay vases can be functional as well as decorative, serving as beautiful additions to any home or as thoughtful gifts for loved ones.
Choosing the Right Type of Clay
When choosing clay for vase making, there are several factors to consider. Firstly, consider the firing temperature of the clay. Different types of clay require different firing temperatures, so it is important to choose a clay that can be fired in your kiln or oven. Additionally, consider the desired appearance and characteristics of the finished vase. Some clays may have a rougher texture, while others may be smoother or more translucent. Finally, consider your skill level and experience with pottery. Some clays may be more forgiving and easier to work with for beginners, while others may require more advanced techniques.
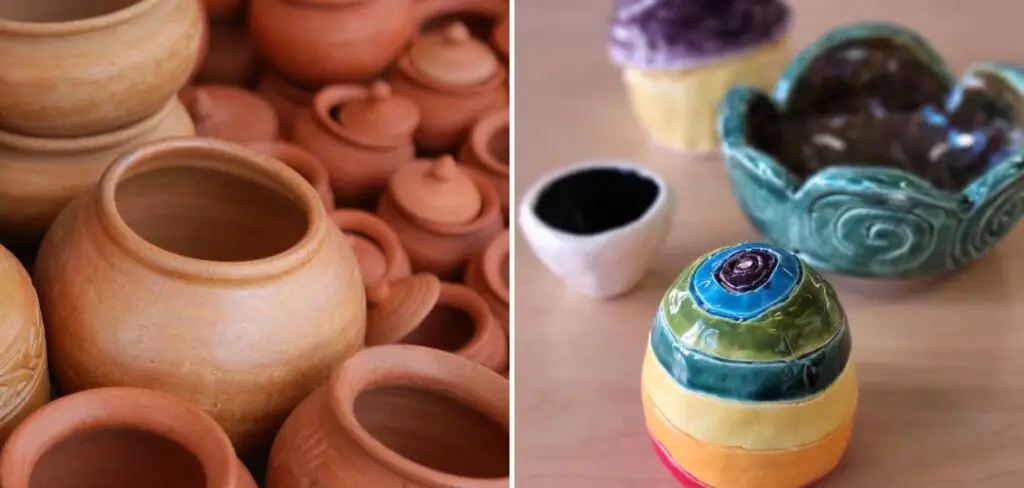
Earthenware clay is a popular choice for beginners due to its accessibility and affordability. It is fired at a lower temperature, typically between 1,800 and 2,100 degrees Fahrenheit, making it suitable for home kilns or even ovens. Earthenware clay has a lower shrinkage rate compared to other clays, which means it is less likely to crack or warp during the firing process. However, earthenware clay is not as durable as stoneware or porcelain, so it may not be suitable for functional vases that will be used with water or other liquids.
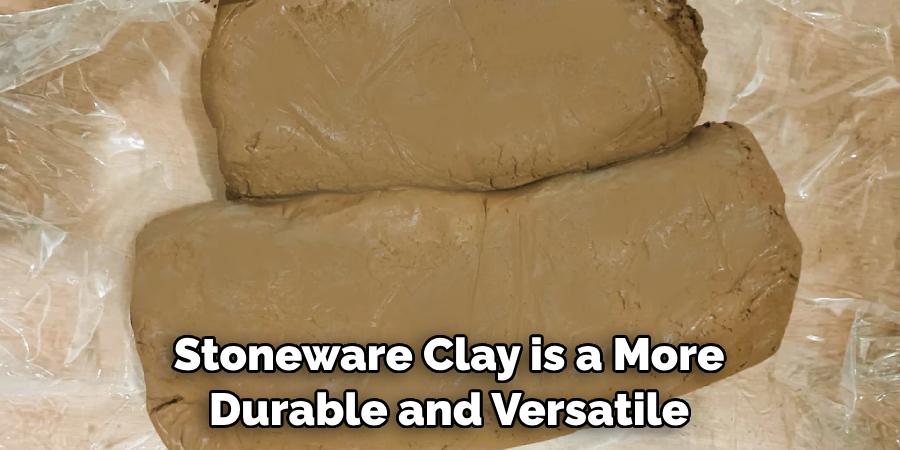
Stoneware clay is a more durable and versatile option for vase making. It is fired at a higher temperature, typically between 2,200 and 2,400 degrees Fahrenheit, resulting in a stronger and more durable finished product. Stoneware clay has a higher shrinkage rate compared to earthenware clay, so it is important to take this into account when shaping and sizing the vase. Stoneware clay is also more forgiving and easier to work with compared to porcelain, making it a popular choice for intermediate or advanced potters.
Tools and Materials Required for Vase Making
To make a clay vase, there are several essential tools that you will need. These include a pottery wheel or slab roller, a kiln or oven for firing the clay, clay modeling tools, a rolling pin or slab roller, and various brushes and sponges for applying glaze. Optional tools for more advanced techniques include a clay extruder, which allows for the creation of intricate shapes and patterns, and a pottery wheel attachment for trimming and shaping the vase.
In addition to tools, there are several materials that you will need for vase making. These include clay, glaze, water, and various types of sandpaper or abrasive materials for sanding and smoothing the vase. It is important to choose high-quality materials that are suitable for the type of clay you are using and the desired appearance of the finished vase. Clay can be purchased from pottery supply stores or online, while glaze can be purchased in liquid or powder form and mixed with water to create the desired consistency.
Preparing the Clay for Vase Making
Before you can begin shaping the clay into a vase, it is important to prepare the clay by kneading and conditioning it. This process helps to remove air bubbles and ensure that the clay is pliable and easy to work with. To prepare the clay, start by cutting a small piece of clay from the larger block. Knead the clay in your hands, applying pressure and folding it over itself to remove any air bubbles. Continue kneading the clay until it is smooth and pliable.
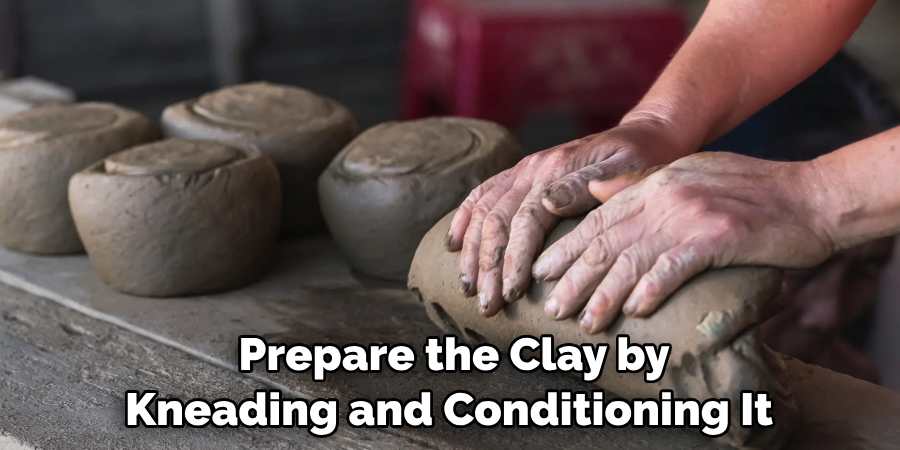
Once the clay is kneaded, it is important to condition it by rolling it into a ball and then flattening it with a rolling pin or slab roller. This helps to further remove any air bubbles and ensure that the clay is evenly distributed. Conditioning the clay also helps to make it easier to shape and work with. After conditioning the clay, it is important to store it properly to prevent it from drying out. Wrap the clay in plastic wrap or place it in an airtight container to keep it moist and pliable.
Techniques for Shaping the Clay into a Vase
There are several techniques for shaping the clay into a vase, depending on the desired shape and style. The most basic technique is hand-building, which involves shaping the clay by hand without the use of a pottery wheel. This technique allows for more freedom and creativity in shaping the vase, but it can be more challenging to achieve symmetrical and uniform shapes.
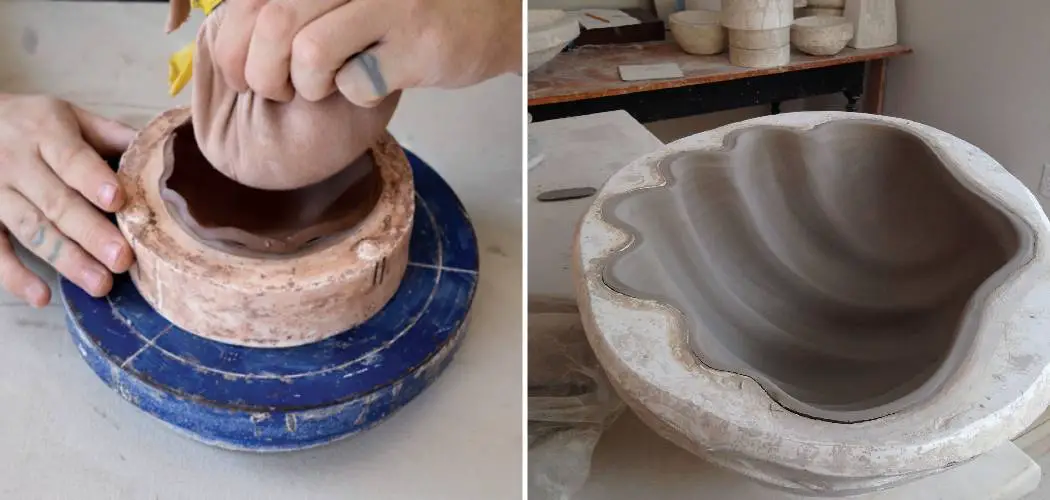
To hand-build a vase, start by rolling out a slab of clay using a rolling pin or slab roller. Cut out a template of the desired shape and size of the vase, and then use the template to cut out the shape from the slab of clay. Use your hands and various tools to shape and mold the clay into the desired form, smoothing out any imperfections or rough edges. Allow the vase to dry slightly before adding any decorative elements or textures.
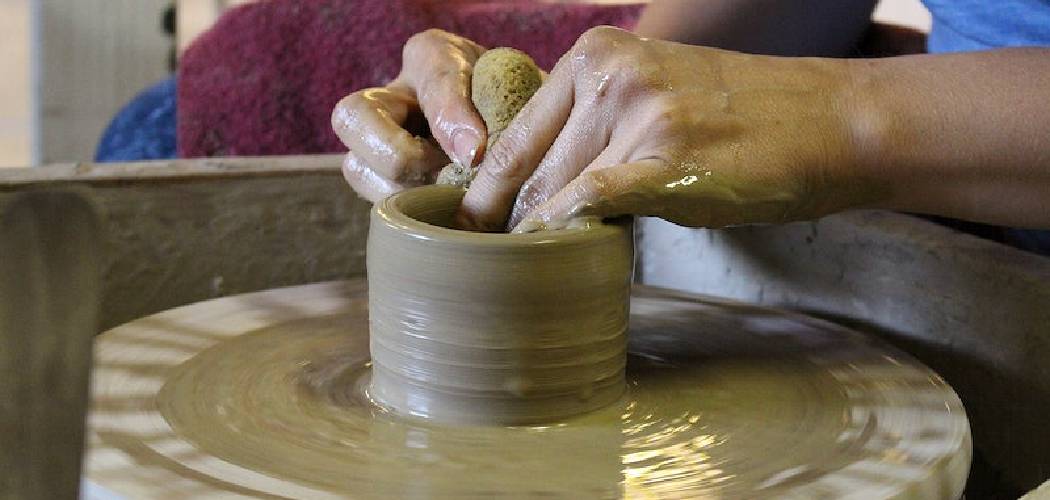
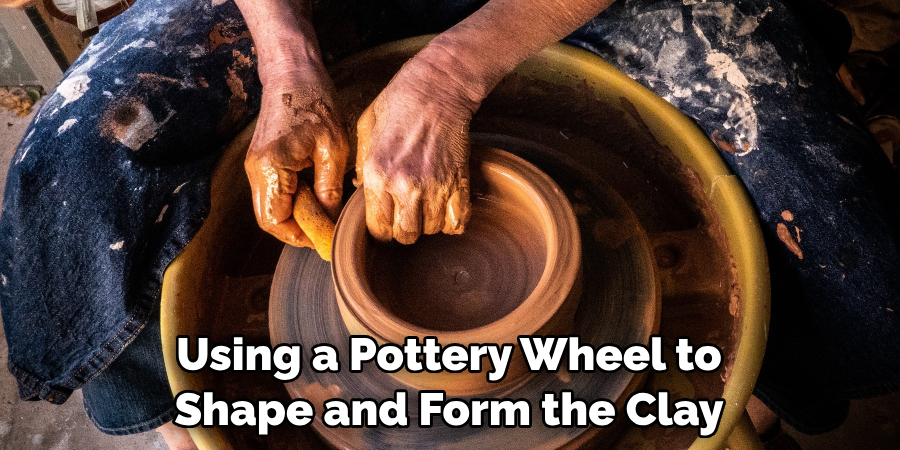
Another technique for shaping the clay into a vase is throwing, which involves using a pottery wheel to shape and form the clay. This technique allows for more precise and symmetrical shapes, but it requires more skill and experience to master. To throw a vase, start by centering a ball of clay on the pottery wheel and then use your hands and various tools to shape and mold the clay into the desired form. Use your fingers to create an opening in the center of the clay, and then use your hands and tools to shape the walls of the vase. Allow the vase to dry slightly before adding any decorative elements or textures.
Adding Decorative Elements to the Vase
Once the vase is shaped, it is time to add decorative elements and textures. There are several techniques for adding texture and patterns to the vase, depending on the desired effect. One technique is carving, which involves using various tools to carve designs or patterns into the surface of the clay. This can be done when the clay is still wet or after it has dried slightly. Another technique is stamping, which involves pressing various objects or tools into the surface of the clay to create texture or patterns. This can be done when the clay is still wet or after it has dried slightly.
In addition to adding texture and patterns, you can also add handles or other decorative elements to the vase. Handles can be attached to the sides of the vase using slip, which is a mixture of clay and water. To attach a handle, score the surface of the vase and the back of the handle with a needle tool, and then apply slip to both surfaces. Press the handle onto the vase, smoothing out any rough edges or imperfections. Allow the vase to dry completely before moving on to the next step.
Drying and Firing the Clay Vase
Once the vase is shaped and decorated, it is important to allow it to dry completely before firing it in a kiln or oven. This process helps to remove any remaining moisture from the clay and prepare it for firing. To dry the vase, place it in a cool and dry location, away from direct sunlight or heat sources. Allow the vase to dry slowly and evenly, rotating it occasionally to ensure that all sides dry at the same rate. Depending on the size and thickness of the vase, this process can take several days to several weeks.
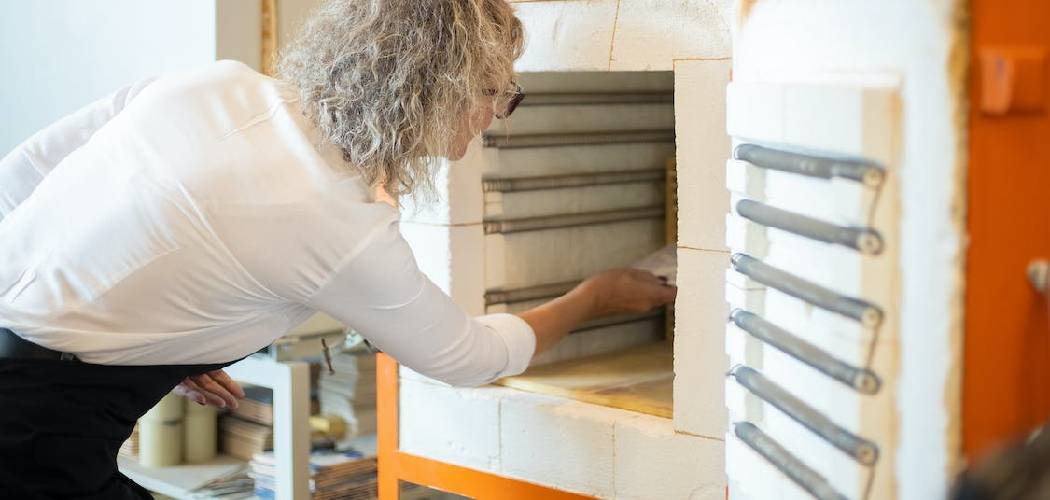
After the vase is completely dry, it is ready to be fired in a kiln or oven. Firing the vase helps to harden the clay and make it permanent. The firing process involves heating the clay to a high temperature, typically between 1,800 and 2,500 degrees Fahrenheit, depending on the type of clay used. It is important to follow the manufacturer’s instructions for firing the clay, as different types of clay require different firing temperatures and times. Place the vase in the kiln or oven and slowly increase the temperature over several hours. Once the desired temperature is reached, allow the vase to cool slowly before removing it from the kiln or oven.

Sanding and Smoothing the Vase
After the vase is fired, it is important to sand and smooth the surface to achieve a polished finish. This process helps to remove any rough edges or imperfections and prepare the surface for glazing. To sand and smooth the vase, start by using coarse sandpaper or an abrasive material to remove any rough spots or bumps. Gradually move to finer sandpaper or abrasive materials to achieve a smooth and polished finish. Be careful not to sand too aggressively, as this can remove too much material and alter the shape of the vase. Once the surface is smooth, wipe away any dust or debris with a damp cloth.
Painting and Glazing the Vase
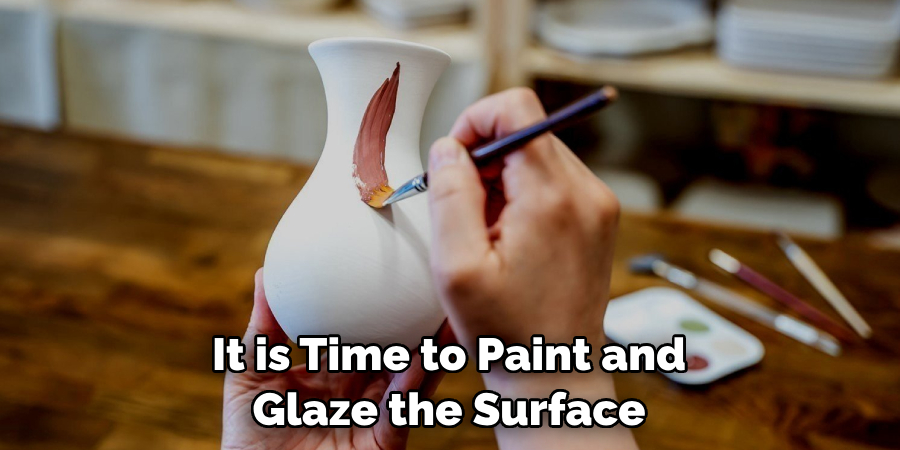
After sanding and smoothing the vase, it is time to paint and glaze the surface. Painting and glazing help to add color and protect the surface of the vase. There are several techniques for painting and glazing, depending on the desired effect. One technique is underglaze painting, which involves applying colored underglazes to the surface of the vase before firing.
This technique allows for more precise and detailed designs, but it requires more skill and experience to master. Another technique is glaze painting, which involves applying glaze to the surface of the vase after firing. This technique allows for more vibrant and glossy finishes, but it can be more challenging to achieve precise designs.
To paint and glaze the vase, start by applying a base coat of underglaze or glaze to the surface. Use a brush or sponge to apply an even layer of color, making sure to cover all areas of the vase. Allow the base coat to dry completely before adding any additional layers or designs. Once the base coat is dry, you can add additional layers or designs using different colors or techniques. Experiment with different brushes, sponges, or even your fingers to create unique and interesting patterns. Allow the vase to dry completely before moving on to the next step.
Displaying and Caring for Your Clay Vase
Once the vase is finished, it is time to display and care for it to ensure its longevity and beauty. There are several ideas for displaying the vase in your home, depending on the size and style of the vase. You can place the vase on a mantel or shelf, use it as a centerpiece on a table, or even hang it on a wall. Consider the colors and patterns of the vase when choosing a display location, as you want to highlight its beauty and uniqueness.
To care for your clay vase, it is important to handle it with care and avoid dropping or knocking it against hard surfaces. Clay vases can be fragile and easily damaged, so it is important to handle them gently. Avoid placing heavy objects on top of the vase or exposing it to extreme temperatures or humidity. To clean the vase, use a soft cloth or sponge and mild soap and water. Avoid using abrasive materials or harsh chemicals, as these can damage the surface of the vase. With proper care and maintenance, your clay vase can last for many years and continue to bring beauty and joy to your home.
Conclusion
In conclusion, making a clay vase is a creative and rewarding craft that allows individuals to express their artistic abilities and create beautiful pieces of pottery. By following the steps and techniques outlined in this article, readers can learn how to choose the right type of clay, shape the clay into a vase, add decorative elements, dry and fire the vase, sand and smooth the surface, paint and glaze the vase, and finally display and care for the finished piece.
Making a clay vase is a wonderful way to explore your creativity, relax and unwind, and create a unique and personalized piece of pottery that can be enjoyed for years to come. Thanks for reading, and we hope this has given you some inspiration on how to make vase with clay!

