If you’re a ceramic artist, testing new glazes is an essential part of the creative process. Glazes can have a significant impact on the final appearance of your ceramic pieces, and it’s essential to know how they will look before applying them to your finished pieces.
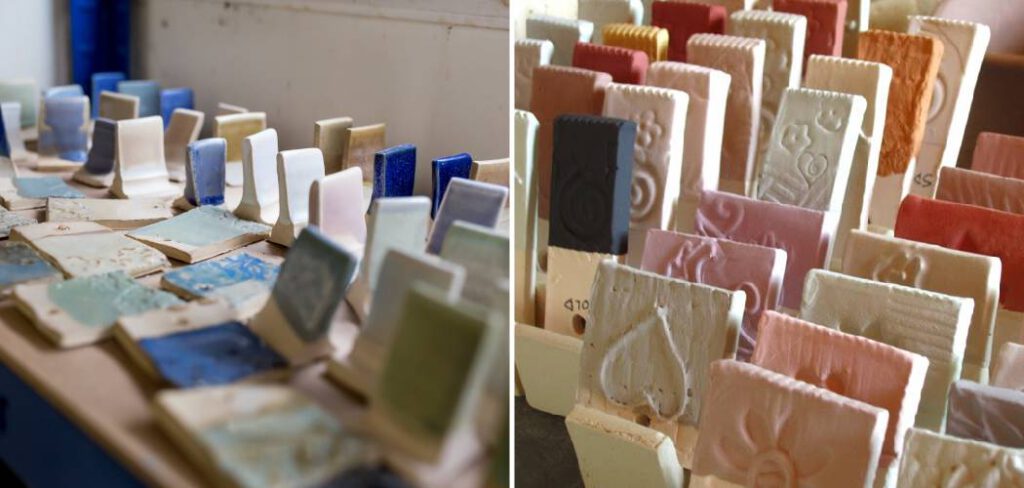
One of the best ways to test new glazes is by making test tiles. These small, flat pieces of clay are glazed with different colors and finishes to see how they interact with each other and how they look after firing. Test tiles allow you to experiment with glaze combinations and application techniques without risking your finished pieces.
In this article, we’ll guide you through the process of how to make test tiles for testing new glazes, including the materials you’ll need, the steps to follow, and some tips to ensure success. Whether you’re a beginner or an experienced ceramic artist, test tiles are an indispensable tool for exploring new glazes and expanding your creative possibilities.
Table of Contents
Materials needed
To make test tiles, you will need the following materials:
- Clay
- Rolling pin
- Knife
- Ruler
- Cookie cutter or template
- Bisque firing
- Glaze
8 Simple Steps How to Make Test Tiles for Testing New Glazes
Here are the steps you need to follow to make test tiles for testing new glazes:
Step 1: Prepare the Clay
Take a small piece of clay and wedge it to remove any air bubbles. Roll it out to a thickness of about ¼ inch. Cut it into a square shape. When the clay is ready, use a ruler and needle tool to score it into four parts. This will create four test tiles of equal size. If the pieces are not cut into equal sizes, it will be difficult to apply and test the glazes. However, it is also possible to cut the tile into any desired shape.
Step 2: Cut the Clay into Tiles
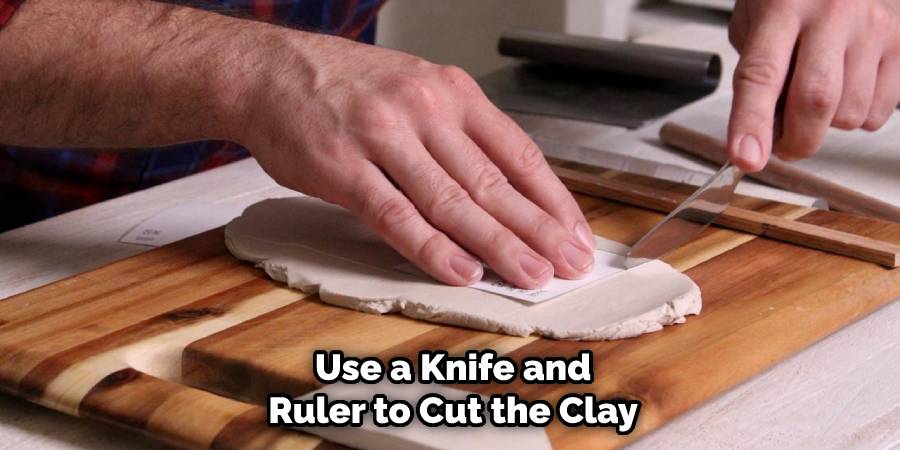
Use a knife and ruler to cut the clay into tiles of the desired size. A common size for test tiles is 2 inches by 2 inches. Once the tiles are cut, use a needle tool to make two small holes in each tile. This will help attach them to the test board when firing. For best results, make sure the edges of each tile are straight and clean.
Although not required, they can also be lightly sanded. To ensure the tiles are uniform, use a template to trace the shape onto the clay. When finished, place the tiles on a flat surface to dry. The drying process can take several days or weeks, depending on the type of clay used. Once dry, the tiles can be fired in a kiln.
Step 3: Create Texture
To test how a glaze will look on textured clay, create texture on the tile using various tools such as stamps, forks, or toothpicks. This step is optional, and you can skip it if you prefer a smooth surface. Apply the texture to one half or a corner of the tile, so you can see how it looks both with and without texture.
If you are applying a glaze that needs to be poured on, make sure there is enough texture to anchor it. To avoid making a mess, it’s best to use tools that can be wiped off with a damp towel. Make sure the tile is completely dry before applying the glaze.
Step 4: Let the Clay Dry
Allow the clay to dry completely before firing. This will ensure that the clay does not crack during the firing process. The drying time will vary depending on the thickness of your clay. If your test tiles are very thin, they may take only a few hours to dry.
Thicker tiles will take several days to dry completely. Make sure the clay is completely dry before you begin firing, or it will not hold up in the kiln. Although it is possible to fire greenware, test tiles should always be fired from a completely dry state. Once the clay has dried completely, you can move on to the next step of firing.
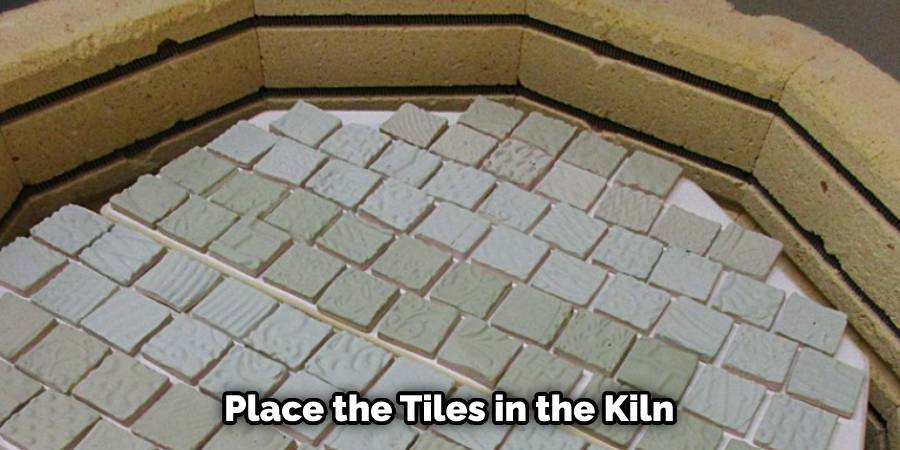
Step 5: Bisque Fire the Tiles
Bisque firing is a process that involves firing the clay at a low temperature to remove any remaining water and make the clay stronger. Place the tiles in the kiln and fire them at a temperature of around 1800°F.
Let the tiles cool for about an hour before taking them out. The bisque firing will give the clay a matte finish, which is ideal for testing glazes. In contrast, the tiles are still warm; brush on a thin layer of clear glaze to seal the clay and prevent any unwanted reactions during glazing. Let the tiles cool completely before proceeding to the next step.
Step 6: Glaze the Tiles
Once the tiles have been bisque-fired, it’s time to glaze them. Apply the glaze to the tiles using a brush, spray gun, or other preferred method. Be sure to apply the glaze evenly, and make sure that the glaze does not run or drip.
Once the glaze has been applied, use a clean, dry brush to lightly blend the edges of the glaze and ensure an even coating. Allow the glazed tiles to dry thoroughly before firing them in the kiln. If the tiles are not completely dry, they may develop blisters or cracks in the glaze.
Step 7: Fire the Tiles Again
After glazing, fire the tiles in the kiln again at the temperature recommended by the glaze manufacturer. This will ensure that the glaze melts and bonds with the clay. The firing time may also need to be adjusted depending on the type of glaze used.
Once the tiles have been fired, they should then be cooled slowly. The slow cooling helps to prevent the glaze from cracking due to sudden temperature changes. Once the tiles are cooled, they can then be removed from the kiln and tested.
Step 8: Test the Glaze
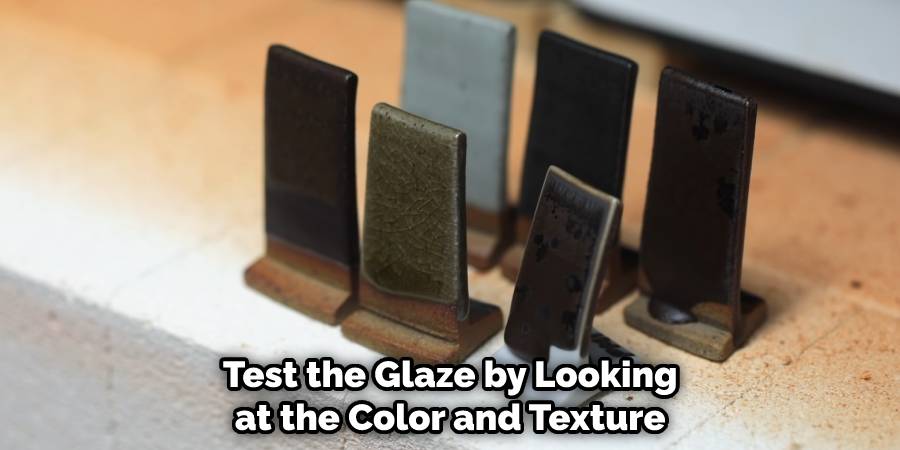
Once the tiles have cooled, test the glaze by looking at the color and texture. Try different techniques, such as layering or brushing, to see how the glaze behaves. Take notes on the results of each test, and keep the test tiles as a reference for future glaze tests.
Record any observations and changes made in the recipe. To see the full potential of a glaze, apply it to different clay bodies and fire them at various temperatures. This will give you a better idea of how it will look on the final product.
Some Common Mistakes When Making Test Tiles for Testing New Glazes:
1. Not Cleaning the Surface of the Tile:
It is important to make sure that the surface of the tile is clean and free of debris before starting the glazing process. Any dirt, dust, or other residue can interfere with the glaze and make it difficult to achieve a successful outcome.
2. Not Using the Right Glaze Formula:
Testers should be sure to use a glaze formula that is appropriate for the type of clay surface they are working on. Different clays will require different formulas for best results. If unsure about what formula is needed, consult with an expert or research online for more information.
3. Applying Too Much Thickness:
When applying glazes, testers should avoid applying too much thickness in one area as this can cause uneven drying and firing problems. It is important to apply thin layers of glaze and then allow each layer to dry before applying the next.
4. Not Considering Firing Schedule:

When making test tiles, it is important that testers fully consider the firing schedule and temperature range for their glaze in order to ensure a successful outcome. If the wrong temperature or time is used, the final results may not be as expected or desired.
Conclusion
In conclusion, making test tiles is a crucial step in the process of testing new glazes for ceramic artists. With the help of this article, you now know how to make test tiles for testing new glazes using simple materials and steps.
You can experiment with different glazes, textures, and finishes by creating test tiles before applying them to your finished pieces. This way, you can avoid costly mistakes and achieve the desired results on your final pieces. Remember to label your tiles, use different application techniques, and fire them under the same conditions as your finished pieces.
With patience, attention to detail, and creativity, you can use test tiles to expand your glaze palette, develop your unique style, and create stunning ceramic pieces that reflect your artistic vision. So, don’t be afraid to experiment and have fun with your test tiles!
FAQs
How many test tiles should I make?
Making several test tiles for each new glaze is a good idea. This will allow you to test different techniques and see how the glaze behaves on different textures and colors of clay.
Can I reuse test tiles?
Yes, you can reuse test tiles as long as they have not been glazed. Simply scrape off any leftover glaze and fire the tiles again.
How can I prevent my glaze from running or dripping?
Make sure to apply the glaze evenly and avoid applying too much glaze. Also, make sure that the glaze is not too thin or too thick.


