Delve into the world of pottery with a personalized touch by mastering the art of making your own pottery stamps. These unique stamps not only add individuality to your ceramic creations but also serve as a signature element in your work. In this article, we will embark on a creative journey, exploring the step-by-step process of crafting pottery stamps that reflect your style and artistic flair.
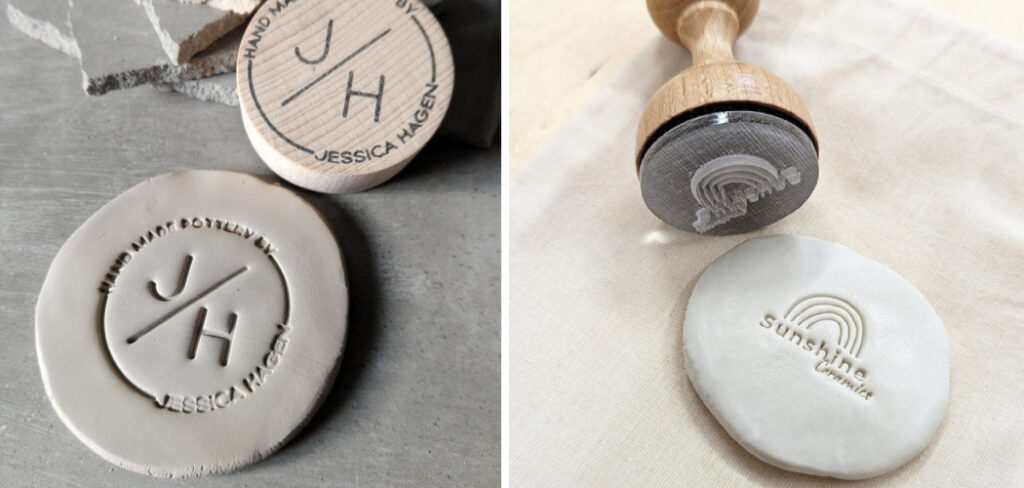
From selecting the right materials to carving intricate designs, this guide will empower you to how to make pottery stamps, transforming each piece into a testament to your craftsmanship. Unleash your creativity, elevate your pottery projects, and discover the joy of imprinting your unique identity onto the clay through the craft of making custom pottery stamps.
Table of Contents
Importance of Pottery Stamps
Pottery stamps are more than just tools; they are an extension of the potter’s vision, providing a means to imbue each piece with a signature touch. These stamps can serve a multitude of purposes, from functional to aesthetic. Practically, they enable artists to efficiently reproduce intricate patterns and textures, which might otherwise be painstakingly time-consuming to create by hand.
Aesthetically, pottery stamps create an opportunity for potters to differentiate their work in a bustling market, embedding a piece of their identity into their art. In a broader sense, stamps carry historical significance, often used to identify the origins and makers of ancient pottery, thus telling stories that survive through generations.
Benefits of Making Your Own Pottery Stamps
Creating your own pottery stamps offers tangible and artistic advantages. On a practical level, homemade stamps are cost-effective as they can be produced from readily-available materials with minimal expense. Cultivating the skill to make your own stamps also means having the power to customize designs precisely to your artistic vision, ensuring no two pieces are identical.
Artistically, the process of making stamps is a medium of expression in itself, allowing potters to experiment with texture, depth, and pattern. This not only adds complexity to the aesthetic of the ceramics but can also become a distinguishing feature that imbues a brand identity into every creation. Moreover, homemade stamps can be modified and adjusted over time, offering a versatility that purchased stamps cannot easily match.
Purpose of Pottery Stamps
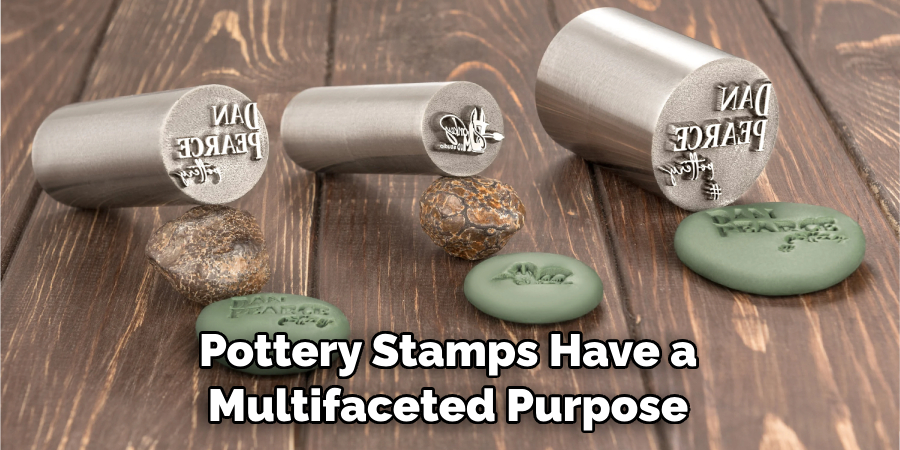
Pottery stamps have a multifaceted purpose that transcends their functional use. They allow potters to leave a lasting imprint, a maker’s mark that adds a rich layer of meaning and authenticity to each piece. In commercial terms, stamps can become synonymous with a brand, making every stamped item immediately recognizable as the work of a particular artisan or studio.
Within the artisan community, they serve as a badge of craftsmanship and origin, offering customers insight into the creation of their purchased items. Further, they connect the past and present by continuing the age-old tradition of marking one’s work – a practice deeply rooted in the history of ceramics around the world.
Different Types of Pottery Stamps
Pottery stamps come in various forms and serve distinct purposes, each adding a special touch to the ceramic surface. Bisque Stamps are made of unglazed ceramic material and have a porous surface to avoid sticking to the clay. Wood Stamps provide a more traditional look and are favored for their natural texture, though they require sealing to prevent clay from sticking. Metal Stamps are durable and can produce fine, detailed impressions, ideal for intricate designs.
Plastic or 3D Printed Stamps allow for precise and complex patterns that are difficult to achieve with other materials. Finally, Found Objects such as buttons, lace, and natural elements can be repurposed as stamps, offering an eco-friendly and innovative way to create unique textures. When selecting the type of stamp, potters must consider the type of clay, the depth of impression desired, and the intricacy of the stamp’s design.
Materials Needed for Making Pottery Stamps
To begin crafting your own pottery stamps, you will need to gather a few key materials that will help turn your ideas into tangible tools. Here’s a basic list to get you started:
- Carving Material: This can be plaster, clay, wood, or linoleum, depending on the type of stamp you’re making.
- Carving Tools: These include knives, gouges, and chisels suited for fine detail work.
- Sandpaper: Useful for smoothing the surfaces of your stamps, especially if you’re using wood.
- Sealant: If you opt for wood stamps, a sealant such as polyurethane will prevent sticking and make your stamps last longer.
- Glue: Strong adhesive may be needed if you are attaching different pieces to create your stamp.
- Template Designs: For precision, bring your paper sketches, stencils, or printouts of the designs you aim to carve.
- Rolling Pin or Slab Roller: Essential to roll out your clay if you’re making bisque stamps.
- Kiln: Required to fire bisque stamps if you choose to create them from clay.
- 3D Printing Materials: For plastic or 3D printed stamps, you will need a 3D printer and compatible printing material such as ABS or PLA plastic.
- Found Objects (Optional): Look around for interesting textures or shapes that can be used as stamps – things like leaves, shells, or textured fabric.
- Ink or Paint (Optional): While not necessary for the stamping process itself, having ink or paint can be useful for testing the impressions of your stamps on paper before using them on clay.
With these materials at hand, you will be well-prepared to embark on the process of creating your unique pottery stamps.
10 Methods How to Make Pottery Stamps
1. Clay Carving Stamps:
Begin with air-dry or polymer clay to craft carving stamps. Roll out the clay, create a flat surface, and carve your desired design using clay carving tools. Once the design is complete, let the clay dry and harden. These stamps can be used for imprinting texture or patterns onto soft clay.
2. Wood Block Stamps:
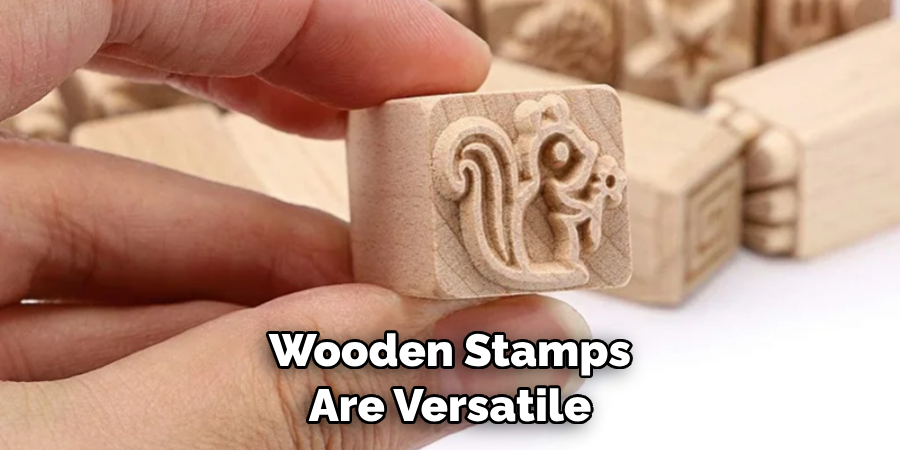
Utilize wooden blocks to create durable and detailed stamps. Select a smooth, untreated wood block, sketch your design, and carve it using wood carving tools. Sand the surface for a polished finish. Wooden stamps are versatile and can be used for both clay and ink applications.
3. Foam Stamps:
Craft quick and budget-friendly stamps using foam sheets. Draw your design on the foam, cut it out, and attach the foam shape to a wooden block for stability. Foam stamps are ideal for creating bold patterns and textures on pottery surfaces.
4. Rubber Stamp Carving:
Explore the art of rubber stamp carving for intricate and detailed designs. Use a soft carving block or eraser material, draw your design, and carefully carve it using carving tools. Attach the carved block to a wooden handle for ease of use and precision.
5. Cookie Cutter Stamps:
Repurpose cookie cutters into pottery stamps for consistent and symmetrical shapes. Choose metal or plastic cookie cutters in various designs, press them into soft clay to create an impression, and remove the excess clay around the stamped shape. These stamps are ideal for repetitive patterns.
6. Found Objects as Stamps:
Embrace the creativity of using found objects as stamps. Explore your surroundings for textured items like leaves, fabric, or even textured wallpaper. Press these objects onto soft clay to create unique and organic patterns. Experiment with different objects for diverse textures.
7. Laser-Cut Stamps:
Employ modern technology by using laser-cutting techniques to create precise and intricate pottery stamps. Design your pattern using graphic software, send it to a laser cutter, and have the design cut into rubber or linoleum. Laser-cut stamps provide detailed and clean imprints.
8. Textured Rolling Pins:
Enhance your pottery with textured rolling pins that serve as stamps for large surfaces. Roll a patterned rolling pin over soft clay to create an even and repeating design. These rolling pins are available commercially, or you can customize your own by adding textures to a plain rolling pin.
9. Carved Cork Stamps:
Transform simple cork sheets into stamps by carving your design onto the cork surface. This method is suitable for creating smaller stamps with intricate details. Attach the carved cork to a wooden handle for better control during stamping.
10. Clay Impressions from Nature:
Capture the beauty of nature by making clay impressions of leaves, shells, or other textured items. Press the chosen object onto soft clay to create an impression. The resulting clay piece can be used directly as a stamp or used to make a mold for repeated use.
Finishing Touches for Your Pottery Stamps
Once you have created your pottery stamps using one of the methods detailed above, it’s crucial to give them the final touches that will ensure their longevity and improve their usability. Here are a few finishing tips you should consider:
- Smooth Out Edges: After carving your designs, go over the stamp edges with sandpaper to remove any burrs or sharp pieces that could leave unintended marks on your pottery.
- Firing Bisque Stamps: If you made bisque stamps from clay, fire them in a kiln according to clay body specifications. Firing turns them into durable ceramic stamps.
- Apply Sealant: For non-ceramic stamps, particularly wooden ones, applying a sealant such as polyurethane or acrylic medium can prevent the clay from sticking and help preserve the fine details of your carvings.
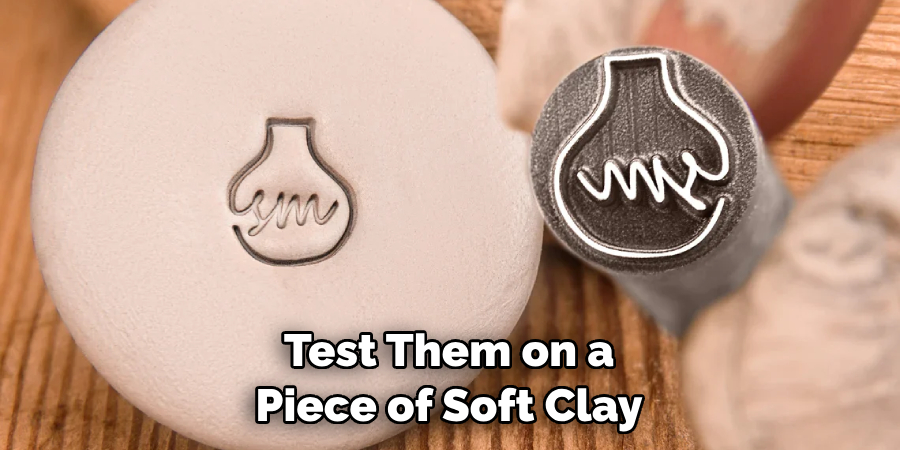
- Test Your Stamps: Before using your stamps on your actual pottery projects, test them on a piece of soft clay or playdough. This step will reveal how well the design transfers and may highlight any areas that require further refinement.
- Create a Handle: Adding a handle to the back of your stamps can provide more control and an even pressure distribution when stamping. This can be especially helpful for detailed designs that require careful application.
- Storage Solutions: Finally, consider your storage options to keep your stamps organized and protected. Hang them on a rack, place them in a partitioned box, or wrap them in cloth to avoid damage and ensure they are easily accessible for your next project.
By following these finishing tips, you’ll be able to proudly utilize your carefully crafted pottery stamps for many projects to come, all while maintaining their best condition.
Conclusion
In conclusion, crafting pottery stamps opens up a world of creative possibilities for ceramic enthusiasts. By following the outlined steps, individuals can design and create unique stamps that add texture, pattern, and personalization to their pottery projects. From designing and carving to drying, firing, and testing, each stage of the process contributes to the creation of functional and aesthetically pleasing stamps.
The ability to customize designs and textures allows for endless experimentation and innovation in ceramic work. Homemade pottery stamps not only offer a sense of pride and ownership but also provide versatility and flexibility in artistic expression. Thanks for reading, and we hope this has given you some inspiration on how to make pottery stamps!

