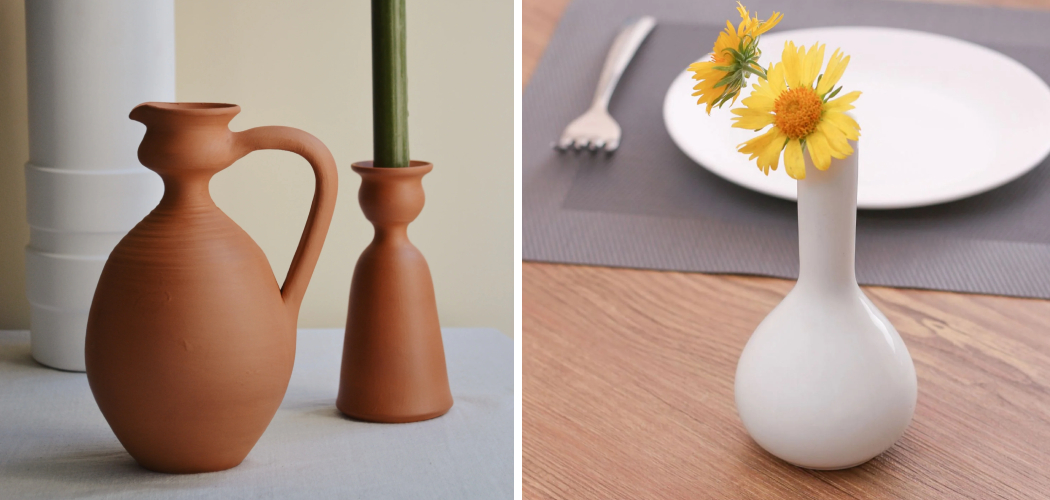
Clay pot heaters are a traditional and efficient way to heat a room without using electricity or gas. They have been used for centuries in various cultures around the world. The concept behind clay pot heaters is simple – the clay pot absorbs heat and slowly releases it into the surrounding area, providing a steady and comfortable source of warmth. This article aims to provide a comprehensive guide on how to make heater with clay pots.

The history of clay pot heaters can be traced back to ancient civilizations such as the Romans and the Greeks. They used clay pots filled with hot coals to warm their homes during the colder months. Over time, the design and materials used in clay pot heaters have evolved, but the basic principle remains the same.
Table of Contents
Materials Required for Making Clay Pot Heaters
To make a clay pot heater, you will need the following materials:
1. Clay pot: The clay pot is the main component of the heater. It should be large enough to hold a few candles or a small fire. The clay pot absorbs and retains heat, making it an ideal material for this purpose.
2. Candles or small fire: The heat source for the clay pot heater can be candles or a small fire. Candles are a convenient and safe option, but if you prefer a more traditional approach, you can use a small fire made from wood or charcoal.
3. Metal grate or wire mesh: This is placed inside the clay pot to hold the candles or fire. It allows air to circulate and helps to distribute heat evenly.
4. Heat-resistant base: To protect your floor or surface from heat damage, it is recommended to place the clay pot heater on a heat-resistant base such as a ceramic tile or a metal tray.
Step-by-Step Guide on How to Make Heater with Clay Pots
Step 1: Gather Your Materials
Before you begin, gather all the materials and tools you’ll need for this project:
Two Clay Flower Pots: Choose one large pot (10-12 inches in diameter) and one smaller pot (6-8 inches in diameter). Both pots should be unglazed and have a hole at the bottom.
Saucer or Base Plate: This will serve as the foundation for your heater and should be larger than the bottom of the large clay pot.
Tealight Candles: You’ll need a few tealight candles to generate heat. The number depends on the size of the pots and the desired heat output.
Nuts and Bolts: Four small nuts and bolts to secure the pots and create airflow channels.
Washers: Four small washers to fit the bolts.
Tin Foil: To line the saucer and create a reflector for heat.
Fireproof Mat: To place your heater on a fireproof surface for safety.
Lighter or Matches: To light the candles.
Heat-Resistant Gloves: For safety while handling the heated pots.

Step 2: Create Airflow Channels
Start by drilling or carving four holes at equal intervals near the top of the large clay pot’s rim. These holes will serve as airflow channels to allow fresh air to be drawn into the pot, enhancing the combustion process. Make sure the holes are large enough to accommodate the nuts and bolts.
Step 3: Assemble the Airflow System
Insert a bolt through each hole from the outside of the large pot to the inside. Add a washer and nut on the inside of the pot, securing it tightly. This creates the airflow channels and holds the bolts in place. The extended bolts will help support the smaller pot.
Step 4: Prepare the Small Pot
Now, flip the small clay pot upside down and place it on top of the large pot. The bolts should go through the hole in the center of the small pot. This arrangement will create a chamber between the pots where the candles will be placed.
Step 5: Line the Saucer with Tin Foil
Place the saucer or base plate on a flat, heat-resistant surface. Line it with tin foil, shiny side up. The foil will reflect heat and protect the surface underneath. Ensure the saucer is stable and level.
Step 6: Position the Heater
Position the assembled clay pots (large pot with the smaller one on top) in the center of the saucer. The bolts should go through the saucer’s center hole. This setup creates a stable base for the heater.
Step 7: Add Tealight Candles
Place the tealight candles in the chamber between the two pots. You can use as many candles as needed, depending on the size of the pots and the level of heat required. Ensure the candles are evenly spaced.
Step 8: Ignite the Candles
Light the tealight candles using a lighter or matches. Once lit, the candles will begin to generate heat, warming the air trapped between the pots.
Step 9: Create a Heat Reflector
To enhance heat distribution, you can create a heat reflector using more tin foil. Place a sheet of tin foil on the ground in front of the heater, angling it towards the direction you want the heat to go. This will direct the warm air into your desired area.

Step 10: Monitor and Adjust
As the candles burn, warm air will rise and be pushed out through the top of the smaller clay pot. You can monitor and adjust the heat output by adding or removing candles as needed. Always keep a close eye on the heater and never leave it unattended.
Benefits of Using Clay Pot Heaters
1. Energy efficiency: Clay pot heaters are highly energy-efficient as they rely on the natural heat-absorbing properties of clay. They require minimal energy input and can provide a steady source of warmth for an extended period of time.
2. Cost-effectiveness: Compared to electric heaters or gas heaters, clay pot heaters are much more cost-effective. Candles and wood are relatively inexpensive, and the clay pot itself is a one-time investment.
3. Eco-friendliness: Clay pot heaters are a sustainable heating option as they do not rely on fossil fuels or electricity. They produce minimal carbon emissions and have a low environmental impact.
4. Health benefits: Unlike electric heaters or gas heaters, clay pot heaters do not dry out the air or release harmful fumes. They provide a gentle and natural heat that is beneficial for respiratory health.
Tips for Using Clay Pot Heaters Safely
When using a clay pot heater, it is important to take certain precautions to ensure safety. Firstly, always place the heater on a heat-resistant base to avoid any damage to your floor or surface. Additionally, it is important to keep flammable materials away from the heater to reduce the risk of fire. It is also crucial to never leave the clay pot heater unattended and always extinguish the candles or fire before leaving the room or going to bed.
To prevent accidents or burns, children and pets should be kept away from the heater. Lastly, if using a small fire, it is recommended to have a fire extinguisher or a bucket of water nearby in case of emergencies. By following these safety measures, you can enjoy the warmth and comfort of your clay pot heater without any worries.
Maintenance and Cleaning of Clay Pot Heaters
To maintain and clean your clay pot heater, follow these tips:
1. After each use, allow the clay pot and metal grate or wire mesh to cool completely before handling.
2. Remove any ashes or debris from the clay pot and metal grate or wire mesh.
3. If necessary, wash the clay pot with warm water and mild soap. Avoid using abrasive cleaners or scrub brushes as they can damage the clay.
4. Dry the clay pot thoroughly before storing it to prevent mold or mildew growth.
5. Check the metal grate or wire mesh for any signs of wear or damage. Replace it if necessary.

Conclusion
In conclusion, clay pot heaters are a traditional and efficient way to heat a room without using electricity or gas. They are cost-effective, energy-efficient, eco-friendly, and provide health benefits. By following the step-by-step guide and safety tips on how to make heater with clay pots, you can enjoy the warmth and comfort provided by a homemade clay pot heater. So why not give it a try and experience the cozy ambiance of a clay pot heater in your own home?


