Hand-built pottery is a wonderful way to express your creativity and produce unique pieces that reflect your personal style. Unlike throwing pottery on a wheel, hand-building pottery involves shaping clay with your hands and a few simple tools.
This process is ideal for beginners or those who do not have access to a pottery wheel. Hand-building pottery offers a sense of satisfaction and accomplishment as you watch your creations come to life. Whether you want to make a functional mug, a decorative vase, or a sculptural masterpiece, the possibilities are endless.
In this article, we will provide step-by-step instructions on how to make hand-built pottery, from selecting the right type of clay to firing and glazing your finished piece. With some patience, practice, and a little bit of creativity, you can create beautiful pottery that you will be proud to display or give as a thoughtful gift to your loved ones.
Table of Contents
Materials Needed for Hand-Built Pottery
Before you begin, you’ll need to gather the necessary materials. Here’s a list of what you’ll need:
Clay
The most important material you’ll need for hand-building pottery is clay. You can purchase clay from art supply stores or online retailers. There are many types of clay to choose from, including earthenware, stoneware, and porcelain. Each type of clay has its own unique properties and is suited to different projects.
Tools
You’ll also need a few basic tools to work with the clay. These may include a rolling pin, a knife or wire tool, and a set of shaping tools such as ribs, sponges, and brushes. You can purchase pottery tools online or from art supply stores.
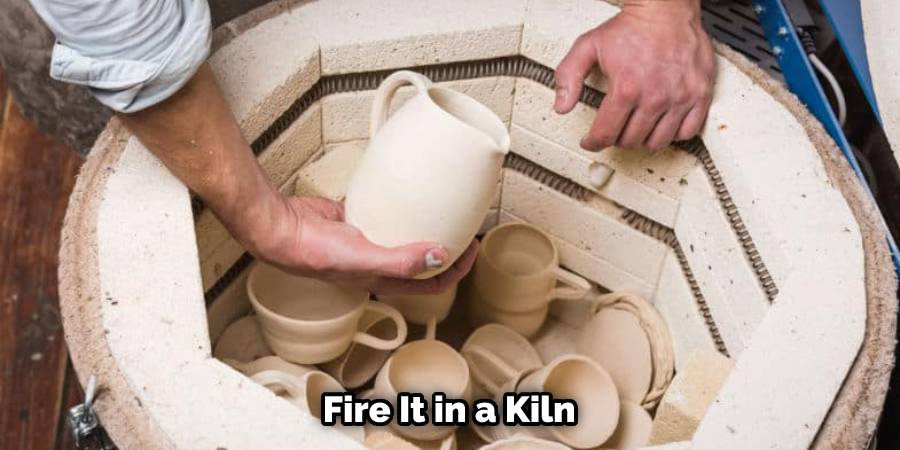
Kiln
Once you’ve finished creating your pottery, you’ll need to fire it in a kiln to make it hard and durable. If you don’t have access to a kiln, you may be able to rent one from a local pottery studio or community center.
Techniques for Hand-Built Pottery
Now that you have your materials, it’s time to start creating! Here are some techniques you can use to make hand-built pottery:
Pinch Pot Technique
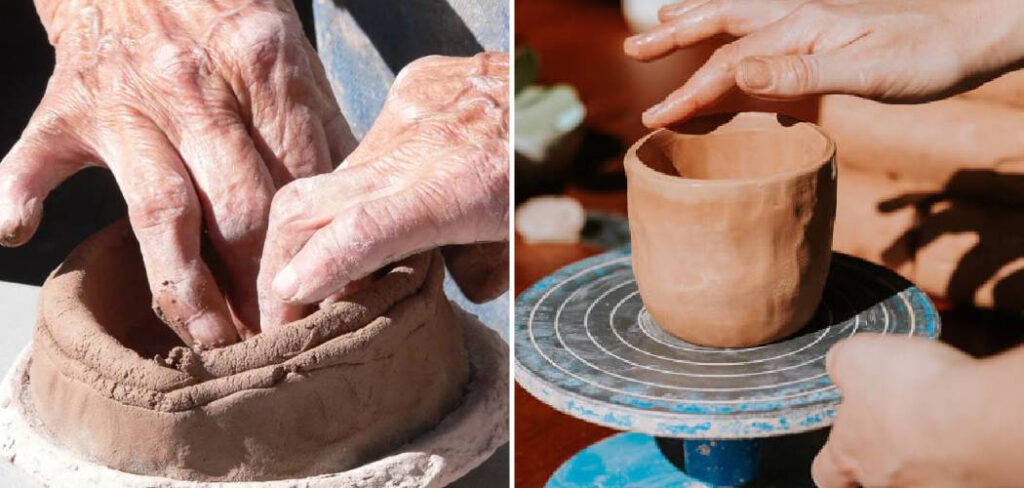
The pinch pot technique is one of the most basic and versatile methods of hand-building pottery. To make a pinch pot, simply take a ball of clay and use your fingers to pinch and shape it into a bowl or vase.
Coil Technique
The coil technique involves rolling out long, snake-like pieces of clay and stacking them on top of each other to form a vessel. This technique can be used to create a wide range of shapes and sizes.
Slab Technique
The slab technique involves rolling out flat sheets of clay and cutting them into shapes, which are then assembled to create a three-dimensional form. This technique is often used to create boxes, trays, and other functional objects.
Sculpting Technique
Finally, the sculpting technique involves using your hands and tools to shape the clay into a specific form or figure. This technique is often used for creating figurines, busts, and other decorative objects.
10 Steps for Hand-Built Pottery
Now that you know the techniques, here are the steps you can follow to create your own hand-built pottery:
Step: 1. Choosing Clay:
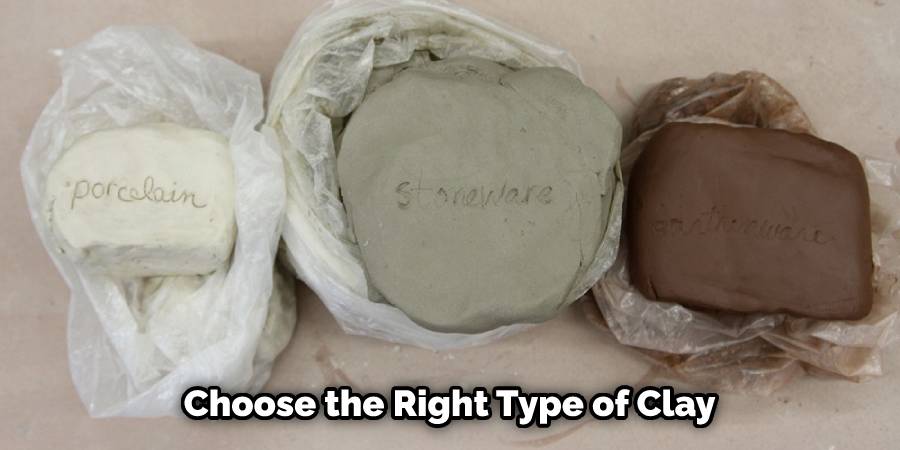
The first step in making hand-built pottery is to choose the right type of clay. There are different types of clay available in the market, including earthenware, stoneware, and porcelain. Each type has its own unique properties, so it’s essential to choose the right clay for your project.
Step: 2. Preparing Clay:
Once you have selected your clay, the next step is to prepare it for use. Begin by kneading the clay to remove any air pockets and make it more pliable. Then, using a rolling pin or slab roller, roll out the clay to the desired thickness.
Step: 3. Cutting Clay:
After the clay has been rolled out, it’s time to cut it into the desired shape. You can use a knife or a pottery cutter to cut the clay. It’s important to make sure the edges are straight and clean.
Step: 4. Shaping Clay:
Now that the clay is cut, it’s time to shape it. There are many ways to shape clay, including hand-building, coil-building, slab-building, and pinch pots. Each method requires a different technique, so it’s important to choose the method that works best for your project.
Step: 5. Drying Clay:
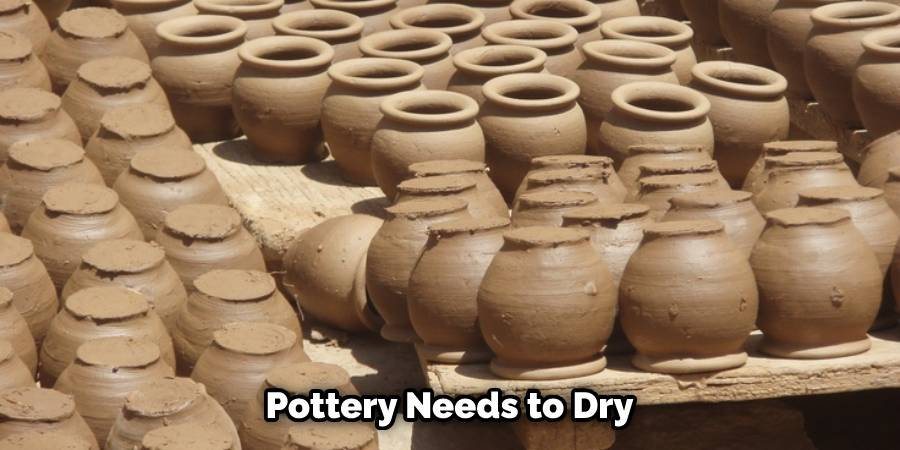
After the clay has been shaped, it needs to dry. This process can take anywhere from a few days to a few weeks, depending on the size and thickness of the piece. It’s important to let the clay dry slowly and evenly to prevent cracking.
Step: 6. Firing Clay:
Once the clay has dried, it’s ready to be fired in a kiln. The firing process helps to harden the clay and make it more durable. There are two types of firing: bisque firing and glaze firing. Bisque firing is done at a lower temperature to remove any remaining moisture from the clay. The glaze firing is done at a higher temperature to melt the glaze and fuse it to the surface of the clay.
Step: 7. Glazing Clay:
After the bisque firing, the clay is ready to be glazed. Glaze is a mixture of minerals and clay that is applied to the surface of the clay to create a smooth, shiny finish. There are many different types of glazes available, including matte, glossy, and textured.
Step: 8. Decorating Clay:
Once the glaze has been applied, it’s time to decorate the clay. This can be done using a variety of techniques, including painting, carving, and stamping. It’s important to be creative and experiment with different techniques to create unique and interesting designs.
Step: 9. Second Firing:
After the clay has been decorated, it needs to be fired again in the kiln. This firing process is done at a high temperature to melt the glaze and create a permanent finish. It’s important to follow the manufacturer’s instructions when firing the clay to ensure a successful outcome.

Step: 10. Finishing Touches:
After the second firing, the clay is ready to be finished. This may involve adding additional details or embellishments, such as handles or knobs. It’s important to take your time and make sure the finishing touches are done correctly to ensure a high-quality finished product.
Some Tips for Successful Hand-Built Pottery
Here are some tips to help you create successful hand-built pottery:
Start Small
When you’re first starting out, it’s best, to begin with small projects that are easy to handle. This will allow you to get a feel for the clay and the techniques before moving on to larger and more complex projects.
Use Proper Techniques
Make sure to use proper techniques when working with the clay. This will help you to create pieces that are structurally sound and will last for years to come.
Keep Your Tools Clean
Clean your tools after each use to prevent the clay from building up and affecting your future projects. This will also help to keep your workspace organized and tidy.
Experiment with Different Techniques
Don’t be afraid to experiment with different techniques to see what works best for you. Hand-building pottery is a creative process, so try new things and see where your creativity takes you.
Be Patient
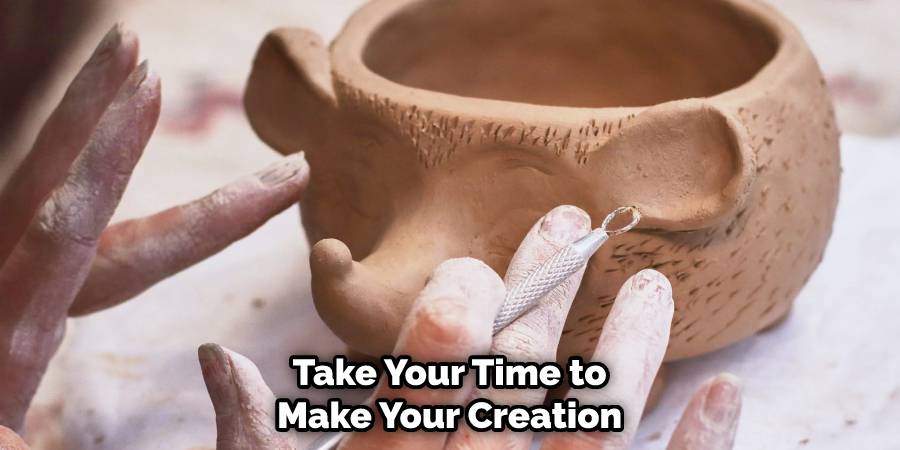
Creating hand-built pottery takes time and patience. Don’t rush the process and take your time to ensure that each piece is the best it can be.
Conclusion
In conclusion, hand-building pottery is a fulfilling and rewarding experience that allows you to create unique pieces of art that are both functional and beautiful. It requires patience, practice, and creativity, but the end result is worth the effort. By following the steps we’ve outlined, you can create your own hand-built pottery, whether you’re a beginner or an experienced potter.
Remember to take your time and enjoy the process of shaping and molding the clay, as each piece is a reflection of your personal style and artistic vision. Thanks for reading, and we hope this has given you some inspiration on how to make hand-built pottery!
FAQs
Do I need a pottery wheel to make pottery?
No, hand-building pottery can be done without a pottery wheel.
How long does it take to create hand-built pottery?
The time it takes to create hand-built pottery depends on the size and complexity of the project, as well as the drying and firing times.
Can I use any type of clay for hand-built pottery?
No, different types of clay have different properties and are suited to different projects. It’s important to choose the right type of clay for your project.
Do I need a kiln to fire my pottery?
Yes, a kiln is necessary to fire your pottery and make it hard and durable.
Can I add color to my pottery?
Yes, you can add color to your pottery by using glaze or other finishes. This can give your pieces a polished and professional look.


