Clay slip is a crucial component in pottery making. It is a liquid form of clay that is used to join pieces of clay together, add decorative elements, and create unique textures and finishes on pottery. Clay slip is essentially a suspension of clay particles in water, and it can be made from various types of clay depending on the desired effect.
In this article, we will explore the different types of clay used for making slip, the tools and materials required, step-by-step instructions for how to make clay slip for pottery, tips for achieving the right consistency, how to store and preserve clay slip, adding color and texture to clay slip, common mistakes to avoid, using clay slip in different pottery techniques, and final thoughts on making clay slip for pottery.
“To make clay slip for pottery, mix water with clay until it reaches a creamy, paint-like consistency”
Table of Contents
Tools and Materials Required for Making Clay Slip
To make clay slip at home, you will need the following tools and materials:
- Clay: Choose the type of clay that is suitable for your desired effect and firing temperature.
- Water: Use clean, filtered water to mix with the clay.
- Bucket or container: A large container is needed to mix and store the clay slip.
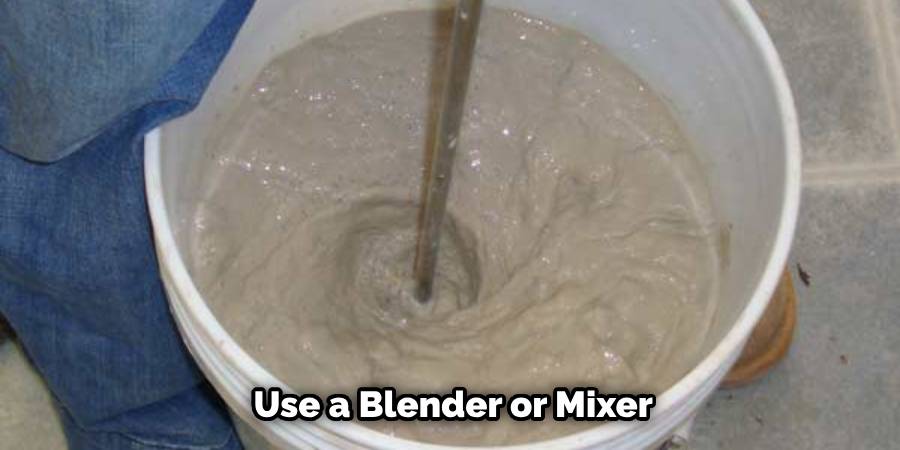
- Blender or mixer: A blender or mixer can be used to mix the clay and water together.
- Sieve or mesh screen: A sieve or mesh screen is used to remove any impurities or larger particles from the clay slip.
- Rubber gloves: Rubber gloves are necessary to protect your hands while working with the clay slip.
- Stirring stick or whisk: A stirring stick or whisk can be used to mix the clay slip and ensure it is smooth and consistent.
- Plastic wrap or lid: Use plastic wrap or a lid to cover the container and prevent the clay slip from drying out.
Step-by-Step Instruction on How to Make Clay Slip for Pottery at Home
1. Start by preparing your workspace and gathering all the necessary tools and materials.
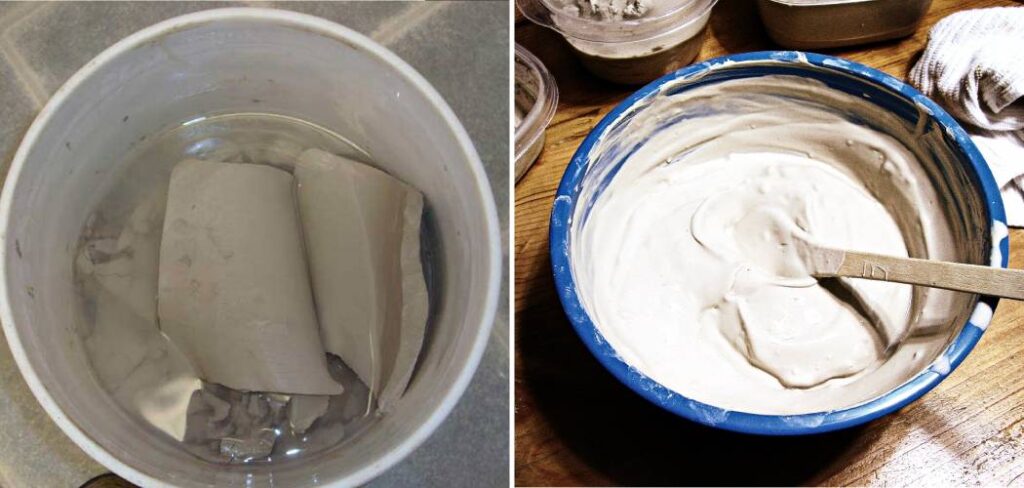
2. Measure out the desired amount of clay and break it into smaller pieces.
3. Place the clay pieces into a blender or mixer, and add water gradually while blending or mixing on a low speed.
4. Continue adding water until the mixture reaches a smooth, creamy consistency. The amount of water needed will depend on the type of clay and the desired thickness of the slip.
5. Once the clay and water are well mixed, pour the mixture through a sieve or mesh screen to remove any impurities or larger particles.
6. Use a stirring stick or whisk to further mix the clay slip and ensure it is smooth and consistent.
7. Transfer the clay slip into a clean container, and cover it with plastic wrap or a lid to prevent it from drying out.
8. Allow the clay slip to settle for a few hours or overnight to allow any air bubbles to rise to the surface.
9. Before using the clay slip, give it a final stir to ensure it is well mixed and has the desired consistency.
Tips for Achieving the Right Consistency of Clay Slip
The consistency of clay slip is crucial for its usability and effectiveness in pottery making. Here are some tips for achieving the right consistency:
1. Start with a small amount of water and gradually add more as needed. It is easier to thin out the slip than to thicken it, so it is best to start with a thicker consistency and adjust as necessary.
2. Use a blender or mixer to ensure the clay and water are well mixed and there are no lumps or clumps.
3. Test the consistency of the slip by dipping a finger or a tool into it and observing how it drips off. The slip should have a smooth, flowing consistency without being too thick or too watery.
4. If the slip is too thick, add small amounts of water and mix well until the desired consistency is achieved. If the slip is too thin, add small amounts of clay and mix well until the desired consistency is achieved.
5. It is important to note that the consistency of the slip may change over time as it settles, so it is recommended to give it a stir before each use.
Understanding the Different Types of Clay for Making Slip
There are several types of clay that can be used for making slips, each with its own unique properties. The most common types of clay used for slip are earthenware, stoneware, and porcelain. Earthenware clay is known for its low firing temperature and is often used for making pottery that is not intended for food use. Stoneware clay has a higher firing temperature and is more durable, making it suitable for functional pottery such as plates and bowls. Porcelain clay is known for its fine texture and translucent appearance when fired, making it ideal for delicate and decorative pieces.
When choosing a clay for making slip, it is important to consider the desired effect and the firing temperature of the pottery. Earthenware clay slip will result in a lower firing temperature and a more rustic finish, while stoneware or porcelain clay slip will require a higher firing temperature and produce a more refined look. It is also important to note that different clays have different shrinkage rates, so it is important to test the slip on a small piece before using it on a larger project.
How to Store and Preserve Clay Slip for Future Use
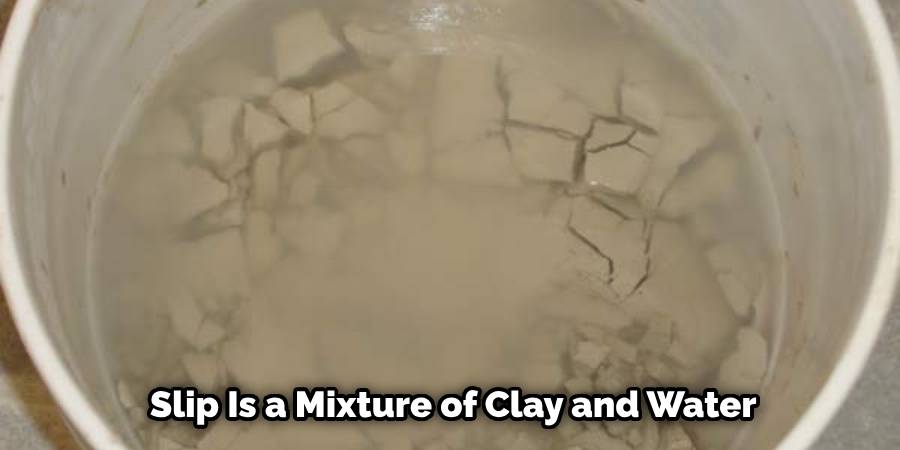
Clay slip is a mixture of clay and water that is commonly used in pottery and ceramics. It can be time-consuming to make, so it is important to store and preserve it properly for future use. The first step in storing clay slip is to transfer it into a pristine container with a secure lid or cover it tightly with plastic wrap to maintain its freshness. This will prevent any contaminants from entering the mixture and spoiling it.
Once the clay slip is stored, it should be kept in a cool, dry place away from direct sunlight and extreme temperatures to preserve its quality. Regularly inspecting the clay slip for any signs of mold or spoilage is also important. If any are detected, the entire batch should be disposed of, and a new one should be created. To prolong the shelf life of the clay slip, a small amount of vinegar or bleach can be added to inhibit the growth of mold and bacteria.
Adding Color and Texture to Clay Slip for Decorative Pottery
When it comes to adding color and texture to your pottery, there are several techniques you can use. One option is to infuse your clay slip with ceramic pigments or oxides. By mixing these pigments thoroughly into the slip, you can achieve a wide range of colors.
Another option is to add ceramic stains, which can create a pop of vibrant color. Like pigments, stains should be mixed thoroughly into the slip until the desired shade is achieved. If you want to create texture and visual interest in your pottery, consider incorporating inclusions like sand, crushed shells, or fibers into your clay slip.
These materials should also be mixed thoroughly into the slip until they are evenly distributed. Before your clay slip dries, you can experiment with surface treatments like sgraffito, carving, or stamping to create unique patterns and textures. Layering is another technique that can add depth and dimension to your pottery.
By applying multiple layers of colored slip onto your piece and allowing each layer to dry before applying the next, you can create a stunning effect. Whether you choose to use pigments, stains, inclusions, surface treatments, or layering (or a combination of these techniques), adding color and texture to your pottery can take your work to the next level.
Common Mistakes to Avoid When Making Clay Slip
To ensure the quality and usability of your clay slip, it’s important to avoid common mistakes. Here are some tips to keep in mind:
1. Use clean, filtered water and ensure that all tools and containers are free from any contaminants. Dirty water or contaminated tools can negatively impact the quality of your slip.
2. Gradually add water to the clay while blending or mixing to achieve the desired consistency. Adding too much water at once can result in a thin and watery slip that is difficult to work with.
3. Sieve the slip to remove any impurities or larger particles that can affect the smoothness and consistency of the slip.
4. Stir the slip before each use to ensure it is well-mixed and has the desired consistency. The slip may settle over time, so it’s important to give it a stir to ensure it’s ready to use.
5. Store the clay slip in a cool, dry place away from direct sunlight and extreme temperatures to prevent spoilage and mold growth. Proper storage conditions will help maintain the quality of your slip over time.
Conclusion
In conclusion, clay slip is an essential component in pottery making that allows for joining pieces of clay, adding decorative elements, and creating unique textures and finishes. By understanding the different types of clay for making slip, gathering the necessary tools and materials, following a step-by-step guide on how to make clay slip for pottery, and implementing tips for achieving the right consistency, storing and preserving clay slip, adding color and texture, avoiding common mistakes, and using clay slip in different pottery techniques, you can successfully create beautiful and unique pottery pieces. So, don’t be afraid to experiment and try making clay slip at home to enhance your pottery making skills and create stunning works of art.


