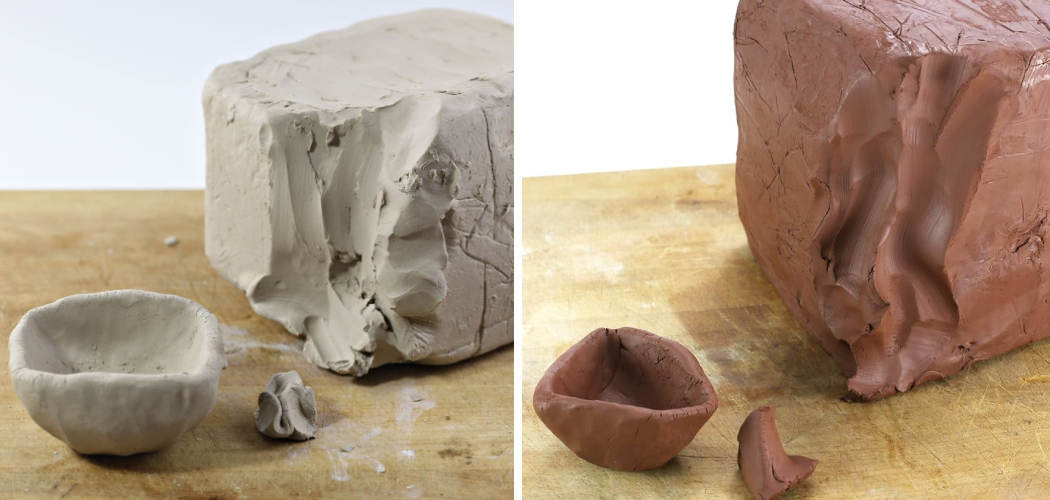
To make clay from dirt, gather soil, remove debris, break it into small pieces, add water, and then knead and strain the mixture to extract the clay. Let it settle, then collect the clay for use in pottery or other crafts. Clay is a versatile and widely used material in the world of art and crafts. It has been used for centuries to create pottery, sculptures, and various other artistic creations. While it is readily available for purchase in stores, there is something special about making clay from scratch. This article will explore how to make clay from dirt, its benefits, and provide a step-by-step guide for those interested in trying it themselves.
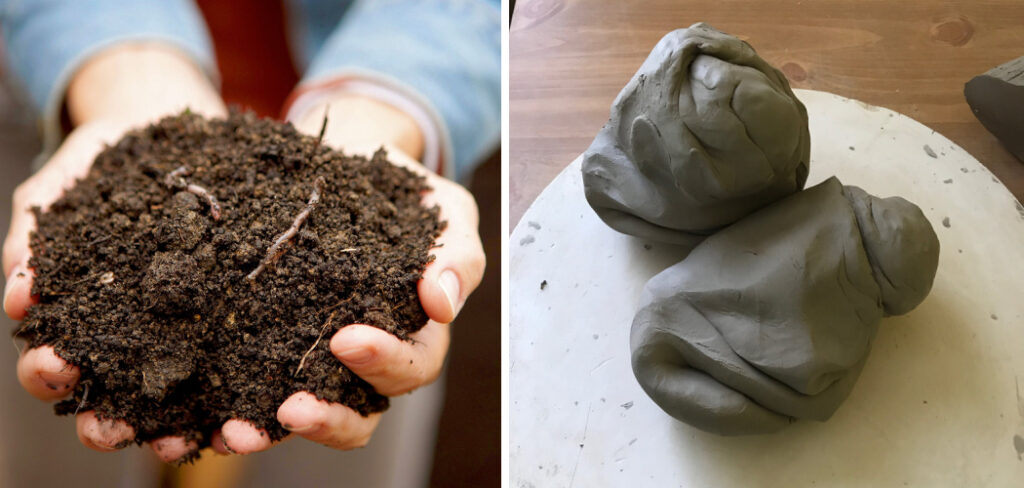
Making clay from scratch allows artists and crafters to have complete control over the material they are working with. It provides an opportunity to customize the clay to suit their specific needs and preferences. Additionally, making clay from scratch can be a cost-effective alternative to purchasing pre-made clay. It also has environmental benefits, as it reduces the need for packaging and transportation associated with store-bought clay.
Table of Contents
The Benefits of Making Clay from Scratch
1. Cost-effective:
Making clay from scratch can be a cost-effective alternative to purchasing pre-made clay. The materials needed for making clay are relatively inexpensive and can be easily sourced. By making your own clay, you can save money in the long run, especially if you are a frequent clay user.
2. Customizable:
Making clay from scratch allows you to have complete control over the properties of the clay. You can customize the clay to suit your specific needs and preferences. For example, you can adjust the plasticity, firing temperature, and color of the clay to achieve the desired results for your artistic creations.
3. Environmentally friendly:
Making clay from scratch reduces the need for packaging and transportation associated with store-bought clay. By sourcing your own materials and making clay at home, you can minimize your carbon footprint and contribute to a more sustainable environment.
Step-by-Step Guide on How to Make Clay from Dirt
Step 1: Select the Right Soil
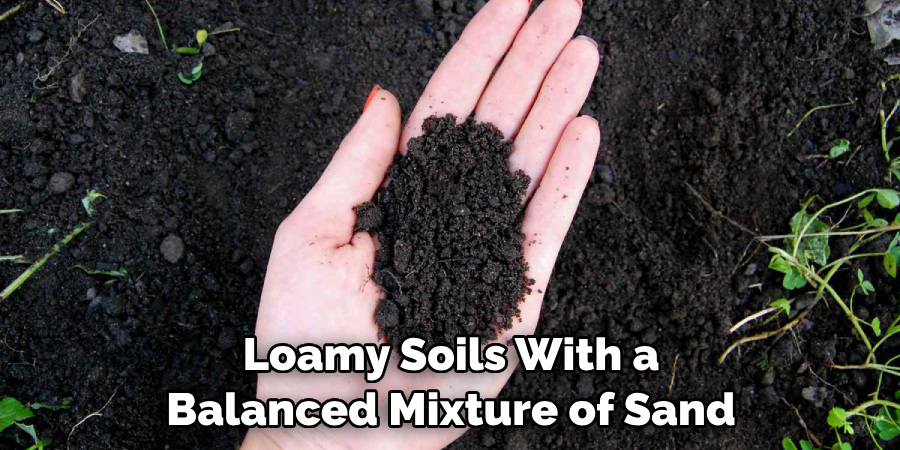
Not all dirt is suitable for making clay. Look for soil that is fine-textured and has a high clay content. Sandy soils won’t work well, as they lack the cohesive properties necessary for clay formation. Loamy soils with a balanced mixture of sand, silt, and clay are ideal.
Step 2: Remove Debris
Once you’ve collected the soil, sift it to remove any rocks, roots, or large particles. Debris can interfere with the clay-making process and affect the texture of the final product.
Step 3: Dry the Soil
Spread the sifted soil on a tarp or plastic sheet in a thin layer. Allow it to dry completely in the sun. This process might take several days, depending on the weather conditions. The goal is to remove excess moisture from the soil.
Step 4: Break Up Clumps
Once the soil is dry, break up any remaining clumps. Use your hands or a tool to ensure that the soil is finely powdered. This step is essential for achieving a smooth and workable clay consistency.
Step 5: Create a Slurry
Add water to the powdered soil gradually, stirring continuously to create a slurry. The consistency should be thick, like pancake batter. Be cautious not to add too much water at once, as it’s easier to add more than to correct an overly wet mixture.
Step 6: Let the Slurry Settle
Allow the slurry to sit undisturbed for several hours or overnight. During this time, the heavier clay particles will settle at the bottom, and lighter particles will float to the top. This process is known as sedimentation and helps in separating impurities from the clay.
Step 7: Pour Off Excess Water
After the slurry has settled, carefully pour off the excess water from the top, leaving behind the sedimented clay at the bottom. Take care not to disturb the settled clay. Repeat this process until most of the water is removed.
Step 8: Form Clay into Balls
Once you’ve removed excess water, scoop the remaining clay sediment and form it into manageable-sized balls. This step is essential for further drying and homogenizing the clay. Allow these balls to dry completely.
Step 9: Knead and Work the Clay
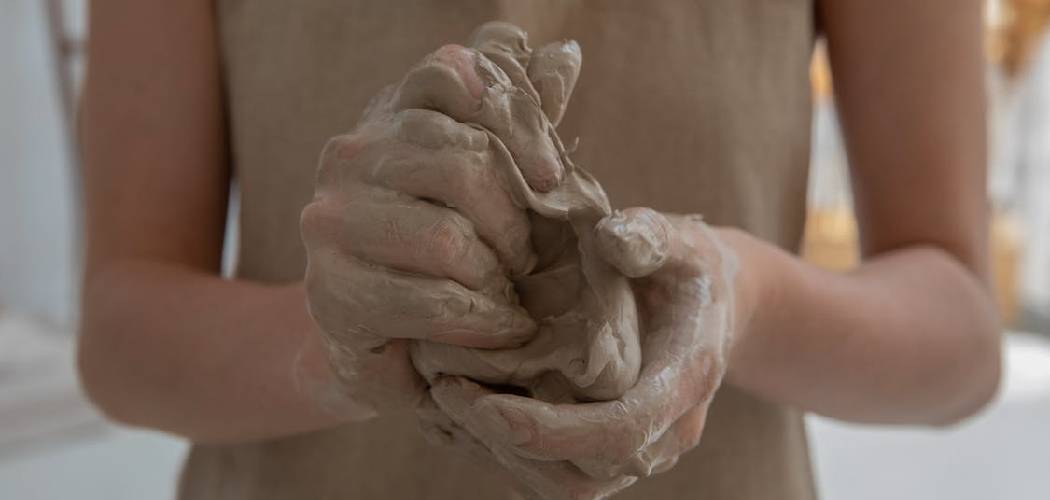
The final step involves kneading and working the dried clay balls to enhance plasticity. This can be done on a clean surface, much like kneading bread dough. As you work the clay, it becomes smoother and more pliable, ready to be shaped into various forms.
Tips for Perfecting Your Clay Making Technique
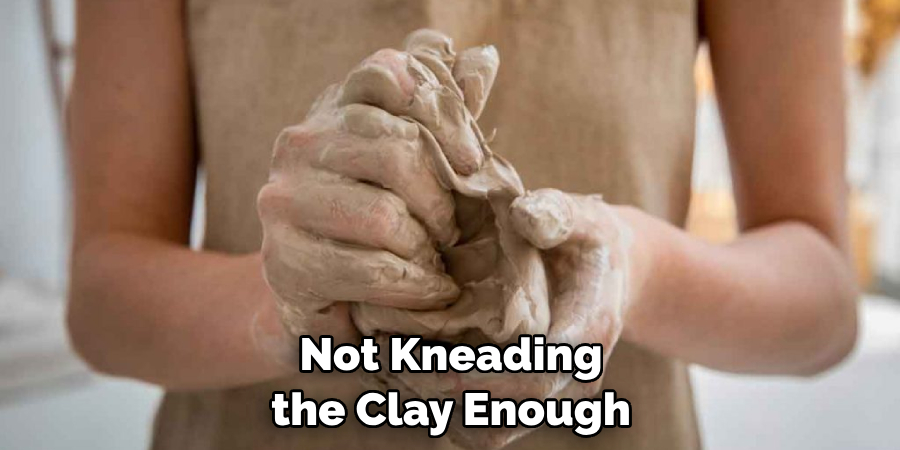
1. Common mistakes to avoid: When making clay from scratch, there are a few common mistakes that beginners often make. One common mistake is adding too much water to the clay mixture, which can make the clay too soft and difficult to work with. Another mistake is not kneading the clay enough, which can result in air bubbles and uneven texture. It is also important to properly age the clay to improve its plasticity and workability.
2. Techniques for improving your clay making skills: To improve your clay making skills, practice is key. Experiment with different clay minerals, additives, and water ratios to find the combination that works best for you. Take note of the properties of the clay you make and make adjustments as needed. Additionally, seek out resources such as books, online tutorials, and workshops to learn new techniques and gain inspiration.
Different Types of Clay and Their Uses
There are several different types of clay, each with its own unique properties and uses. Here is an overview of some common types of clay:
1. Earthenware Clay:
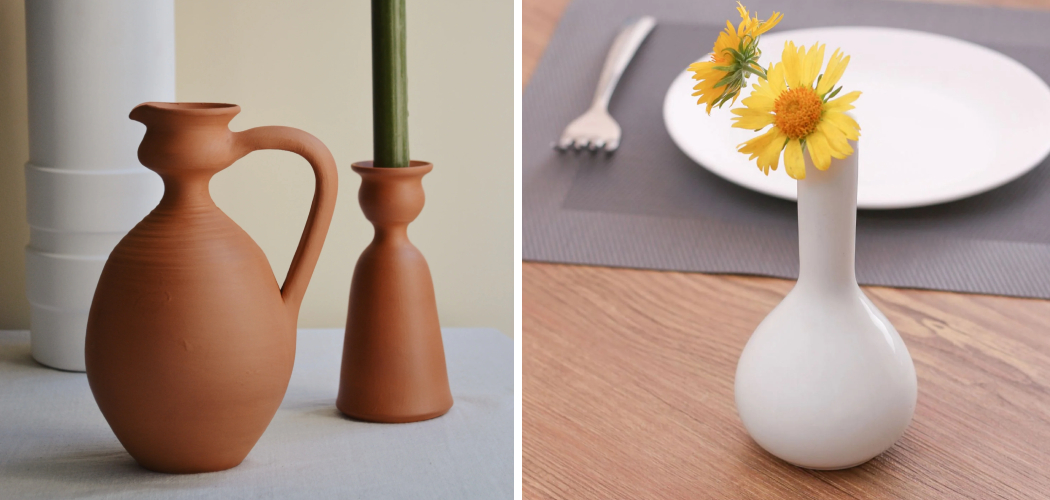
Earthenware clay is the most common type of clay used in pottery and ceramics. It has a low firing temperature and is known for its porous nature. Earthenware clay is often used for decorative items, tiles, and sculptures.
2. Stoneware Clay:
Stoneware clay has a higher firing temperature than earthenware clay and is more durable and non-porous. It is commonly used for functional pottery such as plates, bowls, and mugs. Stoneware clay can be glazed or left unglazed depending on the desired finish.
3. Porcelain Clay:
Porcelain clay is known for its white color and translucent quality when fired. It has a high firing temperature and is often used for delicate ceramics and fine china. Porcelain clay is highly refined and requires careful handling and firing techniques.
4. Paper Clay:
Paper clay is a type of clay that contains cellulose fibers, usually derived from paper or other plant-based materials. It has a unique texture and can be used to create lightweight sculptures and delicate ceramics. Paper clay is often used in combination with other types of clay to enhance its properties.
Each type of clay has its own specific uses and characteristics, so it is important to choose the right type of clay for your artistic creations.
Common Mistakes to Avoid When Making Clay
When making clay from scratch, there are several common mistakes that beginners often make. Here are some common mistakes to avoid:
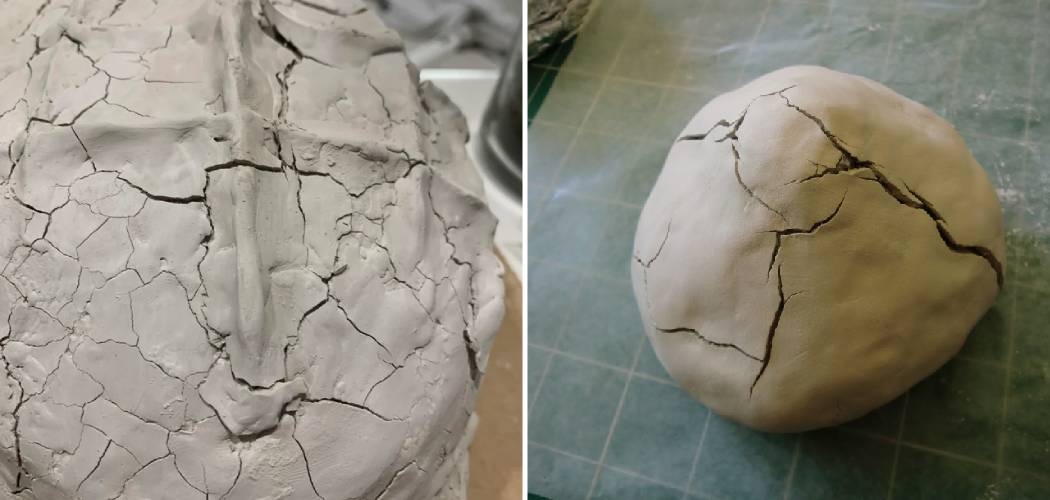
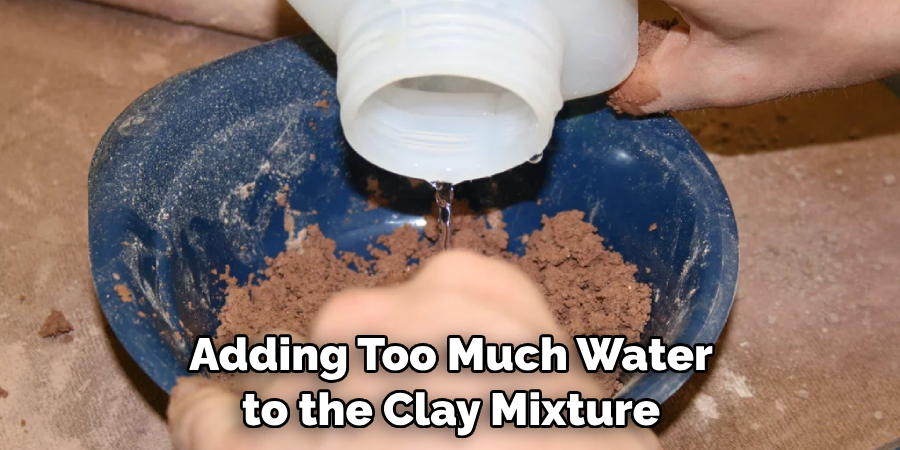
1. Adding too much water: Adding too much water to the clay mixture can make the clay too soft and difficult to work with. It can also cause the clay to shrink and crack when drying and firing. It is important to add water gradually and mix it thoroughly with the clay minerals to achieve the desired consistency.
2. Not kneading the clay enough: Kneading the clay is an important step in the clay making process as it helps homogenize the mixture and remove any air bubbles. Not kneading the clay enough can result in uneven texture and air pockets, which can cause the clay to crack and break when drying and firing.
3. Not properly aging the clay: Aging the clay allows it to rest and improve its plasticity and workability. Not properly aging the clay can result in a clay that is too soft or too stiff, making it difficult to work with. It is important to let the clay rest for a period of time before using it for your artistic creations.
4. Overworking the clay: Overworking the clay can cause it to become too soft and lose its shape. It is important to handle the clay gently and avoid excessive kneading or manipulation.
To avoid these common mistakes, it is important to follow the instructions carefully and practice patience and precision when making clay.
Conclusion
Making clay from scratch is a rewarding and fulfilling process that allows artists and crafters to have complete control over the material they are working with. It is a cost-effective, customizable, and environmentally friendly alternative to purchasing pre-made clay. By following a step-by-step guide and practicing patience and precision, anyone can learn to make their own clay at home.
Clay making is not only a practical skill but also a therapeutic activity that promotes mental health and well-being. It provides an opportunity for self-expression, stress relief, mindfulness, and problem-solving. Whether you are an experienced artist or a beginner, clay making offers endless possibilities for creativity and artistic exploration.
So why not give it a try? Transforming earth into something beautiful is not only an art form but also a journey of self-discovery and personal growth. Be sure to follow all instructions on how to make clay from dirt carefully, and always consult an expert when in doubt. Happy crafting!


