Welcome to the world of pottery! Making double-pinch pots is a fascinating and creative way to create unique and functional ceramic pieces.
Pinch pottery is one of the oldest and simplest methods of hand-building in ceramics, and the double pinch pot technique adds an additional layer of complexity and versatility to the process. In this intro paragraph, we will explore the steps and techniques involved in making a double pinch pot, from preparing the clay to shaping and refining the form.
Whether you’re a beginner or an experienced potter, learning how to make a double pinch pot can be a rewarding and enjoyable experience that allows you to unleash your creativity and craft beautiful pottery pieces with your own hands. So, let’s dive in and discover the art of making double-pinch pots!
Table of Contents
What Is a Double Pinch Pot?
A double pinch pot is an art form that combines two different methods of hand-building clay – pinching and coiling. The end result is a two-sided pot with a flat bottom, rather like a bowl or vase in shape. It’s a popular choice for both beginners and experienced potters alike, as it requires relatively little skill to create but looks impressive when finished. With the right technique and materials, anyone can make a beautiful double-pinch pot!
The name “double pinch pot” comes from the fact that each side of the vessel is made from two distinct techniques: pinching and coiling. In the pinching technique, you use your fingers to gently press and shape the clay into a desired shape, while in the coiling method, you roll thin strands of clay into coils which are then carefully pressed together to form the structure of the pot. The combination of these two techniques gives rise to a double pinch pot’s distinctive shape, with two raised sides and a flat bottom.
Making your own double pinch pot is a great way to get creative and make something unique, as no two pots will ever be the same. It’s also a great project for those just getting started in pottery, as it requires minimal tools and materials while still allowing you to create something beautiful. So why not give it a try? With a bit of practice and patience, you can make your own double pinch pot with ease!
10 Steps How to Make a Double Pinch Pot
Step 1: Gather Materials and Prepare Clay
First, gather all the materials you’ll need, including clay, water, a clay knife, and a clean work surface. Choose a clay body suitable for hand-building, such as earthenware, stoneware, or porcelain.
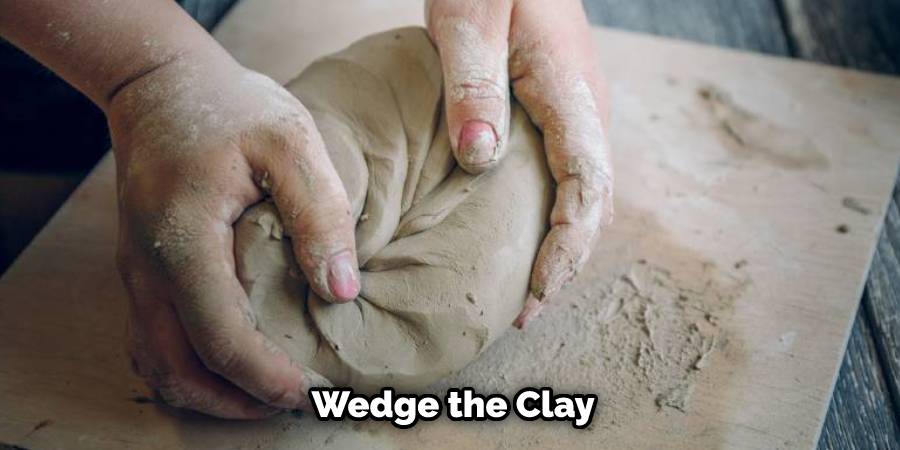
Wedge the clay to remove any air bubbles and ensure it’s pliable and free of lumps. If necessary, add a small amount of water to make the clay more malleable. Once it’s ready, roll a coil about ¼ inch thick and cut it into two equal-sized pieces.
Step 2: Form Two Equal-Sized Clay Balls
Next, take two equal-sized balls of clay and roll them into smooth spheres between your hands. These will serve as the base for your double-pinch pot. Make sure your clay balls are even in size since this will affect the symmetry of the finished product.
Additionally, if you have a scale or measuring device, you can use it to ensure your clay balls are the same size. After you’ve formed two even-sized spheres, set them aside.
Step 3: Create an Indentation in Each Clay Ball
Using your thumb or fingers, gently press down into the center of each clay ball to create an indentation. The depth and width of the indentation will determine the size of your pot and the thickness of the walls.
Experiment and see what type of pot you can make based on the size of your indentation. If you want to add texture to your pot, use a spoon or other object to create indentations or patterns in the clay after you have made your initial indentation.
Step 4: Pinch and Shape the Clay Balls
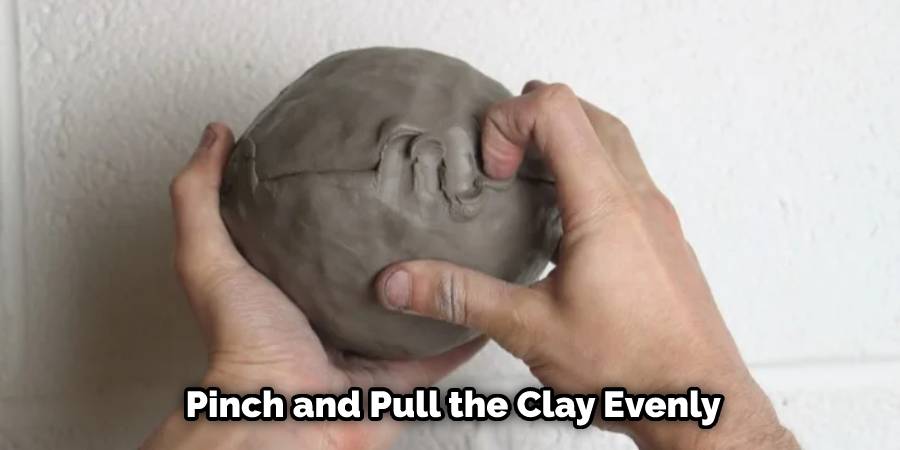
Start with one clay ball and use your thumb and fingers to pinch and shape the clay, gradually working your way around the indentation. Pinch and pull the clay evenly to thin and shape the walls of the pot. Repeat the process with the other clay ball.
If the clay is too sticky, you can use a craft knife or your fingernails to help. Once both balls have been pinched and shaped, use a damp sponge to gently smooth out any rough edges and join the two pieces together.
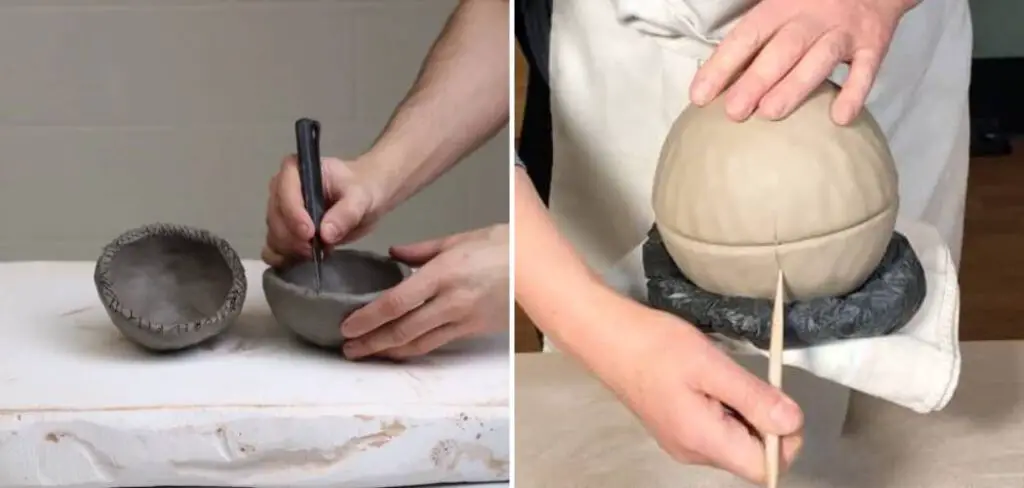
Step 5: Join the Two Pinched Clay Balls
Once both clay balls are shaped into pots, carefully bring them together, aligning the edges of the openings. Gently press and smooth the edges together to join the two pots, creating a double-walled structure.
If air bubbles form between the two, squeeze them out. Finally, use a tool to create a curved pattern around the edges of the double pinch pot. Allow the pot to dry completely before you fire it in the kiln.
Step 6: Refine the Shape and Thickness
Use your fingers or clay tools to further refine the shape and thickness of the double pinch pot. Smooth out any uneven areas, adjust the wall thickness to your desired preference, and shape the pot to your liking.
Remember to leave the edges slightly thicker than the walls of the pot. This will help create a sturdy foundation when it comes time to apply your glaze. Once you are satisfied with your piece, set it aside and let it dry before continuing on to the next step!
Step 7: Add Decorative Elements (Optional)
This step is optional, but you can add decorative elements to your double pinch pot, such as textured patterns, handles, or sculptural additions. Get creative and let your imagination guide you!
If you’re new to clay sculpting, use a wooden or metal clay tool to add patterns and textures. For more experienced sculptors, you can use carving tools or add more complex structures to your double-pinch pot.
Step 8: Allow the Pot to Dry
Once you’re satisfied with the shape and design of your double pinch pot, set it aside in a dry, well-ventilated area to allow it to dry slowly and evenly. This may take several days to a week, depending on the thickness of the walls and the humidity in your environment.
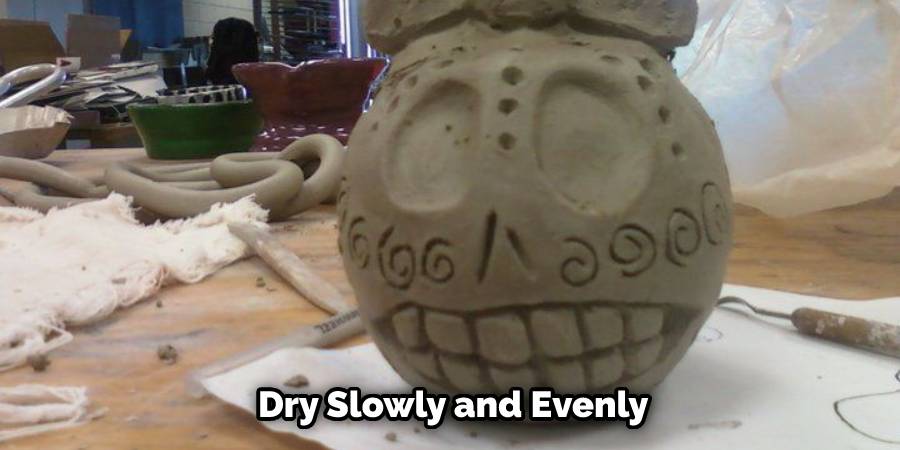
Be sure to check on your pot periodically, as it may need additional support or reinforcement during the drying process due to its unusual shape.
Step 9: Bisque Fire the Pot
After the double pinch pot has dried completely, it’s time to bisque fire it in a kiln to transform it into a durable ceramic piece. Follow the firing instructions for your specific clay type and kiln. This process usually takes around 16 hours and should reach between 1,800 and 2,200 degrees Fahrenheit.
Step 10: Glaze and Final Firing (Optional)
If desired, you can apply glaze to your bisque-fired double pinch pot to add color and finish. Once the glaze has been applied, fire the pot again in the kiln according to the glaze firing instructions. Once the firing is complete, your double pinch pot will be ready to use.
Things to Consider When Making a Double Pinch Pot:
1. Choose the Right Clay for Your Pinch Pot:
Clay that is too moist or too dry can be difficult to work with and can make your pinch pot more fragile. Research the best clay for a pinch pot, and be sure to use proper moisture in order to get an ideal shape.
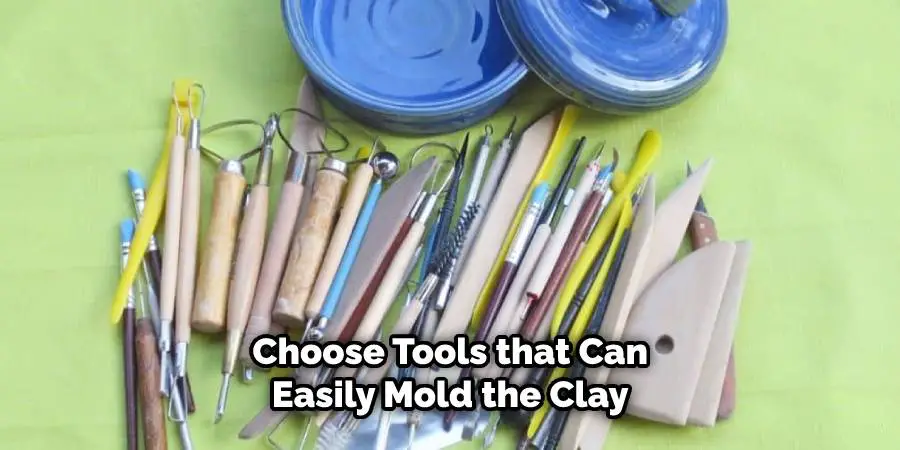
2. Decide on the Right Tools:
When making a double-pinch pot, you will want to choose tools that can easily mold the clay with minimal effort. Consider tools such as wooden or metal pegs, loop tools, or sponges, depending on the size of your project.
3. Practice Makes Perfect:
Before making your double-pinch pot, practice with some smaller clay pieces first, if possible. This will help you become comfortable with how much pressure you need to apply when shaping your double pinch pot, and it’ll give you time to figure out any techniques that work best.
4. Take Your Time:
When making double-pinch pots, it’s important to take your time and be patient with each step. Give yourself enough time to properly shape the clay without rushing or forcing it too quickly, as this can cause imperfections in your final product.
Conclusion:
In conclusion, learning how to make a double pinch pot is an extremely valuable skill for those passionate about pottery. It requires great attention to detail, practice, and patience. With the right supplies and guidance, anyone can learn how to make their own double pinch pot in no time!
Whether you’re just starting out or have been working with clay for years, exploring different hand building techniques such as this one can help you become an even better artist.
For more tips and tricks on how to best use your tools and materials when making double pinch pots, check out our blog post for more detailed instructions on what you’ll need and how to get started!


