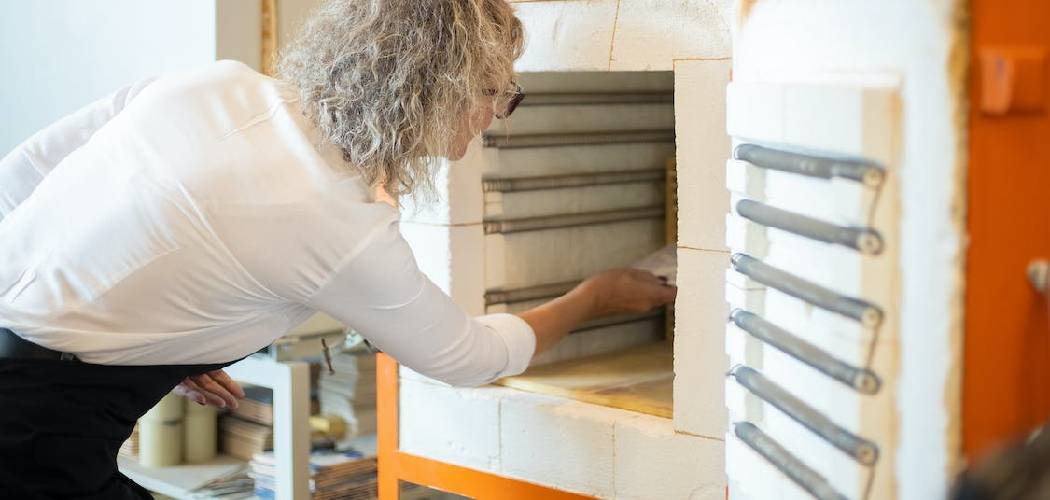
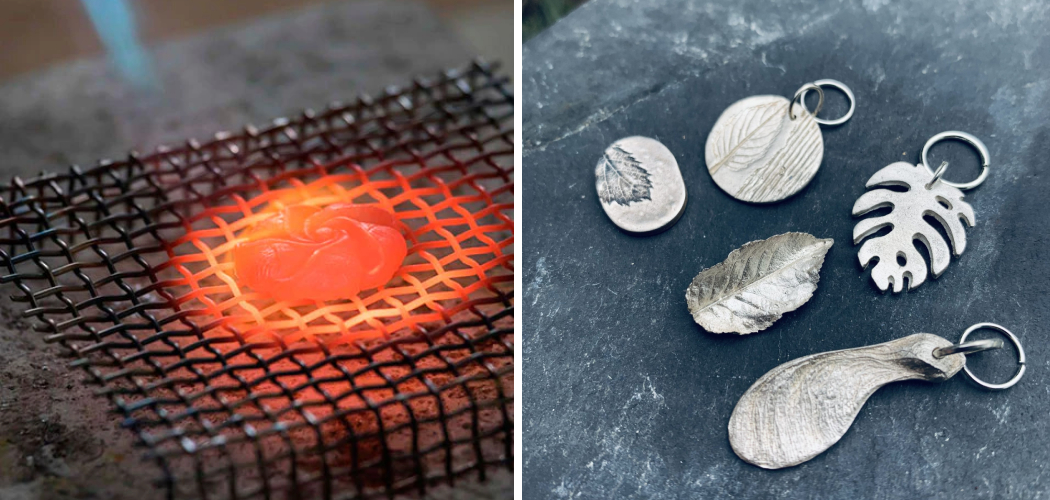
Pottery firing is a crucial step in the pottery-making process. It involves heating the clay to a specific temperature to transform it into a durable and functional piece of art. One of the essential tools used in pottery firing is the cone pack.
Cone packs are small, triangular-shaped objects made of ceramic materials that help monitor the temperature inside the kiln during firing. In this post, we will discuss how to make a cone pack and the importance of cone packs in pottery firing, the materials required to make them, and how to use them to achieve perfect firing results.
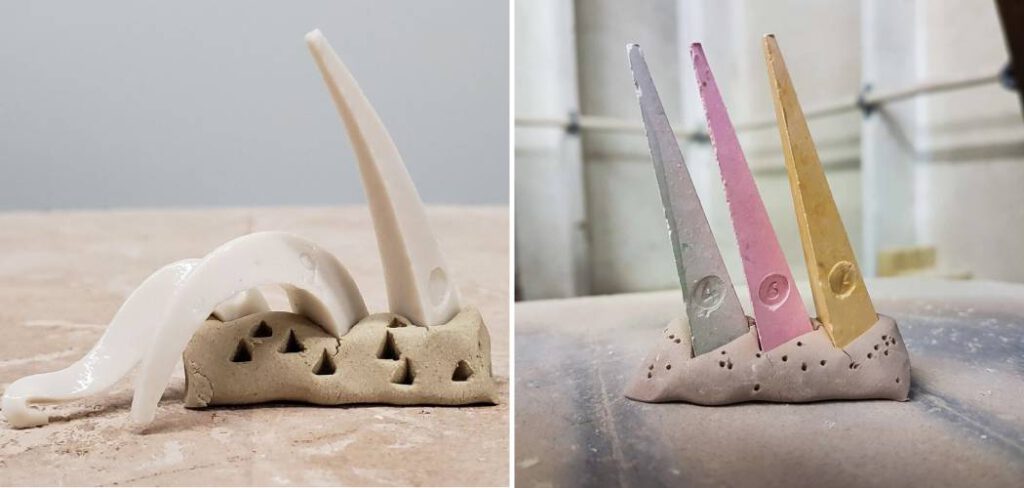
Table of Contents
Introduction to Cone Packs in Pottery Firing
Cone packs are small, triangular-shaped objects made of ceramic materials that are used to monitor the temperature inside the kiln during firing. They are placed in the kiln alongside the pottery pieces and are designed to bend or melt at specific temperatures. The bending or melting of the cone pack indicates that the kiln has reached the desired temperature and the firing process is complete.
Cone packs are essential in pottery firing because they help ensure consistent firing results. They provide a visual indication of the temperature inside the kiln, which helps potters adjust the firing process to achieve the desired results. Without cone packs, it would be challenging to know if the kiln has reached the desired temperature, which could result in under or over-fired pottery pieces.
Understanding the Importance of Cone Packs in Pottery Firing
Cone packs play a crucial role in ensuring consistent firing results in pottery making. They help potters monitor the temperature inside the kiln and make adjustments to achieve the desired results. Cone packs are designed to bend or melt at specific temperatures, which provides a visual indication of the temperature inside the kiln.
Cone packs also help potters achieve consistent firing results by providing a reference point for future firings. By keeping a record of the cone packs used in each firing, potters can adjust the firing process to achieve the same results in future firings. This is particularly important for potters who sell their work or create pieces for specific purposes, such as functional pottery.
Materials Required for Making a Cone Pack
To make a cone pack, you will need the following materials:
- Cone-shaped ceramic material
- Clay
- Water
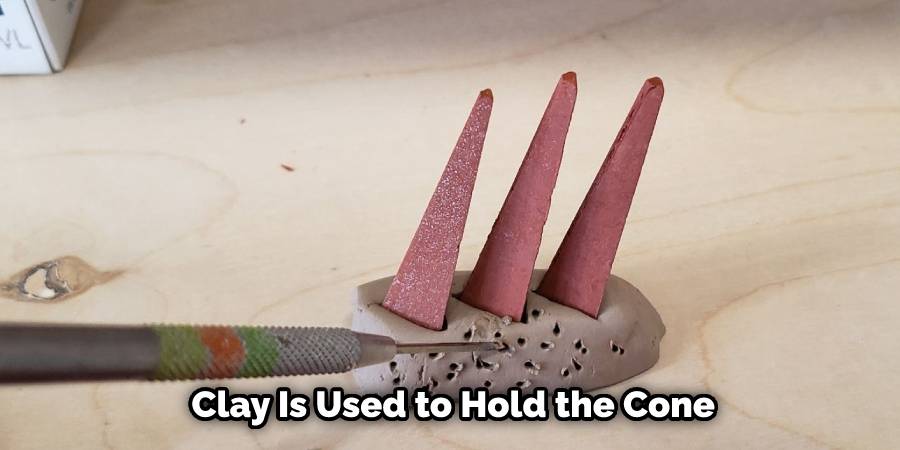
The cone-shaped ceramic material is the most critical component of the cone pack. It is designed to bend or melt at specific temperatures, which provides a visual indication of the temperature inside the kiln. The clay is used to hold the cone-shaped ceramic material in place and to form the cone pack. Water is used to moisten the clay and make it pliable.
10 Steps Guide on How to Make a Cone Pack
To make a cone pack, follow these steps:
Step: 1. Choose the Right Cone Type:
Select the appropriate pyrometric cones based on your clay body and desired firing temperature. Cones are available in various temperature ranges, such as low fire (cone 022-018), mid-range (cone 5-7), and high fire (cone 9-10). Ensure the cone’s temperature range matches your firing requirements.
Step: 2. Gather Cone Pack Materials:
Collect the necessary materials for creating a cone pack, including pyrometric cones, kiln shelves or supports, kiln posts or stilts, and kiln wash or shelf paper. These materials will ensure proper positioning and support for the cones during firing.
Step: 3. Prepare the Kiln Shelves:
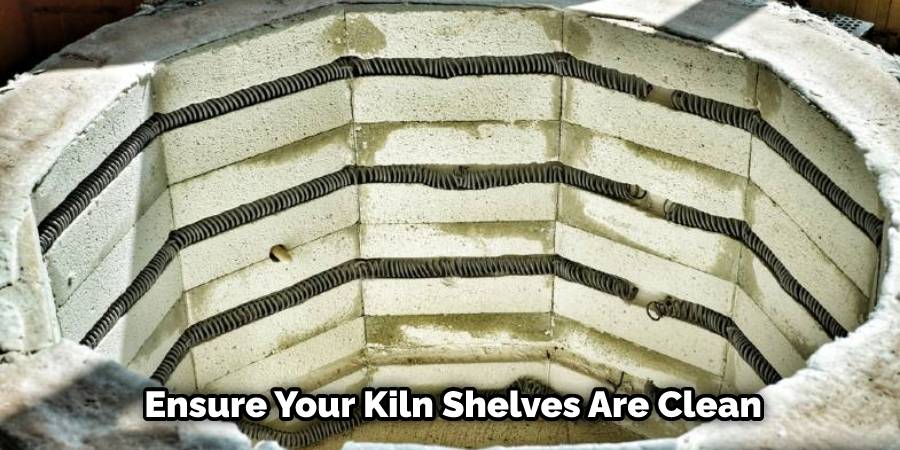
Ensure your kiln shelves are clean and free from any debris or glaze drips. Apply kiln wash or use shelf paper to prevent cones from sticking to the shelves. Cut the shelf paper to fit the size of your kiln shelves, or mix and apply kiln wash according to the manufacturer’s instructions.
Step: 4. Position the Kiln Shelves:
Place the kiln shelves on the kiln posts or stilts inside the kiln. Ensure there is sufficient space between the shelves for the cone packs and proper heat circulation during firing. Consider the size of your kiln and the number of cone packs you wish to create.
Step: 5. Arrange the Cone Packs:
Position the pyrometric cones in a group, ensuring they are visible and accessible for observation during firing. Place the cones in a cone plaque or on a kiln shelf, ensuring they are stable and won’t topple over during the firing process.
Step: 6. Determine Cone Placement:
Consider the cone’s maturity characteristics and desired location within the kiln. Typically, cones are placed in various areas of the kiln, such as the front, back, top, and bottom. Consult the cone manufacturer’s guidelines for recommended cone placement based on their specific characteristics.
Step: 7. Use Cone Plaques:
If using cone plaques, position the cones in the designated holes or slots provided on the plaque. The cone plaques offer stability and make it easier to monitor the cones’ bending and melting during firing.
Step: 8. Document Cone Positions:
Maintain a record of the cone placements in your kiln. This will help you track the cone’s behavior and evaluate the firing process for future reference. Take note of the cone type, location, and any observations made during firing.
Step: 9. Close the Kiln:
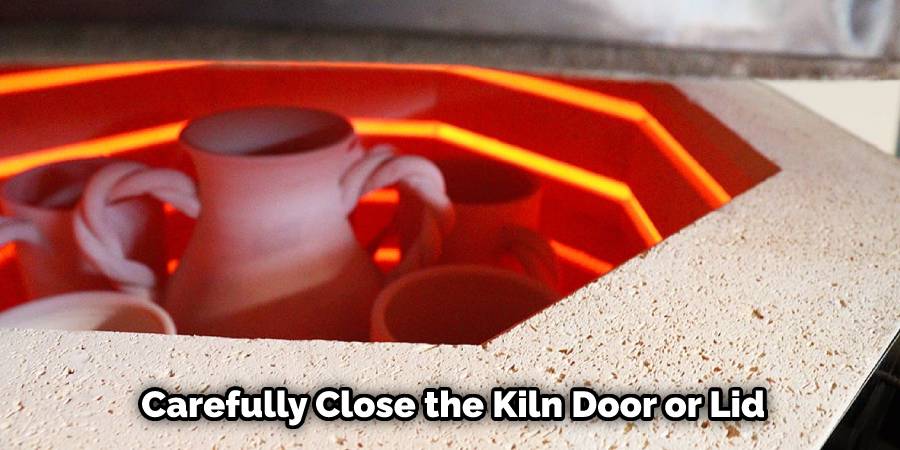
Carefully close the kiln door or lid, ensuring it is securely sealed. Monitor the kiln temperature using a pyrometer or digital controller to ensure the kiln reaches the desired firing temperature. Observe the cone packs through the peepholes or viewing windows during the firing process.
Step: 10. Evaluate Cone Results:
After the firing process, carefully examine the cone packs to assess the cones’ bending and melting. Compare the results to the cone’s maturity range to determine if the firing was successful. Take note of any variations or abnormalities that may require adjustments in future firings.
Tips for Placing Cone Packs in the Kiln
When placing cone packs in the kiln, it is essential to follow best practices to ensure accurate firing results. Here are some tips for placing cone packs in the kiln:
1. Place the cone packs in the same location in the kiln for each firing. This will help ensure consistent firing results.
2. Place the cone packs in a location where they can be easily seen through the kiln’s peephole.
3. Place the cone packs in a location where they will be exposed to the same amount of heat as the pottery pieces.
How to Read Cone Packs During Firing
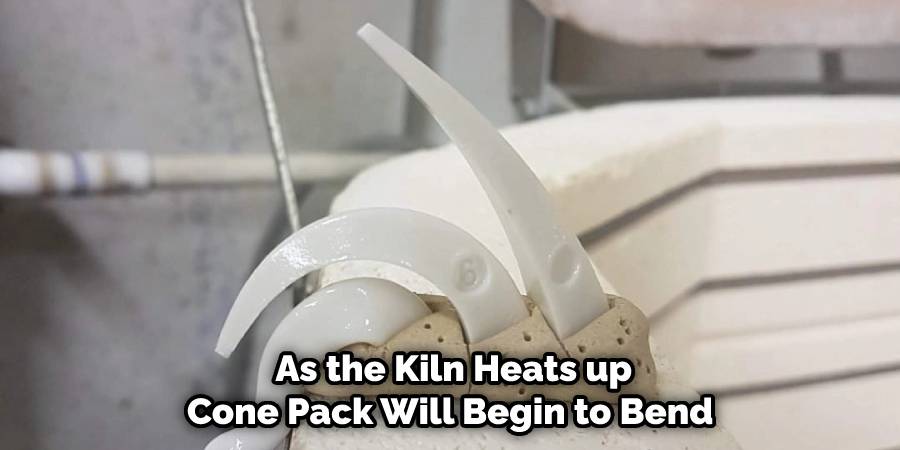
During firing, cone packs will undergo changes that indicate the temperature inside the kiln. Here is how to interpret the changes in the cone pack during firing:
1. As the kiln heats up, the cone pack will begin to bend.
2. As the kiln reaches the desired temperature, the cone pack will bend further or begin to melt.
3. If the cone pack does not bend or melt, the kiln has not reached the desired temperature.
Troubleshooting Common Cone Pack Issues
Sometimes, cone packs can experience issues that affect their accuracy. Here are some common issues and tips for addressing them:
1. Cone packs that are not securely held in place can fall over during firing, which can affect their accuracy. To prevent this, ensure that the cone-shaped ceramic material is securely held in place by the clay.
2. Cone packs that are placed too close to the pottery pieces can be affected by the heat radiating from the pottery. To prevent this, place the cone packs in a location where they will be exposed to the same amount of heat as the pottery pieces.
Best Practices for Firing Pottery with Cone Packs
To achieve perfect firing results with cone packs, it is essential to follow best practices. Here are some best practices for firing pottery with cone packs:
1. Use the same type of cone pack for each firing to ensure consistent results.
2. Place the cone packs in the same location in the kiln for each firing.
3. Keep a record of the cone packs used in each firing to use as a reference for future firings.
Advanced Techniques for Cone Pack Firing
Advanced techniques for cone pack firing involve using multiple cone packs to monitor the temperature in different areas of the kiln. This can help potters achieve more precise firing results and ensure that all pottery pieces are fired evenly.
Conclusion
Cone packs are an essential tool in pottery firing. They help potters monitor the temperature inside the kiln and make adjustments to achieve the desired results.
By following the tips and techniques covered in this post, potters can master the use of cone packs and achieve perfect firing results every time. Follow these simple instructions outlined in this blog post about how to make a cone pack, and you’ll be able to get the job done with ease.
