Crafting a clay whistle is a delightful and hands-on project that combines artistic expression with functional creation. Whether you’re a seasoned clay artist or a beginner eager to explore the world of pottery, making a clay whistle offers a unique blend of creativity and craftsmanship. In this guide, we will delve into the step-by-step process of how to make a clay whistle, exploring the essential techniques of hand-building, shaping, and tuning.
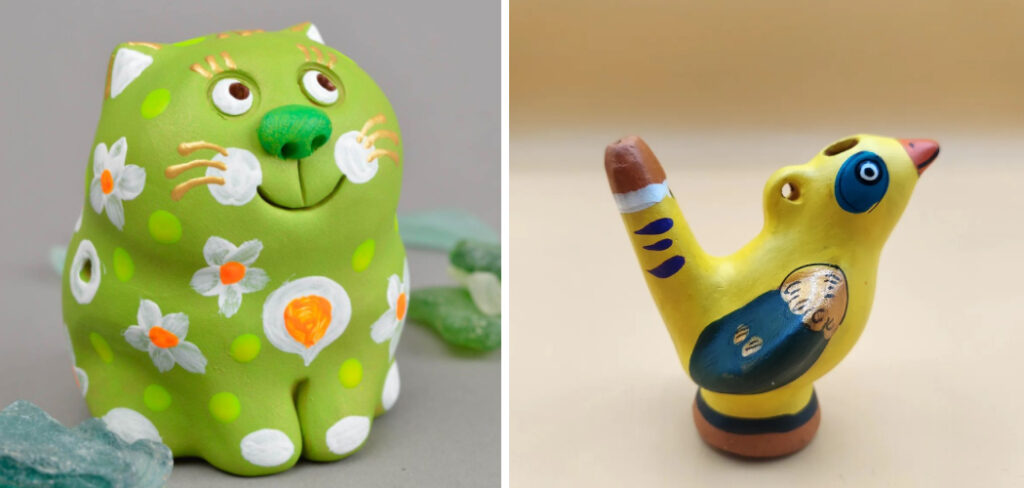
From selecting the right type of clay to carving intricate designs and perfecting the whistle’s sound, we’ll provide valuable insights and practical tips for artists of all levels. Unleash your imagination and musical inclinations as we demystify the art of making a clay whistle, guiding you through the fascinating journey of turning raw clay into a functional and aesthetically pleasing musical instrument.
Table of Contents
Basic Considerations before Starting the Project
When it comes to making a clay whistle, there are a few basic considerations that you need to keep in mind before starting the project. These considerations will help you create a successful clay whistle and avoid any potential mistakes or challenges along the way.
Choose the Right Clay
The type of clay you use is crucial in determining the quality and durability of your final product. There are various types of clay available, such as earthenware, stoneware, and porcelain. Each type has its own unique properties, so make sure to research and choose the one that best suits your needs.
Have the Right Tools
To create a clay whistle, you will need some basic tools such as a rolling pin, cutting tool, and carving tools. Make sure to have these tools ready before starting the project, as they will make the process much easier and more efficient.
Plan Your Design
Before you start working with clay, it’s important to have a clear idea of what kind of whistle you want to create. This will help guide your design choices and ensure that you end up with a whistle that looks the way you envisioned it.
Practice Beforehand
Clay is a malleable material and can be challenging to work with, especially if you are new to pottery. It’s always a good idea to practice your techniques on some spare clay before starting the actual project. This will give you a better understanding of how the clay behaves and allow you to make any necessary adjustments before working on your final whistle.
Keep Your Work Area Clean
Working with clay can be a messy process, so it’s important to keep your work area clean and organized. This will not only make the process more enjoyable, but it will also prevent any unwanted debris from getting onto your clay and potentially ruining your project.
10 Methods How to Make a Clay Whistle
1. Gather Materials
The first step in making a clay whistle is to gather all the necessary materials. This includes clay, water, a sharp knife or clay cutting tool, and a smooth surface for working on. It is important to use a clay that can be air dried or baked in an oven, as some types of clay may not be suitable for making whistles.
2. Prepare the Clay
Before starting to mold the clay, it is important to prepare it by adding small amounts of water and kneading it until it reaches a pliable consistency. This will make it easier to work with and prevent cracks from forming. Once the clay is ready, you can start molding it into the desired shape for your whistle.
3. Create a Basic Shape
Using your hands or a rolling pin, flatten out the clay into a basic shape that resembles the body of the whistle. This can be circular, oval, or any other desired shape. Make sure the clay is at least 1/4 inch thick to ensure a sturdy whistle that will not crack or break easily.
4. Hollow Out the Inside
Next, use your fingers or tools to carefully hollow out the inside of the clay shape. This will create an empty space for air to pass through when you blow into the whistle. Be sure to smooth out any rough edges or bumps on the inside as well, as these can affect the sound quality of your whistle.
5. Create Air Hole
Using your sharp knife or tool, create a small hole on one side of the whistle where you want air to enter. This should be near one end of the hollowed-out space. The size and placement of the air hole will affect the sound produced by your whistle. If you want a higher-pitched sound, make a smaller hole closer to the end of the whistle. For a deeper sound, make a larger hole further from the end.

6. Make Mouthpiece
On the opposite side of the air hole, create another small hole for your mouthpiece using your knife or tool. This should be slightly larger than the air hole and at an angle. Once you have created the hole, round off the edges with sandpaper or a file to create a smooth and comfortable surface for your lips.
7. Add Decorations (Optional)
If desired, you can add decorative elements to your whistle such as lines, dots, or shapes using your tools before firing it in the kiln. This step is not necessary, but it can make your whistle more unique and personalized.
8. Fire in Kiln
Once you have completed shaping and decorating your whistle, allow it to dry completely before firing it in a kiln according to its specific instructions. Most kilns require preheating to a certain temperature before placing the clay object inside. It is important to follow these instructions carefully as firing at the wrong temperature or for too long can result in a ruined whistle.
9. Sand and Smooth Edges (Optional)
After firing, you may choose to sand down any rough edges on your whistle using sandpaper for a smoother finish. This step is optional, but it can help improve the appearance of your whistle and make it more comfortable to use.
10. Test Your Whistle!
The final step is to test your whistle by blowing into the mouthpiece and adjusting the air hole if necessary. With practice, you can create different pitches and sounds by changing the size and shape of your whistle.
Things to Consider When Making a Clay Whistle
When it comes to making a clay whistle, there are a few things that you need to consider in order to make sure your project is successful. Below are some tips and considerations for making a clay whistle.
Choosing the Right Clay
The type of clay you use will greatly impact the final result of your whistle. Some clays may be too soft and won’t hold their shape, while others may become too brittle or crack during firing. It’s important to choose a clay that is specifically meant for pottery and firing, such as earthenware or stoneware clay. Avoid using air-dry or self-hardening clays as they won’t hold up well in the firing process.
Understanding Air Flow
One of the key components to a functional whistle is the air flow. You’ll need to create an airway that allows air to pass through the body of the whistle and create sound when blown into. This can be achieved by creating a hollow tube or using tone holes, which are small openings on the surface of the whistle.
Shaping and Tuning
The shape and size of your whistle will also greatly impact the sound it produces. A longer, narrower body will create a higher pitch sound, while a wider and shorter body will produce a lower pitch. It’s important to experiment with different shapes and sizes to find the right combination for your desired sound.
Conclusion
In conclusion, learning how to make a clay whistle can be a fun and exciting way to channel your creativity. With just a few simple steps, you can create your very own unique piece of art that also functions as a musical instrument. Remember to choose the right type of clay, mold it into the desired shape, and carefully carve out the necessary holes for optimal sound quality. Don’t forget to personalize your whistle with decorations and designs that speak to your individual style.
And most importantly, don’t be afraid to experiment and embrace imperfections – after all, that’s what makes each whistle truly one-of-a-kind. So go ahead and give it a try! Share your experience with others and inspire them to create their own clay whistles. As they say, “music is the universal language” – let your whistle be a part of that conversation. Happy crafting!


