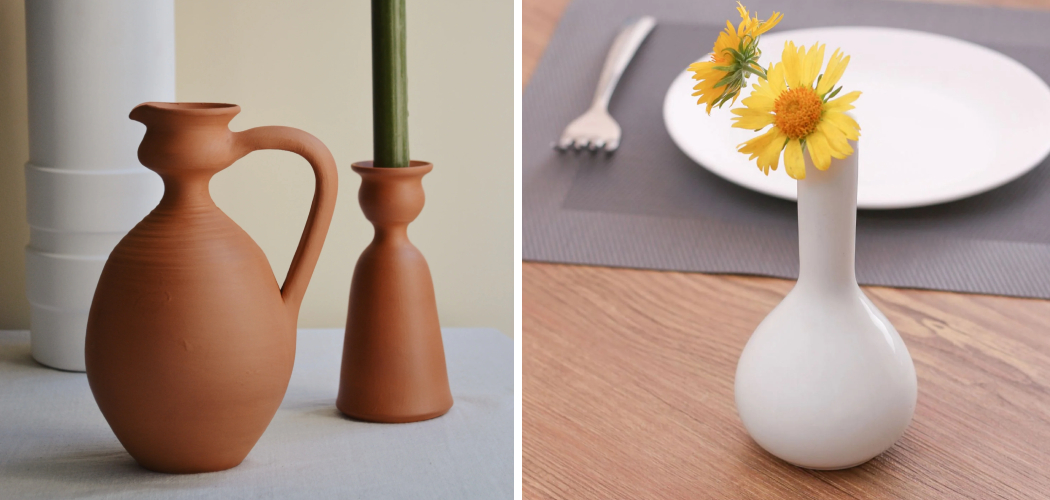
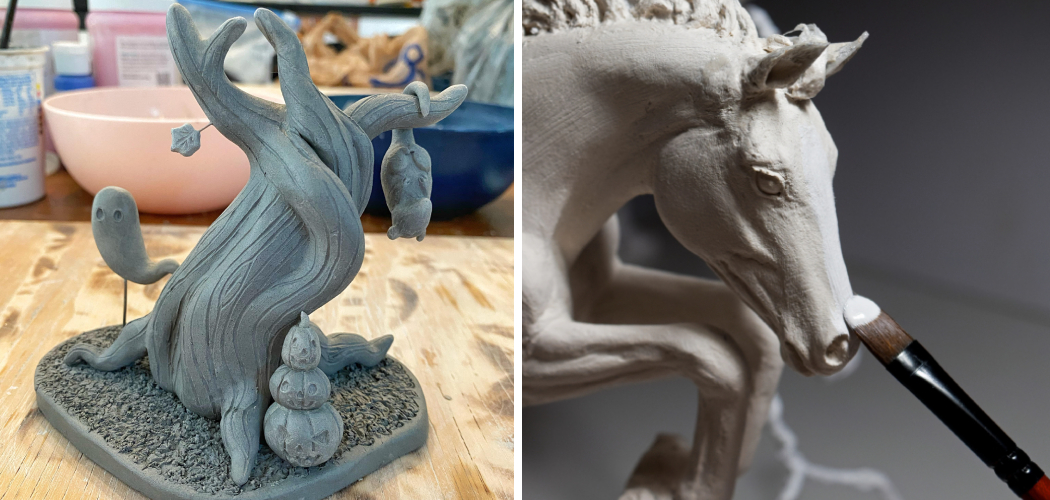
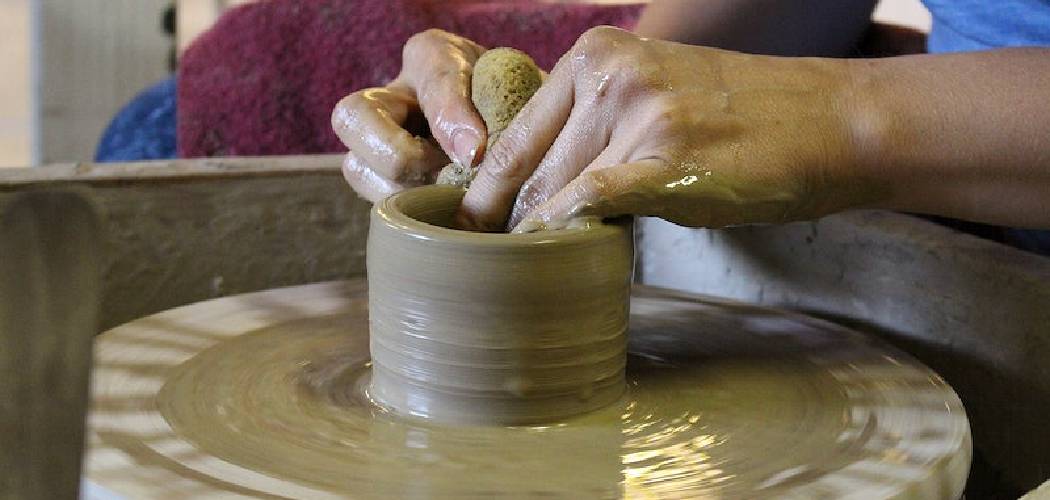
Creating a bowl from clay is a timeless and satisfying artistic endeavor that allows individuals to explore their creativity and produce functional, handcrafted pieces. In this comprehensive guide, we will delve into the step-by-step process of how to make a bowl from clay. From selecting the right type of clay and preparing it for shaping to mastering essential hand-building or wheel-throwing techniques, each stage of the pottery-making process will be explored in detail.
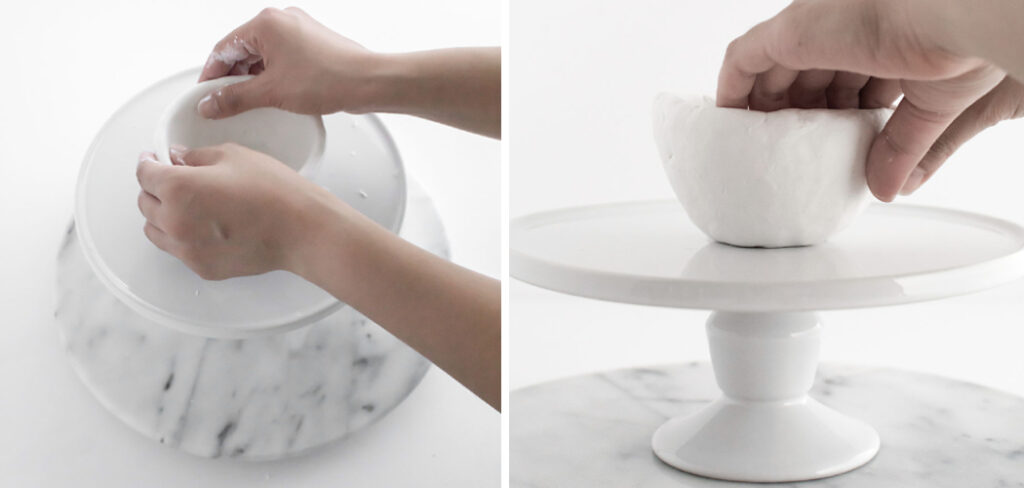
Whether you’re a novice or an experienced potter, understanding the nuances of working with clay is essential for crafting a bowl that is not only aesthetically pleasing but also durable. Join us on a journey through the world of pottery as we unravel the secrets to transforming a lump of clay into a unique and functional bowl, fostering a sense of accomplishment and connection to the age-old art of ceramics.
Table of Contents
Types of Clay Suitable for Bowl-Making
When it comes to making a bowl from clay, the type of clay used is crucial. There are several types of clay available, and each one has its own unique properties that make them more suitable for certain types of pottery.
Earthenware Clay
Earthenware clay is a type of low-fire clay that is soft and easy to work with. It is suitable for making bowls as it is less prone to cracking during the drying and firing process. However, earthenware clay may not be suitable for functional bowls that are used for serving food as it is porous and can absorb liquids.
Stoneware Clay
Stoneware clay is a high-fire clay that is durable and perfect for functional bowls. It can withstand high temperatures and is resistant to chipping and cracking. It also has a beautiful finish when glazed, making it ideal for decorative bowls.
Porcelain Clay
Porcelain clay is another type of high-fire clay that is known for its strength and durability. It has a smooth texture and is perfect for creating delicate, thin-walled bowls that are translucent when held up to the light. However, porcelain clay can be difficult to work with due to its tendency to warp during the firing process.
Raku Clay
Raku clay is a low-fire clay that is perfect for creating unique and decorative bowls. It is known for its ability to create dramatic patterns and textures when fired in a specific way. Raku bowls are not suitable for functional use as they are not food safe.
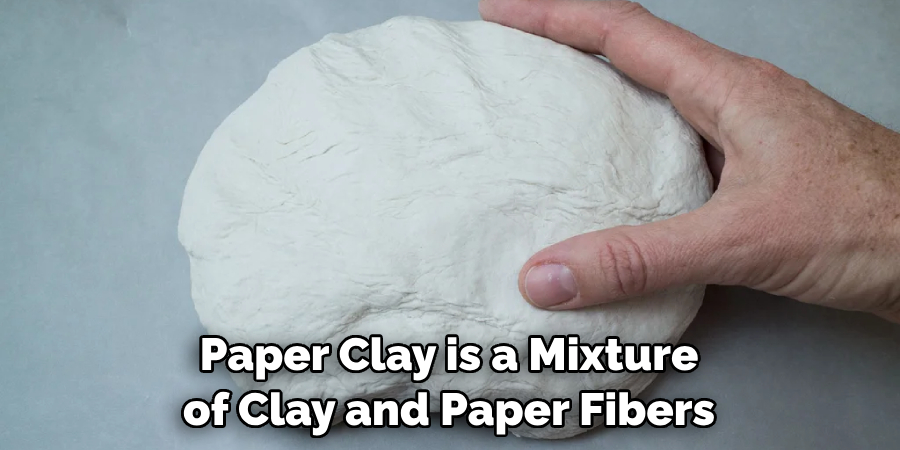
Paper Clay
Paper clay is a mixture of clay and paper fibers, making it lightweight and easy to sculpt. It is perfect for creating delicate, intricate designs in bowls. However, paper clay is not as strong as traditional clay and may not be suitable for functional bowls that are used for everyday use.
10 Steps How to Make a Bowl from Clay
Step 1: Gather Your Materials
Before diving into the world of clay, gather all the necessary materials. This includes clay suitable for your project, a pottery wheel or a rolling pin, carving tools, a sponge, a wire cutter, a ruler, and a bowl or template for shaping.
Step 2: Prepare Your Workspace
Create a dedicated workspace for your pottery endeavors. Cover surfaces with a canvas or plastic to prevent clay from sticking. Ensure adequate ventilation and have a water source nearby for moistening the clay and cleaning your tools.
Step 3: Choose Your Clay
Select a clay type that suits your preferences and project needs. Clays vary in color, texture, and firing temperature. Common types include earthenware, stoneware, and porcelain. Consider the intended use of your bowl and choose clay accordingly.
Step 4: Wedge and Knead the Clay
Wedging and kneading help remove air bubbles and ensure uniform consistency in the clay. Cut the clay into manageable chunks and press, fold, and rotate it to achieve a smooth, workable texture. This step is crucial for preventing cracks during the drying and firing stages.
Step 5: Center the Clay on the Wheel
For those using a pottery wheel, centering the clay is a fundamental skill. Place the clay on the wheel head and use your hands to center it. This process sets the foundation for shaping the bowl.
Step 6: Open the Clay
Once centered, use your thumbs to create an opening in the center of the clay. This initial opening will become the base of your bowl. Maintain even pressure to ensure a symmetrical form.
Step 7: Shape the Bowl
With the initial opening established, gradually widen and deepen the bowl using your hands or, if using a pottery wheel, the wheel’s spinning motion. Use your fingers to shape the walls, maintaining an even thickness and the desired form.
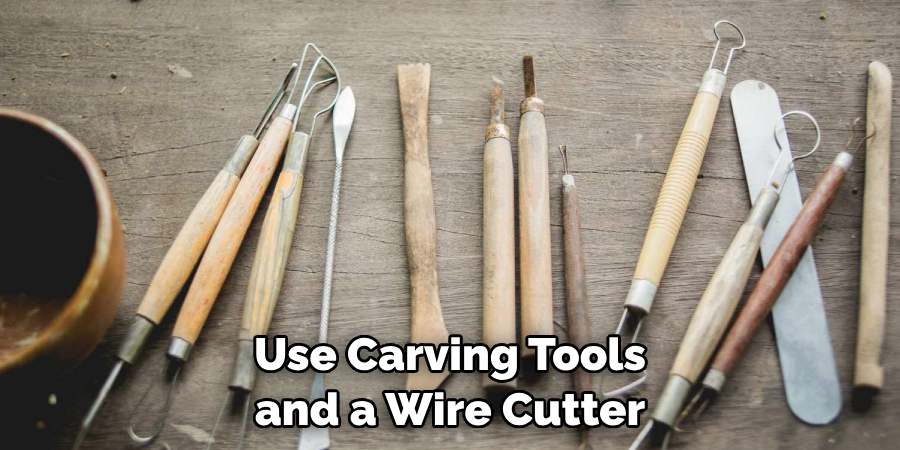
Step 8: Trim and refine the edges
Use carving tools and a wire cutter to refine the shape and trim excess clay from the bowl. Pay attention to the rim, ensuring it is even and smooth. Take your time to perfect the details that contribute to the bowl’s aesthetic appeal.
Step 9: Add Decorative Elements (Optional)
This step is an opportunity to add personal touches or decorative elements to your bowl. Carve patterns, add texture, or experiment with different surface treatments to enhance the visual appeal of your creation.
Step 10: Allow the Bowl to Dry and Fire
Allow your bowl to air dry thoroughly before firing it in a kiln. The drying process may take several days, depending on the size and thickness of the clay. Once dry, the bowl is ready for its first firing. Follow the specific firing instructions for the type of clay you’ve chosen.
Applying Even Pressure to Raise the Clay Walls
After centering the clay on the wheel, it is time to begin shaping and raising the walls of your bowl. This process requires applying even pressure to the sides of the clay while simultaneously using your fingers and hands to push upwards.
To start, gently press your thumbs into the center of the clay, creating a slight indentation. Then, slowly work your way outwards from the center, using your fingers to push and shape the clay into a bowl-like form.
As you continue shaping and raising the walls, it is important to maintain even pressure throughout. This will help ensure that your bowl has consistent thickness and avoids any weak spots or unevenness.
Remember to keep your hands wet as you work with the clay. This will prevent it from drying out and becoming difficult to shape.
As your bowl takes shape, you can also use a rib tool or sponge to smooth out any imperfections or ridges that may form on the surface. This will help give your bowl a clean and polished look.
Once you have reached your desired height for the walls of your bowl, it is time to gently push inwards at the top to create a slight curve. This will help give your bowl a more traditional shape and make it easier to use for holding items.
Paying Attention to the Rim, Sides, and Base for Desired Shape
It is essential to pay attention to the rim, sides, and base of your clay bowl if you want to achieve a desired shape. These three elements work together to create the overall form of your bowl. Let’s take a closer look at each one and how they contribute to the final product.
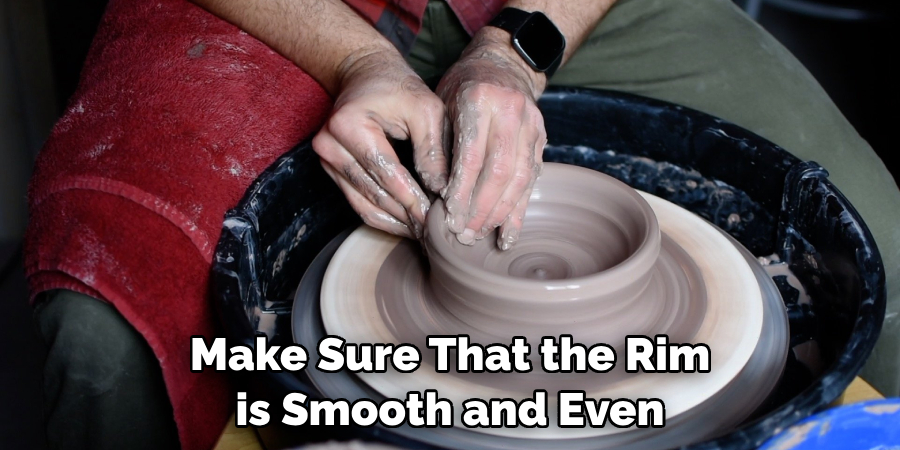
Rim
The rim of your bowl is where you will be drinking or eating from, so it’s important to get it right. First and foremost, make sure that the rim is smooth and even. You can achieve this by using a rib tool or your fingers to gently smooth out any bumps or imperfections. Next, consider the thickness of the rim. A thicker rim will create a sturdier bowl, while a thinner rim will give a more delicate appearance. Think about the function of your bowl and choose a rim thickness that matches it.
Sides
The sides of your bowl will determine its overall shape and height. If you want a shallow and wide bowl, you’ll need to keep the sides relatively flat. However, if you’re aiming for a deeper bowl, you’ll need to gradually curve the sides inwards towards the base. Pay attention to the angle and slope of your sides as you work, making sure they are even and symmetrical.
Base
The base of your bowl is what will determine its stability on a flat surface. It’s crucial to make sure that the bottom of your bowl is completely flat, without any lumps or indentations. This will ensure that your bowl sits evenly on a table or counter and doesn’t wobble. You can use a flat tool, such as a ruler or credit card, to smooth out the base of your bowl if needed.
Bringing it all Together
As you work on each element of your clay bowl, remember to constantly step back and assess the overall shape and form. Make adjustments as needed to achieve your desired shape. Keep in mind that the rim, sides, and base all work together to create a cohesive and functional bowl. By paying attention to these three elements, you can ensure a beautifully crafted and well-structured clay bowl. Now it’s time to let your creativity shine and decorate your bowl however you please!
Conclusion
In conclusion, learning how to make a bowl from clay is a wonderful and fulfilling experience that anyone can enjoy. From selecting the right type of clay to mastering different techniques, this process allows us to tap into our creative side and express ourselves in a unique way. By following the steps outlined in this blog post, you now have the tools to create your very own beautiful clay bowl. Keep in mind that practice makes perfect and don’t be afraid to experiment with different designs or glazes. And remember, it’s not just about the end result but also about enjoying the process and embracing imperfections as part of the beauty of handmade items.

