Kneading clay is the foundational step in the transformative journey from raw material to sculpted masterpiece. Whether you’re an aspiring ceramic artist or a seasoned potter, mastering the art of kneading clay is essential for achieving the desired texture, eliminating air pockets, and ensuring uniform consistency. In this comprehensive guide, we will explore the nuanced process of how to knead clay, unraveling the techniques that enhance malleability and prepare the clay for various pottery projects.

From understanding the different types of clay to adopting proper hand movements and leveraging specific tools, this article offers step-by-step instructions to help both beginners and experienced artisans hone their kneading skills. Get ready to immerse yourself in the therapeutic rhythm of kneading as we delve into the essential practices that lay the groundwork for successful ceramic creations.
Table of Contents
Importance of Kneading Clay
Kneading clay is an essential step in pottery and sculpting. It involves working the clay through various techniques to produce a smooth, pliable, and even consistency. The process of kneading removes air bubbles from the clay, ensuring that it will not explode or crack during firing. It also helps to align the particles within the clay, making it stronger and more workable.
Kneading clay is not just about preparing the material for sculpting. It also has significant implications for the final product’s quality and durability. Here are some reasons why kneading clay is essential in pottery and sculpting:
Removal of Air Bubbles
As mentioned earlier, kneading clay helps to remove air bubbles trapped within the material. These air pockets can cause the clay to explode or crack when subjected to high temperatures during firing. Kneading the clay compresses it, forcing the air bubbles out and making the material more dense and solid.
Even Consistency
Clay that has not been kneaded properly may have lumps or hard spots, which can affect its workability. These inconsistencies can also lead to uneven shrinkage and warping during the firing process. By kneading the clay, you are ensuring that it will have a smooth, even consistency, making it easier to work with and reducing the risk of deformities.
10 Steps How to Knead Clay
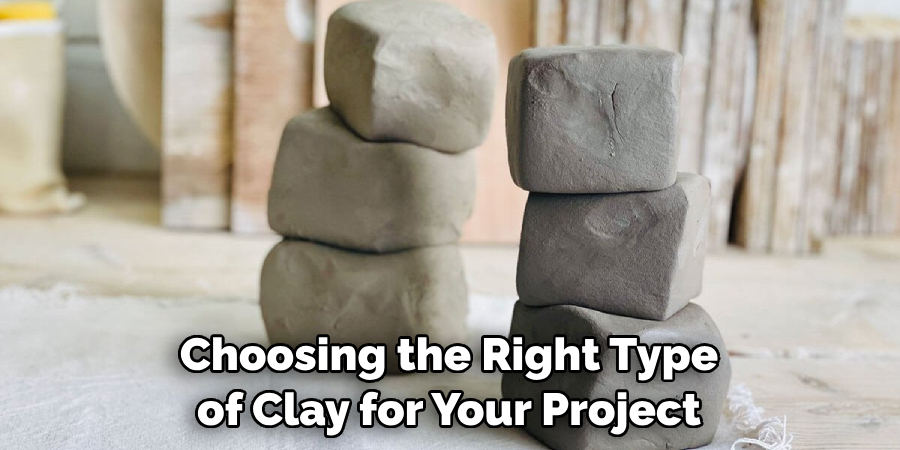
Step 1: Selecting the Right Clay:
Begin by choosing the right type of clay for your project. Different clays have varying characteristics, such as plasticity, grog content, and color. Select a clay that suits your artistic vision and the intended use of the final piece.
Step 2: Preparing Your Workspace:
Create a dedicated workspace for kneading clay. Ensure the surface is clean, flat, and provides enough room for the entire process. Consider using a canvas or plaster surface that helps absorb excess moisture.
Step 3: Cutting the Clay:
Cut a manageable portion of clay from the larger mass using a wire tool or a clay cutter. This step helps control the amount of clay you are working with and ensures even kneading.
Step 4: Flattening the Clay:
Flatten the clay into a pancake-like shape using the heel of your hand. This step increases the surface area, making it easier to incorporate and distribute moisture and air evenly throughout the clay.
Step 5: Folding the Clay:
Fold the flattened clay in half, creating layers. This folding motion helps trap air within the clay, promoting an even distribution that prevents air pockets from forming during the firing process.
Step 6: Rotating and Repeating:
Rotate the clay 90 degrees and repeat the flattening and folding process. This consistent rotation ensures uniformity in the clay’s texture and prevents the development of weak spots or uneven areas.
Step 7: Checking for Air Pockets:
Periodically check for air pockets by slicing the clay with a wire tool. If you encounter air bubbles, continue kneading until they are eliminated. Removing air pockets is crucial for preventing explosions or deformities during firing.
Step 8: Consistency and Texture:
Pay attention to the consistency and texture of the clay. Ideally, the clay should exhibit a smooth, elastic texture without visible lumps or dry spots. Adjust the moisture content by sprinkling water or allowing the clay to air-dry as needed.

Step 9: Final Testing:
Perform a final test to ensure the clay is ready. Take a small piece and form it into a coil. If the coil bends without cracking, and the clay feels pliable and cohesive, your clay is adequately kneaded and ready for shaping.
Step 10: Resting and Bagging:
Allow the kneaded clay to rest for a while, covered with a damp cloth or plastic to prevent drying. This resting period allows the clay particles to align and reach an optimal state for shaping. After resting, store the clay in an airtight bag to maintain its moisture until you are ready to use it.
Choosing an Appropriate Table or Board
As an artist, you may often find yourself in situations where you need to work with clay. Whether it’s sculpting or pottery, kneading clay is an essential part of the process. However, choosing the right surface to knead your clay on is equally important. In this section, we will discuss some factors that you should consider when choosing a table or board for kneading clay.
Texture and Material
The first thing to consider when choosing a table or board for clay kneading is its texture and material. Clay tends to stick to surfaces that are too smooth, making it difficult to work with. On the other hand, rough surfaces may leave unwanted imprints on your clay pieces. Wood is an ideal choice of material as it provides a slightly textured surface that is not too rough or smooth. However, make sure to avoid softwoods as they may absorb water from the clay and cause warping.
Size and Thickness
The size and thickness of your table or board are also important factors to consider. It should be large enough to comfortably accommodate your clay pieces, but not too big that it becomes difficult to work with. The thickness should be enough to provide a sturdy surface, but not too thick that it becomes heavy and cumbersome.
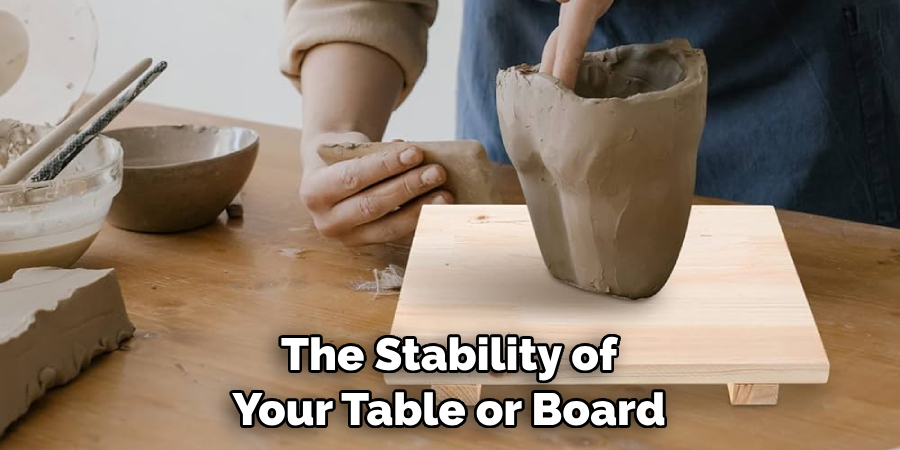
Stability
Another crucial factor is the stability of your table or board. It should have a solid base and legs that can support the weight of your clay pieces without wobbling. This will ensure that you can work on your clay with ease without the fear of it toppling over.
Durability
Given that kneading clay can be a messy process, it’s important to choose a table or board that is durable and can withstand constant use. It should also be able to handle moisture without warping or deteriorating.
Non-Stick Surface
A non-stick surface is also beneficial when choosing a table or board for kneading clay. This will prevent your clay from sticking to the surface and making it easier to work with. You can achieve a non-stick surface by using a plastic sheet, canvas cloth or parchment paper on top of your table or board.
Cutting or Sectioning the Clay Block
After selecting the desired consistency of your clay, it is time to cut or section the block into manageable pieces. This step is important as it allows for easier handling and maneuvering of the clay.
To begin, use a sharp knife or clay cutter to slice through the clay block. It is recommended to make clean and straight cuts rather than jagged or angled ones. This will ensure that the resulting pieces are of equal size and shape, making it easier to work with.
Alternatively, you can use a wire cutter or cheese slicer to section the clay block. This method is especially useful for softer clays, as it allows for more precise cutting without squishing or deforming the clay.
Once the clay block has been cut into smaller sections, you can further divide it into smaller pieces or balls for your projects. This process is known as wedging and involves compressing the clay to remove air pockets and create a uniform consistency.
It is important to note that cutting or sectioning the clay block should be done on a clean and smooth surface, such as a plastic mat or canvas cloth. This will prevent any debris from sticking to the clay and interfering with your projects.
Common Mistakes to Avoid When Kneading Clay
Kneading clay is a fundamental step in pottery and sculpting. It is the process of mixing and manipulating the clay to make it more pliable and uniform in texture. Despite being a simple technique, many beginners often struggle with kneading and make mistakes that can affect the quality of their final piece. In this article, we will discuss some common mistakes to avoid when kneading clay.
Not Preparing Your Workspace
Before you start kneading clay, it is essential to prepare your workspace. This includes cleaning and dusting the working surface and having all necessary tools within reach. Failure to do so can result in debris or foreign objects getting stuck in your clay, affecting its texture and causing inconsistencies in your finished piece. It can also be frustrating to have to stop in the middle of kneading to look for a missing tool.
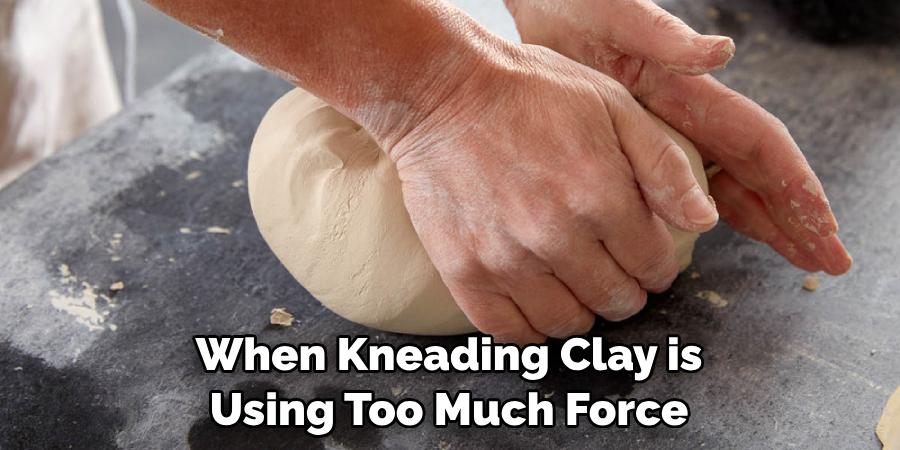
Using Too Much Force
Another common mistake beginners make when kneading clay is using too much force. While it may seem like applying more pressure will speed up the process, it can actually do more harm than good. Using excessive force can cause the clay to become hard and difficult to shape, resulting in an uneven texture. It can also tire out your hands and lead to hand fatigue.
Not Adding Water
Water is an essential component of clay as it helps create a smooth and workable consistency. When kneading, make sure to periodically add small amounts of water to keep the clay hydrated. Failure to do so can result in a dry and crumbly texture, making it challenging to mold and shape.
Over-Kneading the Clay
While kneading is important, overdoing it can be just as harmful. Over-kneading clay can cause it to become too soft and lose its structural integrity, resulting in a weak final piece. It can also make the clay more difficult to work with, as it can become sticky and difficult to shape.
Conclusion
Kneading clay is a rewarding process, unlocking creative potential and providing an opportunity to bond with nature. It allows us to become artisans of our own craft and explore the unique ways that clay can be shaped into one-of-a-kind pieces of arts. With the right know-how and dedication, you can knead your own clay creations that will no doubt bring joy for generations. So go forth, roll up those sleeves, and take on the challenge of shaping clay into its most beautiful form. What new masterpieces will you create? Test yourself today, by learning how to knead clay!


