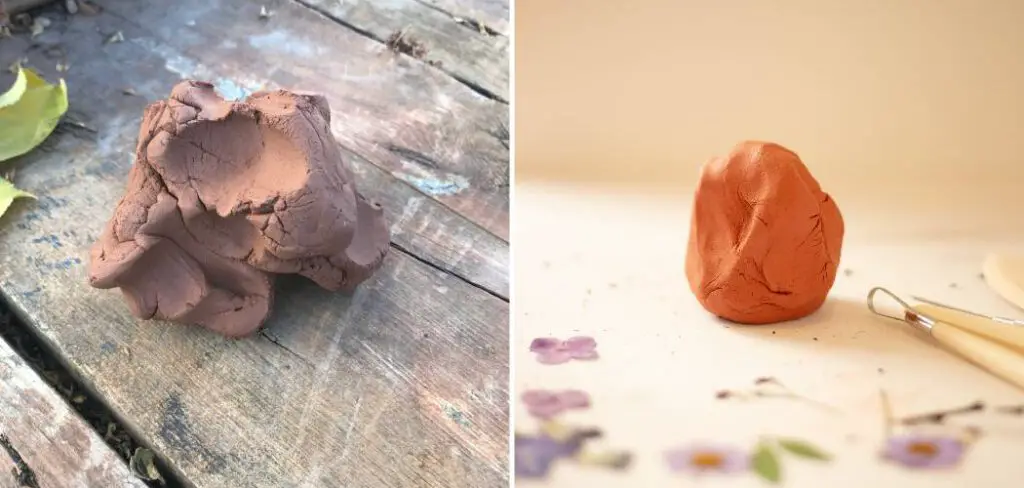
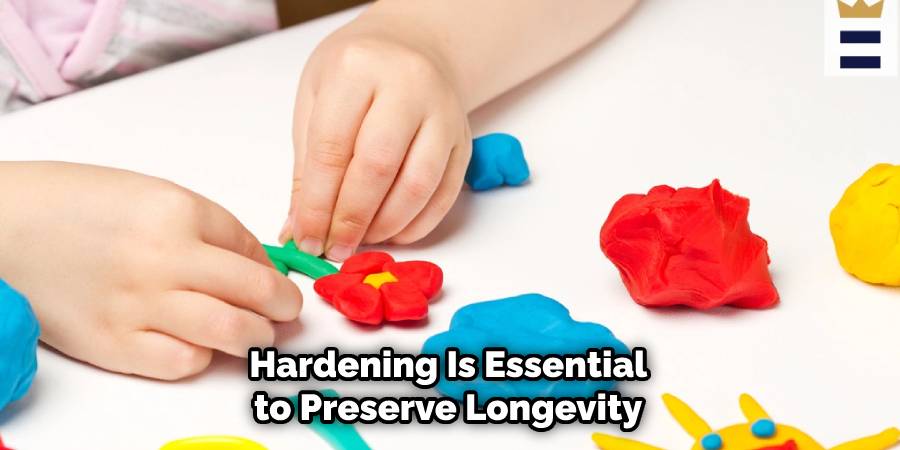
Modeling clay is a versatile medium for creating sculptures, models, and other craft projects. However, some types of clay may not harden on their own, leaving your creation susceptible to damage or deformation.
Fortunately, there are several methods to harden non-hardening modeling clay and ensure that your artwork lasts for years to come. From baking in an oven to air-drying and using sealants, each method has its advantages and limitations. However, it’s essential to choose the right method based on the type of clay you are using, the size of your project, and the desired level of hardness.
In this article, we’ll explore some of the best ways how to harden non-hardening modeling clay and provide step-by-step instructions to help you achieve the desired results. Whether you’re a beginner or an experienced artist, mastering the art of hardening clay is essential to creating long-lasting and beautiful works of art.
To harden non-hardening modeling clay, you can bake it in an oven according to the manufacturer’s instructions. Typically, this involves placing the clay on a baking sheet and heating it at a low temperature (around 275°F or 135°C) for a specified time until it hardens.
Table of Contents
Is It Possible to Harden Non-Hardening Modeling Clay?
Yes, it is possible to harden non-hardening modeling clay. There are a few methods that can be used to make the clay more durable and permanent. One of the most popular techniques is baking the clay in an oven to give it a harder consistency.
This method works well for small pieces or thin layers of clay. Another option is applying a sealant to the finished clay piece. This will help protect it from damage, as well as preserve its color and texture. It’s important to note that some sealants can cause the clay to turn yellow or darker in color.
Finally, you can also use Mod Podge or a similar product to give your piece an extra protective layer. With the right technique and a bit of patience, it is possible to harden non-hardening modeling clay. Just remember that every material reacts differently, so it’s always best to test out your chosen method on a small piece first!
8 Effective Ways How To Harden Non-Hardening Modeling Clay
1. Understanding Non-Hardening Modeling Clay
Before we dive into how to harden non-hardening modeling clay, let’s take a look at what it actually is. Non-hardening modeling clay is a type of clay that is formulated to never harden on its own. This type of clay is popular among artists who want to keep their sculptures pliable and malleable for a longer period of time.
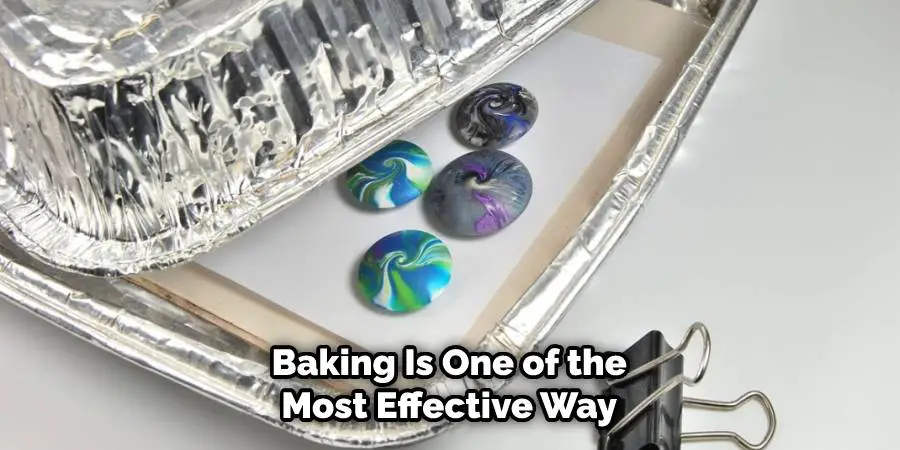
2. Baking Non-Hardening Modeling Clay
One of the most effective ways to harden non-hardening modeling clay is by baking it. Preheat your oven to the temperature recommended on the packaging of the clay. Place your clay sculpture on a baking sheet lined with parchment paper and bake it for the recommended time. After baking, let the sculpture cool down completely before handling it.
3. Using Air Dry Clay
Another way to harden non-hardening modeling clay is by using air-dry clay. Air-dry clay hardens on its own when exposed to air, so all you have to do is coat your non-hardening clay sculpture with a layer of air-dry clay. Make sure to follow the instructions on the packaging of the air dry clay to ensure proper hardening.
4. Using Epoxy Resin
Epoxy resin is a two-part adhesive that can be used to harden non-hardening modeling clay. Mix the resin according to the instructions on the packaging and apply it to your clay sculpture. Make sure to apply a thin, even layer to avoid any drips or bubbles. Allow the resin to dry completely before handling the sculpture.
5. Using Liquid Hardener
There are several liquid hardeners available on the market that can be used to harden non-hardening modeling clay. Simply apply a thin layer of the liquid hardener to your sculpture and let it dry completely. Be sure to follow the instructions on the packaging of the hardener to ensure proper hardening.
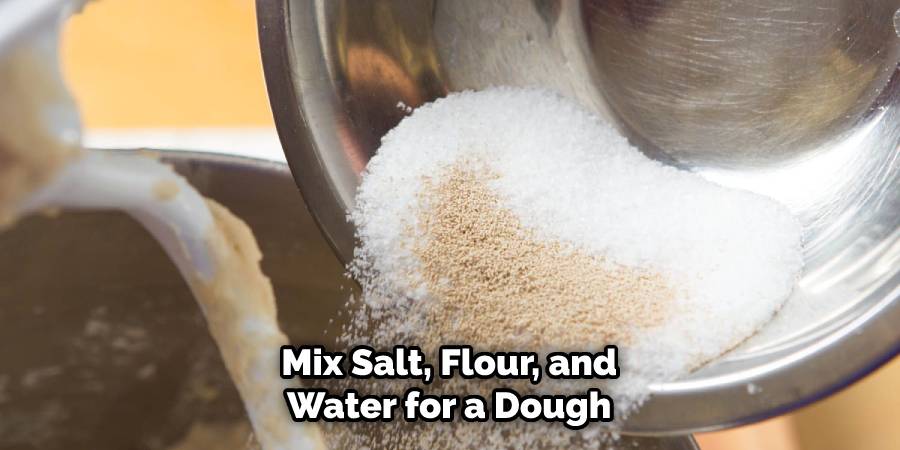
6. Using Salt Dough
Salt dough is another option to harden non-hardening modeling clay. Mix together equal parts of salt, flour, and water to create a dough. Roll out the dough and cover your non-hardening clay sculpture with it. Bake the sculpture in the oven at a low temperature for several hours, until the salt dough hardens completely.
7. Using Cornstarch
Cornstarch can be used to harden non-hardening modeling clay as well. Mix together equal parts of cornstarch and water to create a paste. Apply the paste to your clay sculpture and let it dry completely. Repeat the process as needed until the sculpture is hard enough for your liking.
8. Applying Clear Nail Polish
Clear nail polish can be used to harden non-hardening modeling clay as well. Apply a thin layer of clear nail polish to your sculpture and let it dry completely. Repeat the process as needed until the sculpture is hard enough for your liking.
Some Common Mistakes When Harden Non-Hardening Modeling Clay:
1. Not Baking Clay Long Enough
You must bake the clay at the recommended temperature and for the amount of time specified on the package. If the clay is not baked long enough or at a low temperature, it will remain soft and pliable.
2. Not Preheating The Oven
It is important to preheat your oven before baking the clay. If you put the clay in an oven that isn’t preheated, then it won’t get hot enough for the hardening process to take place properly.
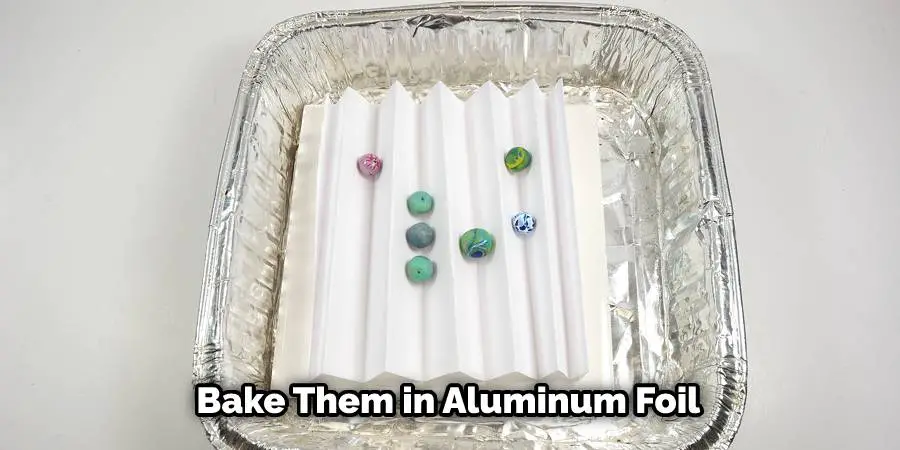
3. Baking Clay In Unsuitable Containers
Bake non-hardening modeling clays in containers that are safe for high temperatures (usually aluminum foil or ceramic containers). Don’t bake them in plastic because it can melt and ruin the shape of your piece.
4. Removing Clay Too Soon
Don’t remove the clay from the oven until it has cooled completely. If you do, it may not harden properly.
5. Not Sealing The Clay After Baking
Once the clay is cool, seal it with a clear acrylic sealer to prevent chipping and preserve its color and texture. This will also protect your work from any dust or dirt that might accumulate over time.
Following these simple tips will help you get the perfect hardened non-hardening modeling clay every time! With just a little bit of extra care, you can create beautiful, long-lasting pieces that people will cherish for years to come.
Conclusion
In conclusion, hardening non-hardening modeling clay may seem like a daunting task, but it’s essential to preserve your creations and ensure their longevity. Whether you choose to bake your clay, air-dry it, or use a sealant, there are several effective methods to choose from.
Each method has its pros and cons, and it’s crucial to choose the right one for your project based on your preferences, budget, and level of experience. With patience, practice, and attention to detail, you can harden your non-hardening modeling clay and create stunning sculptures, models, and other craft projects.
Remember to follow the instructions on the packaging of any product you use to harden your clay, and to let the sculpture dry completely before handling it. Be patient, as some methods may take longer than others to fully harden the clay.
So go ahead and let your creativity run wild with non-hardening modeling clay, knowing that you have the tools to make it as durable as you want it to be. Be sure to follow all instructions on how to harden non-hardening modeling clay carefully, and always consult an expert when in doubt. Happy crafting!
[adinserter name=”Block 1″]
FAQs
Can I harden non-hardening modeling clay without baking it?
Yes, there are several methods listed above that do not require baking, such as using air dry clay, liquid hardener, salt dough, cornstarch, or clear nail polish.
How long should I bake my non-hardening modeling clay?
Refer to the packaging of your clay for the recommended baking time and temperature. Make sure to preheat your oven to the recommended temperature before placing your sculpture inside.
How many layers of clear nail polish should I apply?
Apply a thin layer of clear nail polish at a time, and let it dry completely before applying another layer. Repeat the process as needed until the sculpture is hard enough for your liking.
Can I mix multiple methods to harden my non-hardening modeling clay?
Yes, you can mix and match methods as needed to achieve the desired hardness and durability for your sculpture.
Can I still add details to my clay sculpture after it has been hardened?
It depends on the method you used to harden your clay. Some methods may make the clay too hard to add any further details, while others may allow for minor adjustments or additions.


