Embarking on a clay crafting journey doesn’t always require a kiln; in fact, the world of ceramics can unfold right in the comfort of your own home with alternative hardening methods. Whether you’re a curious beginner or an artist seeking unconventional techniques, learning how to harden clay without a kiln opens a realm of possibilities. This comprehensive guide will unravel creative approaches to curing your clay creations, exploring techniques like air-drying, oven baking, and using various hardening agents.
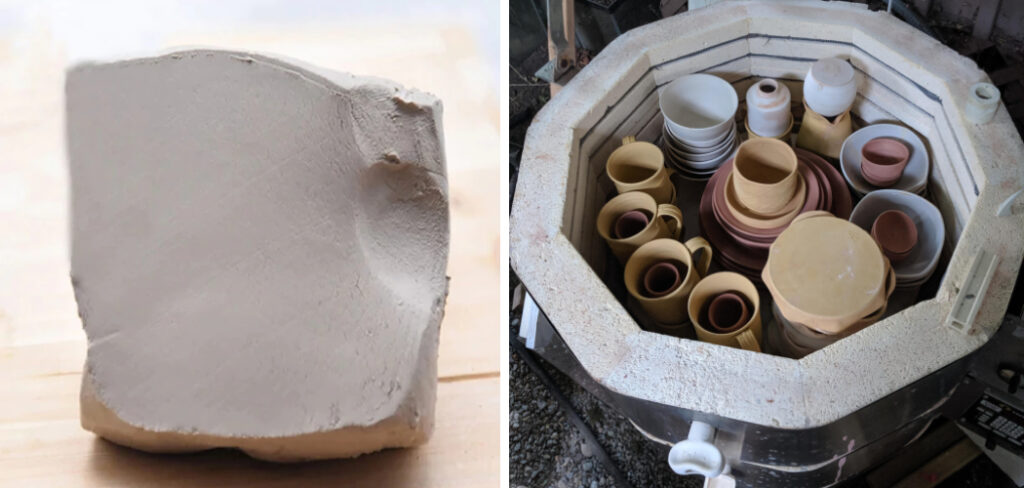
From selecting the right type of clay to understanding the nuances of each hardening method, our step-by-step instructions cater to diverse projects and skill levels. Whether you’re molding sculptures, beads, or functional items, this guide empowers you to navigate the fascinating world of clay crafting with resourcefulness, ensuring your creations become tangible works of art without the need for specialized equipment.
Table of Contents
Techniques for How to Harden Clay without a Kiln
1. Sun Drying
One of the most common methods for hardening clay without a kiln is sun drying. This method involves leaving your clay pieces out in direct sunlight for several days until they are completely dry and hardened. However, this method may not be suitable for large or thick pieces of clay as they may take longer to dry.
2. Oven Baking
If you have access to an oven, you can also use it to harden your clay. Place your clay pieces on a baking sheet and bake them at a low temperature (around 200-250 degrees Fahrenheit) for several hours until they are fully hardened. Keep an eye on the oven to prevent over-baking or burning.
However, make sure to use an oven dedicated solely for crafting purposes as the heat and fumes from clay can affect food prepared in the same oven.
3. Hair Dryer
For smaller or thinner pieces of clay, you can use a hair dryer to speed up the drying process. Hold the hair dryer about 6 inches away from the clay and move it around constantly to evenly distribute the heat. Be careful not to overheat or burn the clay. Once the clay is dry, you can continue with your desired project.
Hair dryers are a popular and easily accessible tool that can be used to harden clay without a kiln. They work by blowing hot air onto the clay, causing the moisture within it to evaporate and leaving behind hardened clay.
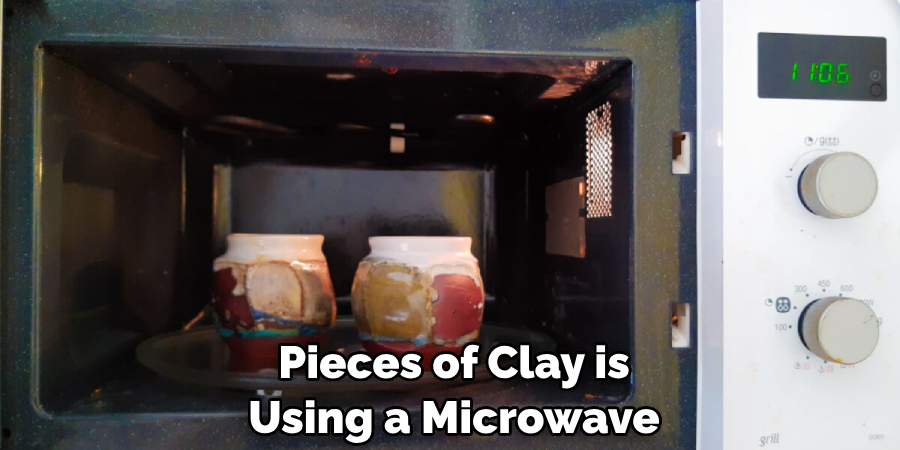
4. Microwave
Another option for small or thin pieces of clay is using a microwave to harden them. Place your piece on a microwave-safe dish and heat it in short intervals (10-15 seconds) until it is fully hardened. Be cautious not to overheat or burn the clay. Once it is hardened, let it cool down completely before handling.
5. Air Dry Clay
Some types of air dry clay do not require any additional methods for hardening as they will naturally air dry and harden over time. Follow the instructions on your specific brand of air dry clay for best results. However, if you want to speed up the hardening process or have a type of air dry clay that requires additional hardening techniques, here are some methods on how to harden clay without a kiln.
6. Salt Dough Recipe
You can also make your own salt dough using simple household ingredients and use it as an alternative to traditional clay that requires firing in a kiln. The recipe typically includes flour, salt, and water mixed together into a dough-like consistency that can be molded and then baked in an oven. However, this method is not recommended for creating delicate or intricate pieces as the dough tends to be more brittle and prone to cracking compared to kiln-fired clay.
7. Paper Mache Technique
A paper mache technique can also be used to create hardened clay pieces. Mix together flour, water, and glue to form a paste and then dip strips of newspaper into the paste. Layer the strips over your clay piece and let it dry completely. Once dry, the paper mache will harden and protect your clay from cracks or breakage.
This technique is great for creating larger clay pieces that may be prone to cracking due to their size. It also allows for more intricate designs as the paper mache can easily adhere to any shape of the clay piece.
8. Glue Hardening Method
Another unconventional method for hardening clay is using white glue or Mod Podge as a sealant. Simply coat your clay piece with several layers of glue or Mod Podge and let it dry completely. This method works well for smaller clay pieces such as jewelry and ornaments but may not be as effective for larger or thicker pieces.
9. Epoxy Resin Coating
For a more durable and professional finish, you can use epoxy resin to coat your hardened clay pieces. This will not only harden the clay but also give it a glossy finish. Although this method requires a bit more time and effort, the end result is worth it.
10. Use a Heat Gun
Similar to a hair dryer, you can use a heat gun to speed up the drying process for small or thin pieces of clay. Hold the heat gun about 6 inches away from the clay and move it around constantly until it is fully hardened. Be cautious not to overheat or burn the clay.

Ensuring Uniform Thickness for Even Drying
To harden clay without a kiln, it’s crucial to ensure uniform thickness throughout your piece. This ensures that the clay dries evenly, preventing cracking or warping. Use a clay roller or a rolling pin to achieve this. Try to keep the thickness consistent, approximately 1/4 to 1/2 inch is ideal. Be sure to flip and turn your clay as you roll it to maintain an even thickness from all sides. This is a key step in hardening clay without a kiln and achieving a successful, durable result.
Avoiding Sudden Temperature Changes
Avoiding sudden temperature changes is crucial when hardening clay without a kiln. Exposing the clay to rapid heat or cold can cause it to crack or shatter. To prevent this, it’s best to gradually increase the temperature. Start at a low setting and incrementally raise the temperature over several hours, allowing the clay to adapt to the changing conditions. Similarly, once the hardening process is complete, let the clay cool down naturally to room temperature before moving or handling it. These steps will help ensure a successful hardening process without a kiln, and preserve the integrity of your clay project.
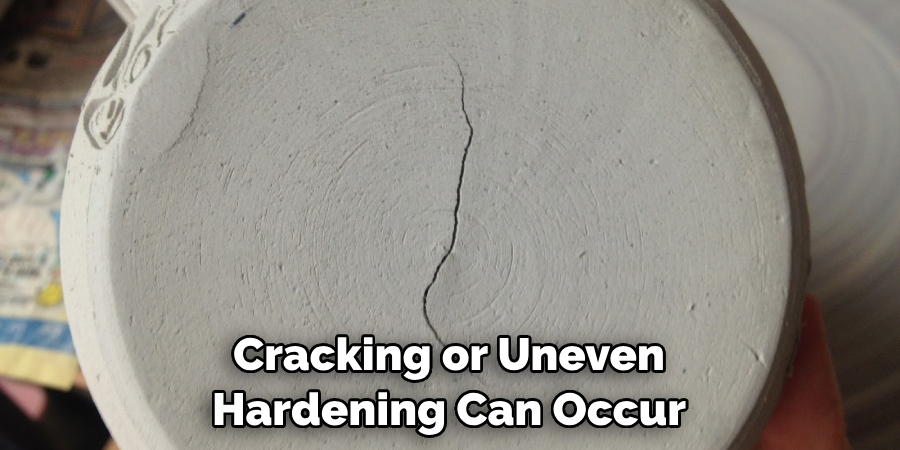
Addressing Issues Like Cracking or Uneven Hardening
When hardening clay without a kiln, it’s important to note that issues like cracking or uneven hardening can occur. These problems are typically the result of uneven drying. To prevent cracking, ensure that the clay dries evenly by rotating the piece regularly and shielding it from direct sunlight or heat sources. Uneven hardening, on the other hand, can be due to irregular thickness in your clay piece. Aim for a consistent thickness throughout your project to ensure an even hardening process. Remember, patience is key in the drying process – rushing it could lead to more problems and a less-than-perfect final product.
Common Mistakes to Avoid when Hardening Clay without A Kiln
When it comes to clay hardening, there are a few common mistakes that beginners often make. These mistakes can result in cracked or unevenly hardened clay, which can be frustrating and discouraging. But don’t worry! With the right techniques and practices, you can successfully harden your clay without a kiln and achieve beautiful results. In this section, we will discuss some of the common mistakes to avoid when hardening clay without a kiln.
Not Preparing the Clay Properly
One of the biggest mistakes people make when hardening clay without a kiln is not preparing the clay properly beforehand. It is important to knead and condition your clay before shaping it, as this helps to remove any air bubbles and make the clay malleable. If the clay is not properly conditioned, it can result in uneven hardening and cracking.
Using Too Much Water
Another common mistake is using too much water when working with clay. While water can help to soften the clay and make it easier to work with, using too much can lead to weak and brittle clay once it is hardened. It is important to use water sparingly and only when necessary.
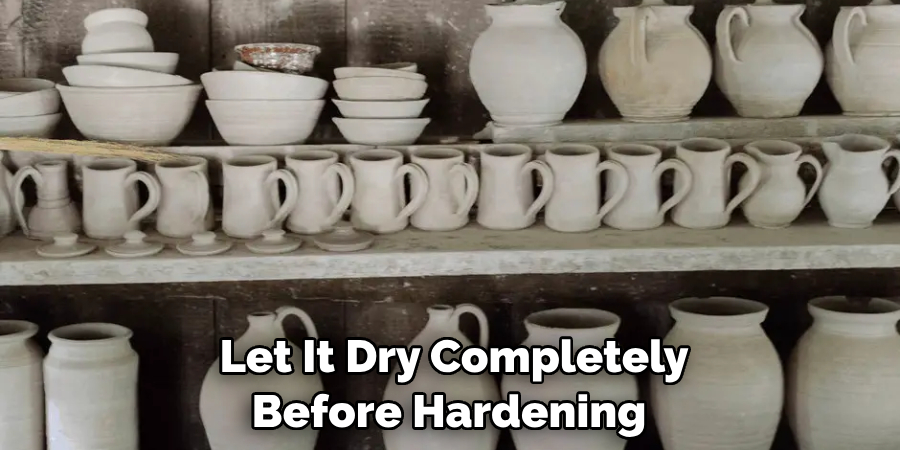
Not Drying the Clay Completely
After shaping your clay, it is important to let it dry completely before hardening. This can take anywhere from a few hours to a few days depending on the thickness of your clay piece. Skipping this step or rushing through it can result in weak and fragile clay that is prone to cracking.
Not Using the Right Hardening Method
There are several methods for hardening clay without a kiln, such as air-drying, oven baking, or using homemade drying agents. It is important to research and choose the right method for your specific type of clay. Using the wrong method can result in unsatisfactory results or even damage to your clay piece.
Conclusion
In conclusion, learning how to harden clay without a kiln is not only an exciting and cost-effective alternative, but it also allows for endless possibilities and creative options. Whether you are a professional artist, a crafty hobbyist, or someone looking for a fun and unique activity to do with friends, using these techniques can open up a whole new world of possibilities for your clay projects.
By exploring the various methods mentioned in this post such as air drying, microwave curing, and oven baking, you can further develop your skills as a clay artist and create beautiful masterpieces without any limitations. With the right tools and knowledge, creating hardened clay pieces becomes accessible and enjoyable for everyone.


