Mending broken porcelain requires precision and care, turning a shattered piece into a seamless work of art. Knowing how to glue porcelain together is a valuable skill, offering a chance to restore cherished items or rescue fragments of delicate pottery. Whether you are repairing a sentimental keepsake or tackling a complex restoration project, the art of gluing porcelain demands attention to detail and the right techniques.

In this guide, we will navigate through the step-by-step process of effectively bonding porcelain pieces, addressing the challenges unique to this delicate material. From selecting the appropriate adhesive to ensuring an invisible bond, this exploration will empower you to breathe new life into fractured porcelain, transforming it into a testament to patience, skill, and the enduring beauty of meticulous craftsmanship. Join us on this journey as we unravel the secrets of seamlessly gluing porcelain, bridging the gaps and restoring both form and function to these fragile treasures.
Table of Contents
The Delicate Nature of Porcelain and The Importance of Precision
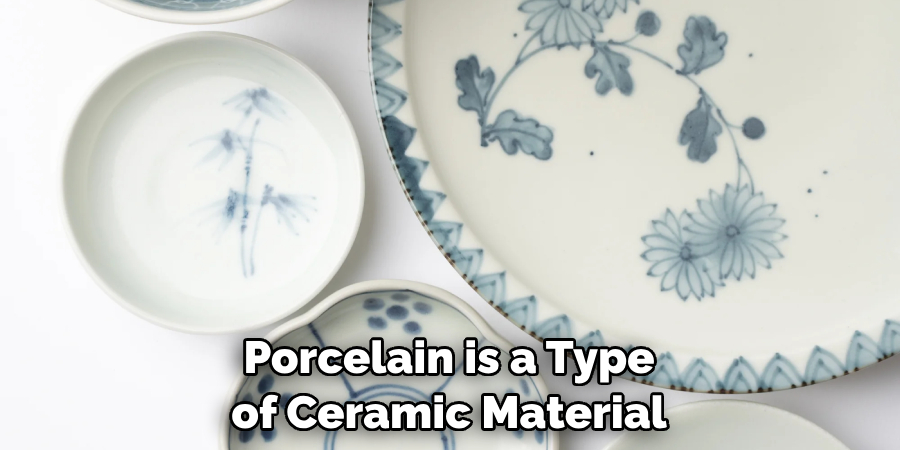
Porcelain is a type of ceramic material that is known for its delicate and beautiful appearance. It has been used in various forms for centuries, from creating dishes and figurines to intricate decorative pieces. However, one of the main challenges with porcelain is its fragility – it can easily break or chip if mishandled.
This makes gluing porcelain back together a delicate process that requires precision and careful attention to detail. If done correctly, it can result in a seamless repair that can restore the beauty and functionality of the porcelain item.
List of Necessary Materials
Once you have gathered all the necessary materials, follow these steps to successfully glue porcelain together:
- Clean and Dry Surfaces: Before beginning the gluing process, it is important to make sure that both surfaces of the porcelain are clean and completely dry. Any dirt or moisture can prevent the glue from properly adhering.
- Sand Down Surfaces (if necessary): If the edges of the broken porcelain are rough or jagged, it may be necessary to sand them down for a better fit. This will also create more surface area for the glue to bond to.
- Choose the Right Adhesive: When gluing porcelain together, it is important to use an adhesive that is specifically designed for this material. Epoxy and super glue are two popular options, but make sure to check the label to ensure it is safe for use on porcelain.
- Apply Adhesive: Carefully apply a thin layer of adhesive to one of the surfaces. Be sure to spread it evenly and cover the entire surface area that will be glued.
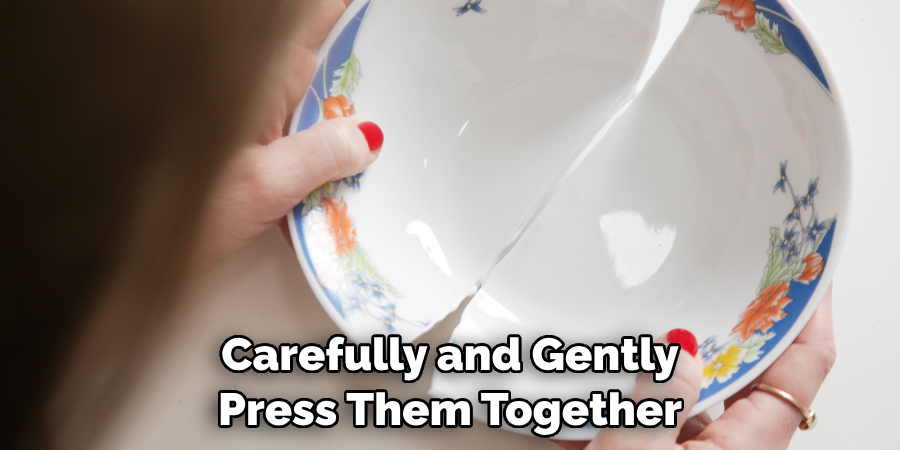
- Press Surfaces Together: Once both surfaces have been coated with adhesive, carefully and gently press them together. Make sure to align them correctly and hold them in place for the recommended amount of time indicated on the adhesive label.
- Wipe Away Excess Adhesive: After the surfaces have been pressed together, use a clean cloth or paper towel to wipe away any excess adhesive that may have squeezed out from the edges.
- Allow Time to Dry: It is important to allow enough time for the adhesive to fully dry and set before handling or using the glued porcelain piece. This can range from a few hours to overnight, depending on the type of adhesive used.
- Clean Up: Once the glue has dried completely, use warm water and soap to clean up any remaining residue on the surface of the porcelain.
10 Methods How to Glue Porcelain Together
1. Use a High-Quality adhesive specifically designed for porcelain
When it comes to gluing porcelain, not all adhesives are created equal. It is important to use a high-quality adhesive that is specifically designed for use on porcelain. These types of adhesives will have a strong bond and be able to withstand the weight and pressure of the porcelain. Additionally, adhesives that are specifically designed for use on porcelain will have a clear or white color to blend in seamlessly with the porcelain.
2. Clean the Surfaces Thoroughly
Before applying any adhesive, make sure to clean the surfaces of the porcelain pieces that will be glued together. This will ensure that there is no dirt, dust, or oils present that could prevent the adhesive from creating a strong bond. To clean the surfaces, use a mild soap and water solution or rubbing alcohol. Do not use harsh chemicals as they can damage the porcelain.
3. Sand Down Any Rough Edges
If there are any rough edges on the porcelain pieces, sand them down before gluing them together. This will create a smoother surface for the adhesive to bond to and result in a stronger hold. Use a fine-grit sandpaper and gently rub the rough edges until they are smooth to the touch. However, be careful not to sand down too much as this may affect the overall shape and appearance of the porcelain pieces.
4. Apply the Adhesive Evenly
When applying the adhesive, make sure to do so evenly across both surfaces that will be glued together. This will ensure that there are no gaps or weak spots in the bond. You can use a brush, toothpick or even your finger to apply the adhesive. Just be sure to spread it out evenly and avoid using too much, as excess adhesive may cause the glue to seep out from the edges of the porcelain pieces.
5. Use Clamps or Tape for Added Support
For larger or more delicate pieces of porcelain, it may be helpful to use clamps or tape to hold the pieces together while the adhesive dries. This will provide added support and prevent any movement while the glue sets. Simply apply the adhesive as instructed and then carefully clamp or tape the pieces together. Make sure to use enough pressure to hold the pieces firmly, but not so much that it causes damage.
6. Allow Ample Drying Time
Different adhesives may have different drying times, so make sure to follow the instructions on your chosen product carefully. It is important to allow ample time for the glue to fully dry before handling or using the glued piece. This can take anywhere from 24 hours to several days, depending on the type of adhesive and the humidity levels in your environment.
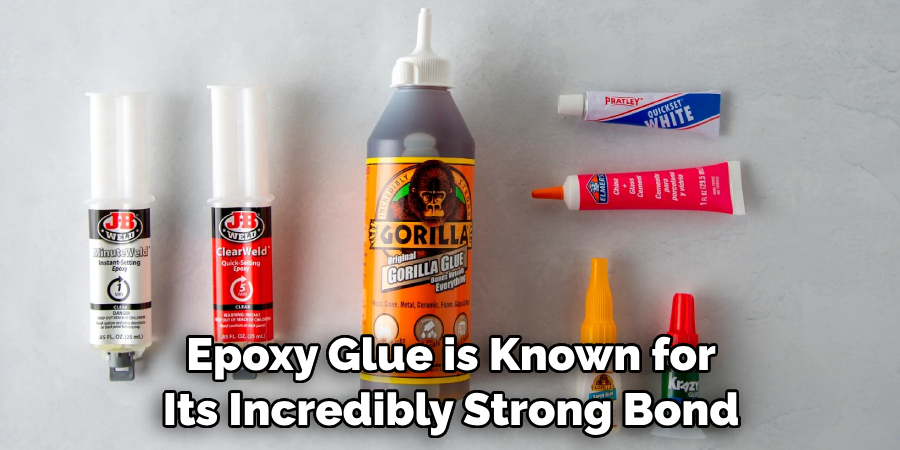
7. Consider Using Epoxy Glue
Epoxy glue is known for its incredibly strong bond and can be a great option when gluing porcelain pieces together. Just make sure to follow all safety precautions when working with this type of adhesive. It is important to note that epoxy glue can be messy and requires precise mixing in order for it to properly adhere. Apply a small amount of the glue onto both surfaces, then press them together firmly. Wipe off any excess glue with a damp cloth and allow it to fully dry before handling the glued piece again.
8. Fill in Any Gaps with Putty or Clay
If there are any small gaps or cracks between the porcelain pieces, you can fill them in with putty or clay before applying the adhesive. This will create a smoother surface and result in a stronger bond. Make sure to use a putty or clay that is suitable for porcelain and allow it to dry completely before moving on to the next step.
9. Avoid Using Too Much Glue
While it may be tempting to use a lot of glue for added strength, using too much can actually weaken the bond. Make sure to only apply a thin layer of adhesive for the best results. Excess glue can also create a mess and make it difficult to clean up. Although some glues may dry clear, others can leave behind a visible residue that is difficult to remove. A thin layer of glue will also dry faster and provide a cleaner finish.
10. Allow the Glued Piece to Fully Cure
After gluing your porcelain pieces together, make sure to allow the bonded piece to fully cure before using it. This may take several days depending on the type of adhesive used, so be patient and avoid putting any pressure on the glued area during this time. Additionaly, avoid exposing the glued piece to extreme temperatures or moisture while it cures.
Ensuring Proper Fit and Alignment of Broken Pieces before Gluing
Even if the porcelain pieces are broken, it is still possible to piece them back together using glue. However, for a successful repair, it is important to ensure that the pieces are properly fit and aligned before applying any adhesive.
Firstly, you should clean the broken edges of each piece with soap and water to remove any dirt or debris. Then, carefully dry the pieces with a soft cloth. This step is crucial in order to create a strong bond between the pieces.
Next, lay out all the pieces on a flat surface and try to fit them together like a puzzle. It may take some time to properly align all the pieces, but it is worth the effort as it will result in a seamless repair.
Once you have determined the correct placement of the pieces, use a pencil to lightly mark their positions. This will serve as a guide when you are ready to glue the pieces together.
Using Clamps or Other Tools to Secure the Bond during Drying
One of the most important aspects when gluing porcelain together is ensuring that the bond between the pieces is strong enough to withstand normal use. This is especially crucial for functional items such as dinnerware or vases. To achieve a strong bond, it is recommended to use clamps or other tools to secure the pieces together during drying.
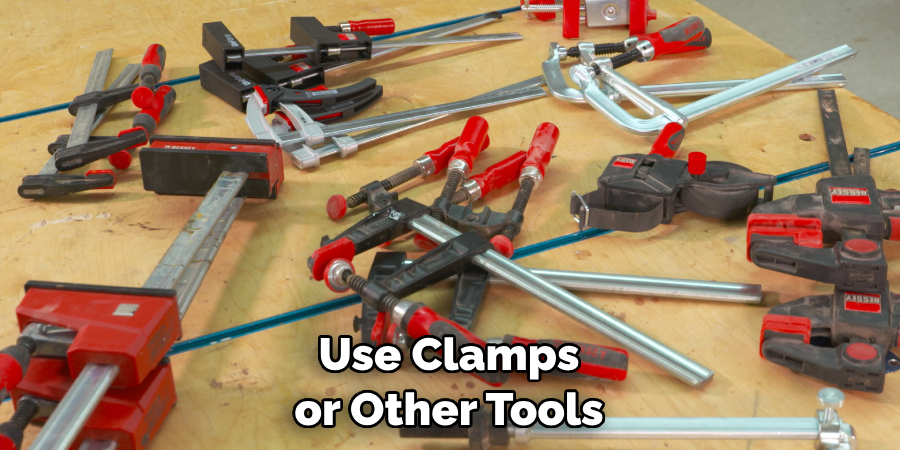
Clamping allows for even pressure to be applied to the bond, resulting in a stronger and more secure attachment between the pieces. It also prevents any shifting or movement during the drying process, which could weaken the bond or cause misalignment.
If you do not have access to clamps, there are other tools that can be used to secure the bond. For small pieces, masking tape or rubber bands can be effective in holding the pieces together. For larger or more complex items, using a weight such as a heavy book or object can provide enough pressure to keep the pieces in place.
Importance of Allowing Sufficient Drying Time for the Adhesive
When it comes to repairing or reassembling porcelain pieces, choosing the right adhesive is crucial. However, simply selecting the most suitable adhesive for your project is not enough. It is equally important to follow proper techniques and allow sufficient drying time for the adhesive to bond effectively.
Porcelain by nature is a delicate material that requires special care when handling. Unlike other materials, such as wood or metal, porcelain cannot be easily welded or nailed together. Instead, it requires a strong adhesive that can withstand the test of time and ensure a secure bond.
One common mistake people make when repairing or reassembling porcelain is not giving enough drying time for the adhesive to set properly. This can result in weak bonds that can easily break under minimal pressure. It is important to note that the initial drying time mentioned on the adhesive packaging is just a guideline and may vary depending on factors such as temperature, humidity, and type of porcelain.
To ensure a strong bond, it is recommended to allow at least 24 hours of drying time for most adhesives. However, for certain types of porcelain or larger pieces, it may be necessary to give it more time, up to 48 hours or longer. Rushing the drying process can lead to disastrous results and may even cause irreversible damage to the porcelain piece.
Conclusion
In conclusion, repairing porcelain may seem like a daunting task, but with the right tools and techniques, it is definitely achievable. From choosing the right type of glue to applying it correctly and curing it properly, each step plays a crucial role in ensuring a successful repair. Remember to take your time and be patient throughout the process, as porcelain can be delicate and require extra care. By following these guidelines and tips, you’ll be able to confidently fix any broken porcelain item in no time.
So go forth with confidence and put your new skills into action! Whether it’s fixing a beloved family heirloom or creating unique upcycled pieces for your home decor, mastering how to glue porcelain together opens up a world of possibilities. Thank you for taking the time to read this guide, I hope it has been helpful and inspiring. Happy repairing!


