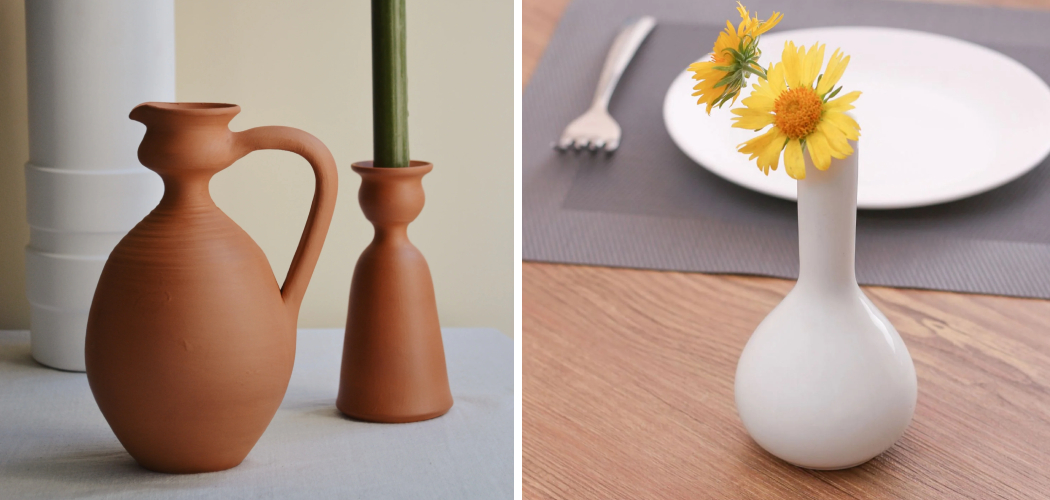
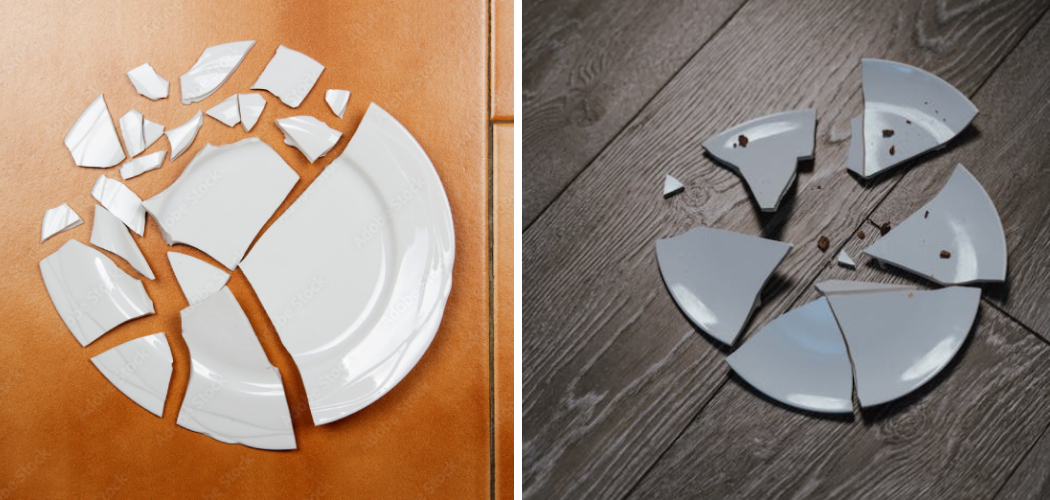
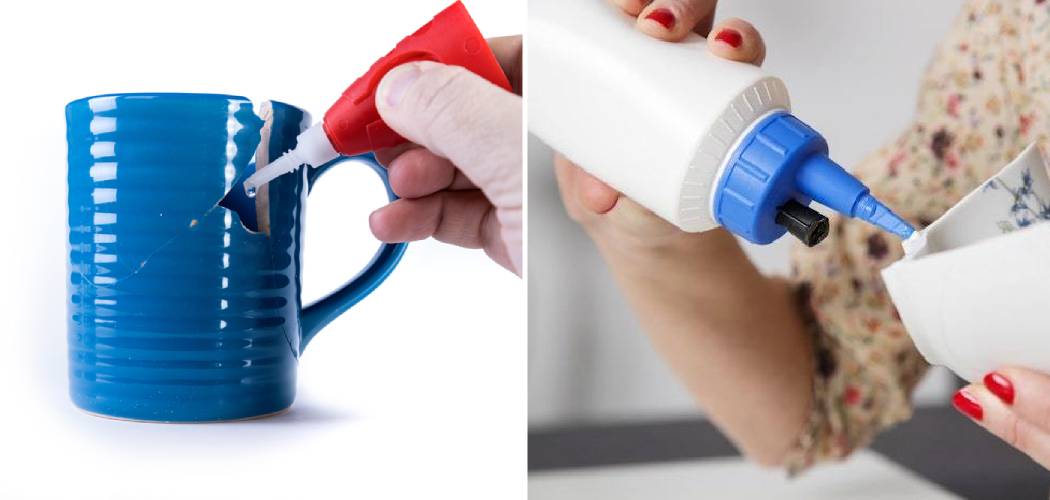
Ceramic objects often hold profound sentimental or decorative value, making the heartache of accidental breakage all the more disappointing. However, hope is not lost when it comes to restoring these shattered treasures. With the right tools, techniques, and a bit of patience, you can successfully mend broken ceramic pieces and breathe new life into them. This guide delves into how to glue ceramic back together, providing a step-by-step approach that ensures a strong and durable bond.
Whether it’s a cherished heirloom, a beloved vase, or a decorative piece, mastering the skill of ceramic repair can salvage even the most intricate fragments. By understanding the materials, the process, and the artistry behind it, you can embark on a journey to resurrect beauty and functionality, transforming shattered ceramics into timeless keepsakes.
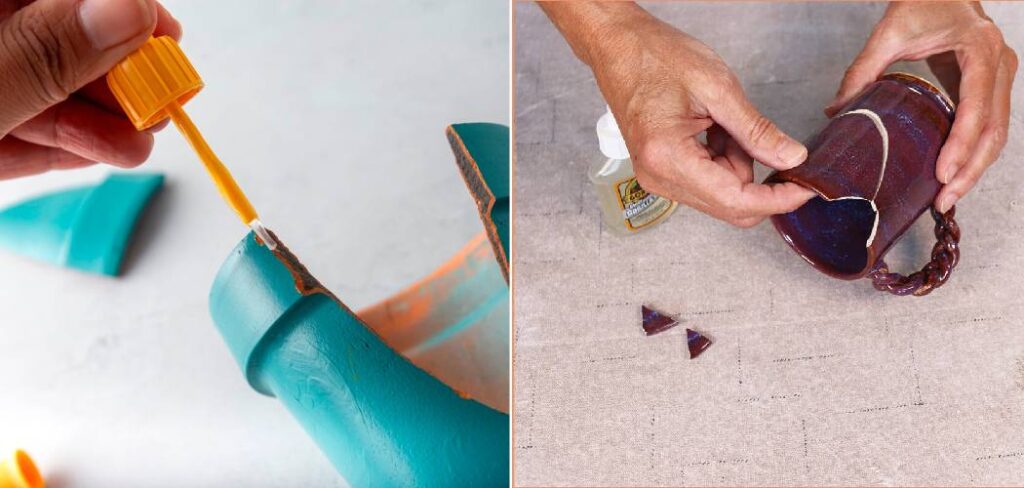
Table of Contents
Understanding the Types of Ceramic Damage
There are several types of ceramic damage that you may encounter. The most common types include chips, cracks, and breaks. Chips occur when a small piece of the ceramic is broken off, leaving a noticeable gap. Cracks are lines that appear on the surface of the ceramic, which can be small or extend across the entire piece. Breaks occur when the ceramic is completely separated into two or more pieces.
The causes of ceramic damage can vary. Accidental drops, mishandling, and improper storage are common culprits. Temperature changes can also cause ceramics to expand or contract, leading to cracks or breaks. Identifying the type of damage is crucial in determining the appropriate repair method. For example, chips can often be filled in with glue, while cracks may require more extensive repair techniques.
Choosing the Right Glue for Ceramic Repair
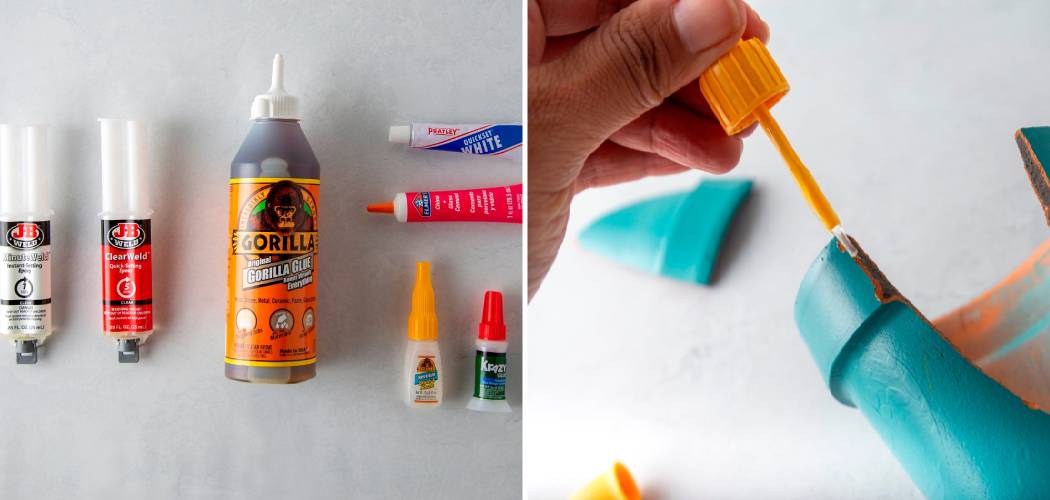
When it comes to repairing ceramics, choosing the right glue is essential. There are several types of glue that are suitable for ceramic repair, including epoxy, super glue, and cyanoacrylate adhesive. Epoxy is a popular choice as it provides a strong bond and is resistant to water and heat. Super glue and cyanoacrylate adhesive are also effective options, but they may not be as durable as epoxy.
When choosing glue for ceramic repair, there are a few factors to consider. First, consider the type of ceramic you are repairing. Porcelain, for example, may require a different type of glue than earthenware. Additionally, consider the intended use of the repaired piece. If it will be used for food or beverages, make sure to choose a food-safe glue. Finally, consider the drying time of the glue. Some glues dry quickly, while others may require more time to set.
Recommended Brands of Glue for Ceramic Repair Include
These brands are known for their strong bonding properties and durability.
10 Steps How to Glue Ceramic Back Together
Step 1: Gather Materials and Prepare the Workspace
Before you start the actual gluing process, ensure that you have all the necessary materials at hand. This includes epoxy adhesive (suitable for ceramics), latex gloves, clean cloth, isopropyl alcohol, cotton swabs, masking tape, a toothpick or small brush, and a well-ventilated workspace. Make sure the surfaces of the broken ceramic pieces are clean and free from dust or debris.
Step 2: Plan and Arrange the Pieces
When attempting to repair a broken ceramic item, it is important to take the time to carefully lay out all of the broken pieces before beginning the reassembly process. This step is crucial because it allows you to visualize the correct arrangement of the pieces and plan out how they will fit together. By taking a moment to plan ahead, you can avoid making mistakes that could result in a less-than-perfect repair job. If you have access to a photograph of the intact item, this can be a helpful reference to use during the reassembly process.

Step 3: Mix the Epoxy Adhesive
Carefully read and follow the instructions provided with the epoxy adhesive. Epoxy adhesive typically consists of two components that need to be mixed in specific proportions. Use a disposable mixing surface (such as a piece of cardboard) and a toothpick or small brush to thoroughly mix the adhesive. Ensure that the mixture is uniform.
Step 4: Apply Epoxy Adhesive to Ceramic Pieces
After cleaning the edges of the broken ceramic pieces with isopropyl alcohol, it is important to wait until the alcohol has evaporated completely before applying the epoxy adhesive. This will ensure that the adhesive bonds properly to the ceramic surface.
When applying the adhesive, it is important to use a toothpick or brush to spread a thin and even layer on one of the broken edges. Be careful not to apply too much adhesive as this can cause the pieces to shift or slide when they are pressed together. Once the adhesive has been applied, carefully align the broken edges and press them together firmly.
Step 5: Assemble the Pieces
Carefully place the broken pieces back together according to the plan you created in Step 2. Hold the pieces in place for a few minutes to allow the adhesive to set slightly and ensure proper alignment. Use masking tape to hold the pieces together if necessary, but avoid putting too much pressure that could squeeze out excess adhesive.
Step 6: Allow the Adhesive to Cure
Epoxy adhesive is a popular choice for repairing ceramic items due to its strong bonding properties. However, it’s important to note that the curing time for epoxy adhesive can vary depending on the brand and type you’re using. Some brands may require longer curing times than others, so it’s important to read the instructions carefully before using the adhesive.
To ensure that the repaired ceramic item sets properly, it’s recommended to allow the adhesive to cure for at least 24 hours before handling it. During this time, it’s best to keep the item in a dry, dust-free environment to prevent any contaminants from interfering with the curing process.
Step 7: Clean and Sand Excess Adhesive
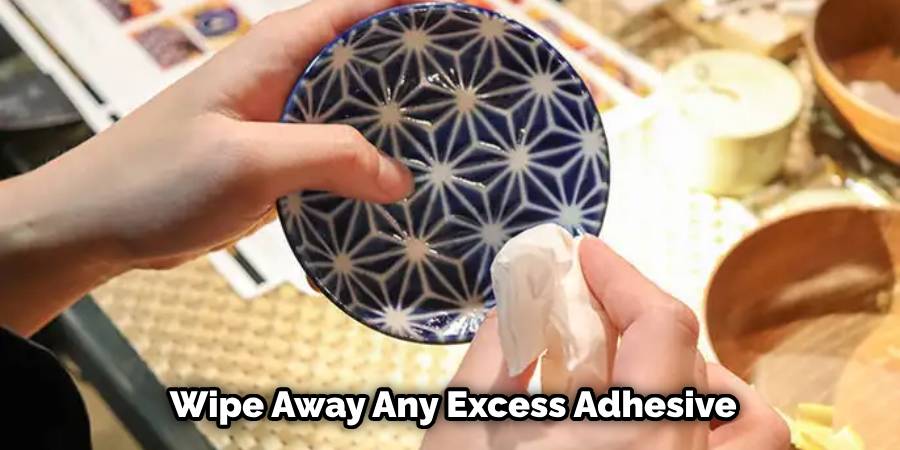
After the adhesive has fully cured, it is important to remove any excess adhesive that may have seeped out during the repair process. This can be done using a clean cloth or a soft-bristle brush to gently wipe away any excess adhesive. It is important to be careful not to scratch or damage the ceramic surface while removing the excess adhesive.
If there are any rough spots or bumps on the repaired area, you can lightly sand the area using fine-grit sandpaper to ensure a smooth finish. However, be cautious not to sand too much or too hard as this can cause damage to the ceramic surface.
Step 8: Apply Finishing Touches
After repairing a ceramic item, it is important to inspect it thoroughly to ensure that there are no visible imperfections or gaps. If any such imperfections or gaps are found, they should be addressed immediately. To do this, a small amount of acrylic paint can be mixed to match the color of the ceramic and applied to the repaired area using a fine brush.
This step helps to further camouflage the repair and make it less noticeable. It is important to use a fine brush to ensure that the paint is applied precisely and does not smear or smudge.
Step 9: Protect and Maintain
Once the paint has dried on your ceramic item, it is important to take steps to protect the repaired area from moisture and dirt. Applying a clear ceramic sealant or varnish is a great way to achieve this. Not only will this sealant protect the repaired area, but it will also add an extra layer of durability to the repair, making it more resistant to future damage.
However, it is important to note that even with a sealant or varnish, you should avoid using the ceramic item for any heavy-duty purposes. This will help to ensure the longevity of the repair and prevent any further damage from occurring.
Step 10: Display and Enjoy
It’s important to note that while the repaired area may be strong, it may not be as durable as the rest of the ceramic item. Therefore, it’s best to handle it with care and avoid exposing it to extreme temperatures or sudden impacts. If you plan on using the item for its intended purpose, such as a mug or vase, it’s recommended to avoid putting hot liquids or heavy objects in the repaired area.
Additionally, if you notice any signs of cracking or weakening in the bond, it’s best to reapply the adhesive or seek professional help to prevent further damage. With proper care and maintenance, your repaired ceramic item can continue to be a cherished part of your collection for years to come.
Tips for Preventing Future Ceramic Damage
While repairing ceramics is a great way to restore damaged pieces, it is also important to take steps to prevent future damage. By properly caring for your ceramic pieces and avoiding common causes of damage, you can help them last longer and reduce the need for repairs.
To care for ceramic pieces, avoid exposing them to extreme temperatures or sudden temperature changes. This can cause them to expand or contract, leading to cracks or breaks. Additionally, handle ceramics with care and avoid dropping or mishandling them. When storing ceramics, use padding or protective materials to prevent them from rubbing against each other or other hard surfaces.
Avoid placing hot items directly on ceramic surfaces, as this can cause thermal shock and lead to cracks. Instead, use trivets or coasters to protect the surface. When cleaning ceramics, use gentle cleaning methods and avoid harsh chemicals or abrasive cleaners that can damage the surface.
Proper storage is also important for preventing damage. If possible, store ceramics in a cool, dry place away from direct sunlight. Avoid stacking heavy items on top of delicate ceramics, as this can cause them to crack or break. Use padding or tissue paper to separate and protect individual pieces.
Common Mistakes to Avoid When Repairing Ceramics
While DIY ceramic repair can be a rewarding and cost-effective solution, there are some common mistakes that you should avoid to ensure a successful repair.
One common mistake is using the wrong type of glue for the repair. Make sure to choose a glue that is specifically designed for ceramic repair and follow the instructions for proper application. Using the wrong glue can result in a weak bond that may not hold up over time.
Another mistake is applying too much glue. Excess glue can seep out and create a messy repair. It can also make it difficult to achieve a seamless finish. Use a small amount of glue and spread it evenly over the damaged area.
Not properly preparing the surface before gluing is another common mistake. Cleaning the ceramic piece and sanding the surface are crucial steps that help create a strong bond between the glue and the ceramic. Skipping these steps can result in a weak repair that may not hold up over time.
Conclusion
In conclusion, DIY ceramic repair is a practical and rewarding skill that allows you to restore damaged ceramic pieces and extend their lifespan. By understanding the types of ceramic damage, choosing the right glue, and properly preparing the surface, you can achieve successful repairs that are both durable and aesthetically pleasing.
Taking the time to hold the pieces together while the glue dries and properly sanding and finishing the repaired area will result in a professional-looking repair. By following proper care and storage techniques, you can prevent future damage and enjoy your repaired ceramic pieces for years to come. Thanks for reading, and we hope this has given you some inspiration on how to glue ceramic back together!
