Ceramic is a popular material used in various household items such as dishes, vases, and tiles. However, one common problem that many people face is cracked ceramic. Cracks can occur due to accidents, mishandling, or even natural wear and tear. It is important to fix cracked ceramic as soon as possible to prevent further damage and to maintain the aesthetic appeal of the item. In this article, we will discuss how to fix cracked ceramic, the difference between cracked and broken ceramic, how to assess the severity of the crack, and the necessary tools and materials needed for repair.
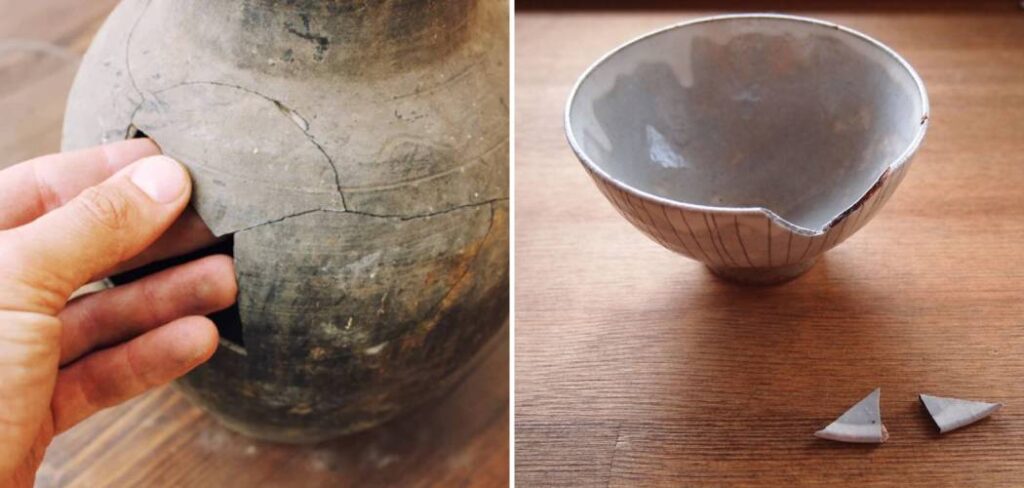
To fix cracked ceramic, clean the area, apply epoxy adhesive, align the pieces, and let it dry according to the adhesive’s instructions.
Table of Contents
Can You Fix Broken Ceramic?
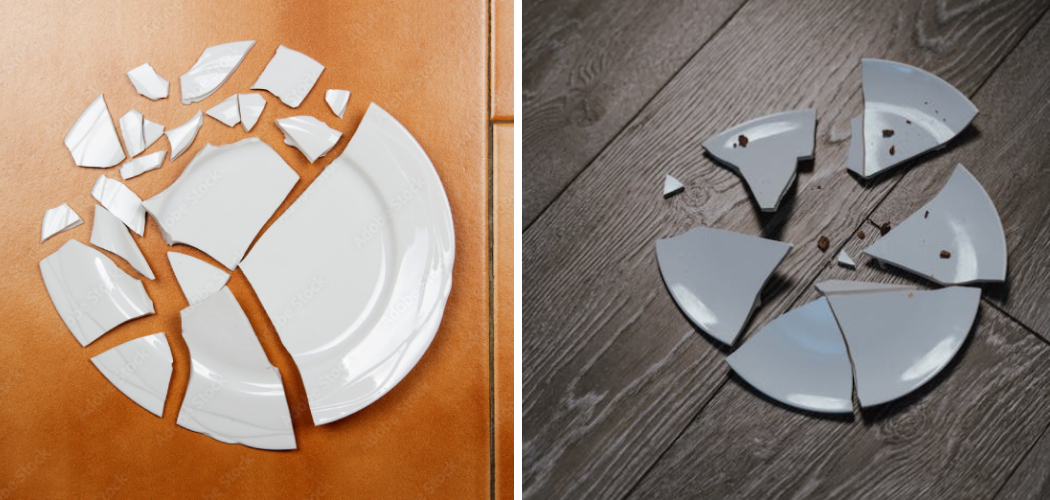
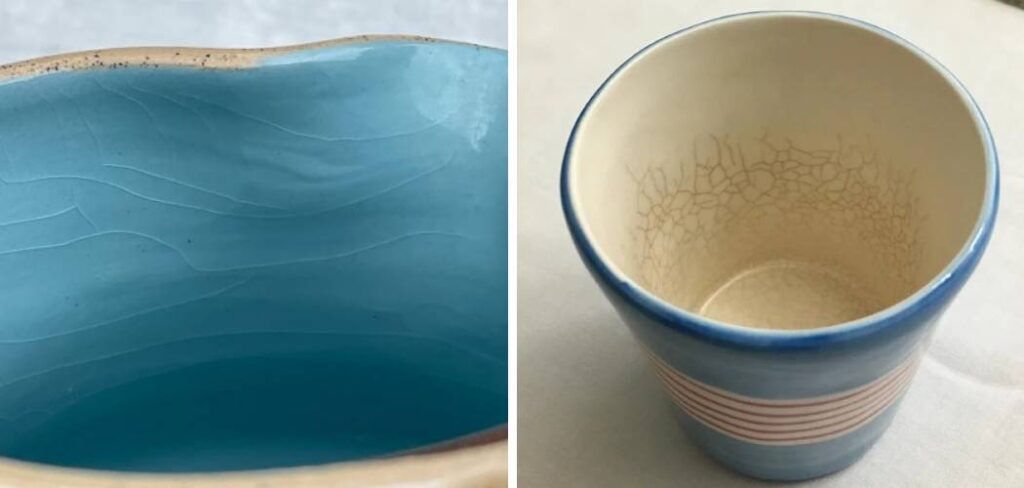
While cracked ceramic can often be fixed at home, broken ceramic may be more difficult to repair. The main difference between cracked and broken ceramic is the severity of the damage. Cracks are usually superficial and can be repaired with filler, while broken ceramic may require more extensive repairs or even replacement.
If you have a broken ceramic item, it is important to assess the damage before attempting to fix it. If the item is shattered into multiple pieces or if the break is clean and straight, it may be possible to repair it using adhesive or glue. However, if the break is jagged or if there are missing pieces, it may be best to seek professional help or consider replacing the item.
Assessing the Severity of the Crack
Assessing the severity of the crack is an important step in determining whether or not it can be fixed at home. There are a few key factors to consider when assessing the severity of a crack in ceramic. First, consider the length and depth of the crack. If the crack is long or deep, it may be more difficult to repair and may require professional help. Additionally, consider the location of the crack. If the crack is in a high-stress area or if it compromises the structural integrity of the item, it may not be safe to repair and should be replaced instead.

Another factor to consider is whether or not the crack is visible. If the crack is small and not easily noticeable, it may be possible to repair it without affecting the overall appearance of the item. However, if the crack is large or if it detracts from the aesthetic appeal of the item, it may be best to replace it.
8 Steps How to Fix Cracked Ceramic
Gathering the Necessary Tools and Materials
Before attempting to fix cracked ceramic, it is important to gather all the necessary tools and materials. The tools you will need include a putty knife or spatula for applying filler, sandpaper for smoothing the repaired area, and a paintbrush or sponge for painting or glazing. The materials you will need include epoxy or ceramic filler for filling the crack and paint or glaze for finishing the repair.
These tools and materials can be found at most hardware stores or online retailers. It is important to choose high-quality products to ensure a successful repair. If you are unsure about which products to use, ask for recommendations from the store staff or do some research online.
Preparing the Ceramic Surface for Repair
Before applying any filler or adhesive, it is important to clean and prepare the ceramic surface. Start by cleaning the cracked area with soap and water to remove any dirt or debris. Then, use a mild abrasive cleaner or sandpaper to roughen the surface slightly. This will help the filler or adhesive adhere better to the ceramic.
After cleaning and roughening the surface, wipe it down with a clean cloth to remove any dust or residue. This will ensure a clean and smooth surface for the filler or adhesive to bond to.
Filling the Crack with Epoxy or Ceramic Filler
Once the ceramic surface is prepared, it is time to fill the crack with epoxy or ceramic filler. Epoxy is a strong adhesive that can bond various materials together, while ceramic filler is specifically designed for repairing cracks in ceramic.
To fill the crack with epoxy, mix equal parts of the epoxy resin and hardener on a disposable surface. Then, use a putty knife or spatula to apply the epoxy to the crack, making sure to fill it completely. Smooth out any excess epoxy and wipe away any spills or smudges. Allow the epoxy to dry according to the manufacturer’s instructions.

If you are using ceramic filler, simply apply it to the crack using a putty knife or spatula. Make sure to fill the crack completely and smooth out any excess filler. Allow the filler to dry according to the manufacturer’s instructions.
Sanding and Smoothing the Repaired Area
After the filler or adhesive has dried, it is important to sand and smooth the repaired area. Start by using sandpaper to sand down the repaired area until it is level with the rest of the ceramic surface. Use a gentle, circular motion to avoid scratching or damaging the surrounding area.
Once the repaired area is smooth, wipe away any dust or debris with a clean cloth. This will ensure a clean and polished finish for the repaired ceramic.
Painting or Glazing the Repaired Ceramic
Depending on the desired outcome, you may choose to paint or glaze the repaired ceramic. Painting can help to hide the repaired area and blend it in with the rest of the piece, while glazing can provide a glossy finish and added protection.
To paint the repaired ceramic, choose a paint color that matches the rest of the piece. Use a small paintbrush or sponge to apply the paint to the repaired area, making sure to blend it in with the surrounding surface. Allow the paint to dry completely before using or displaying the repaired ceramic.
If you choose to glaze the repaired ceramic, apply a thin layer of glaze to the entire piece using a paintbrush or sponge. Make sure to cover the repaired area completely and evenly. Allow the glaze to dry according to the manufacturer’s instructions.
Curing and Drying the Repaired Ceramic
After painting or glazing the repaired ceramic, it is important to allow it to cure and dry completely. Curing refers to the process of allowing the filler or adhesive to fully bond and harden while drying refers to the process of removing any moisture from the paint or glaze.
The curing and drying times will vary depending on the specific products used, so it is important to follow the manufacturer’s instructions. In general, it is best to allow the repaired ceramic to cure and dry for at least 24 hours before using or displaying it.
Preventing Future Cracks and Damage
Once you have successfully repaired your cracked ceramic, it is important to take steps to prevent future cracks and damage. One way to prevent cracks is to handle ceramic items with care and avoid dropping or mishandling them. Additionally, it is important to avoid exposing ceramic items to extreme temperatures, as this can cause them to expand or contract and potentially crack.
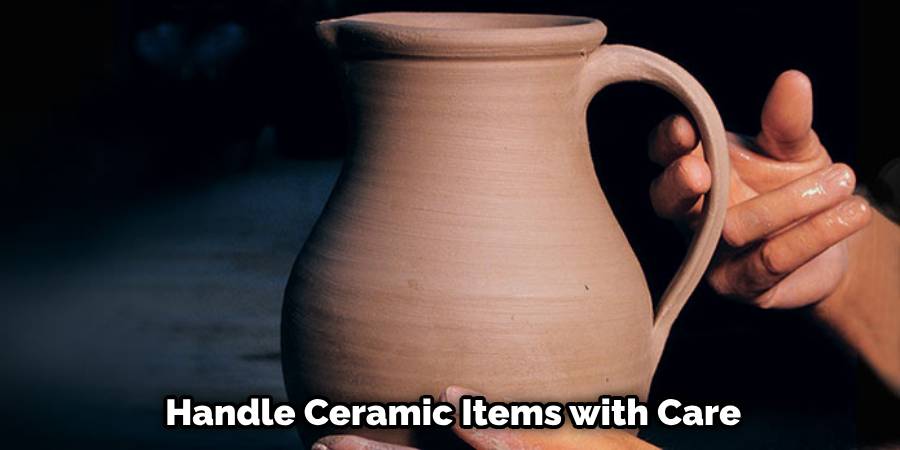
Another way to prevent future cracks is to use protective measures such as coasters or trivets when placing hot or heavy objects on ceramic surfaces. These measures can help to distribute the weight or heat evenly and reduce the risk of cracking.
Seeking Professional Help for Complex Repairs
While many cracked ceramic items can be fixed at home, there may be cases where professional help is required. If the crack is severe, extends through the entire piece, or compromises the structural integrity of the item, it may be best to seek professional help or consider replacing the item.
When seeking professional help for ceramic repairs, it is important to find a reputable ceramic repair service. Ask for recommendations from friends or family members, or do some research online to find a service with positive reviews and a good reputation. Additionally, make sure to inquire about the cost and turnaround time for repairs before making a decision.
Conclusion
In conclusion, fixing cracked ceramic is an important task that can help to maintain the aesthetic appeal and functionality of various household items. By following the steps outlined in this article, you can successfully repair cracked ceramic at home. Remember to assess the severity of the crack before attempting to fix it, gather all the necessary tools and materials, clean and prepare the ceramic surface, fill the crack with epoxy or ceramic filler, sand and smooth the repaired area, and paint or glaze the ceramic as desired.
Finally, allow the repaired ceramic to cure and dry completely before using or displaying it. Follow these simple instructions outlined in this blog post about how to fix cracked ceramic, and you’ll be able to get the job done with ease.
