Accidents happen, and when a cherished ceramic mug suffers a crack or chip, it doesn’t necessarily mean the end of its life. Learning how to fix a broken ceramic mug can not only salvage sentimental pieces but also reduce the need for unnecessary waste. In this guide, we’ll explore effective techniques for repairing broken ceramic mugs, from the initial assessment of the damage to selecting the right adhesive and executing a seamless repair.

Whether it’s a favorite coffee mug or a treasured gift, understanding the art of ceramic repair allows you to extend the life of these sentimental items. Join us as we embark on a journey to revive and restore broken ceramic mugs, turning potential losses into opportunities for creative and practical solutions that embrace sustainability and sentimentality.
Table of Contents
Examining the Type and Extent of the Break
Most ceramic mugs are made from earthenware, stoneware or porcelain. Earthenware is a type of ceramic that is fired at a lower temperature compared to other types of ceramics. Stoneware, on the other hand, uses finer and denser clay which makes it stronger than earthenware. Porcelain is usually white and has a more refined look due to its use of kaolin clay. Knowing the type of ceramic your mug is made from can help determine the best method for fixing it.
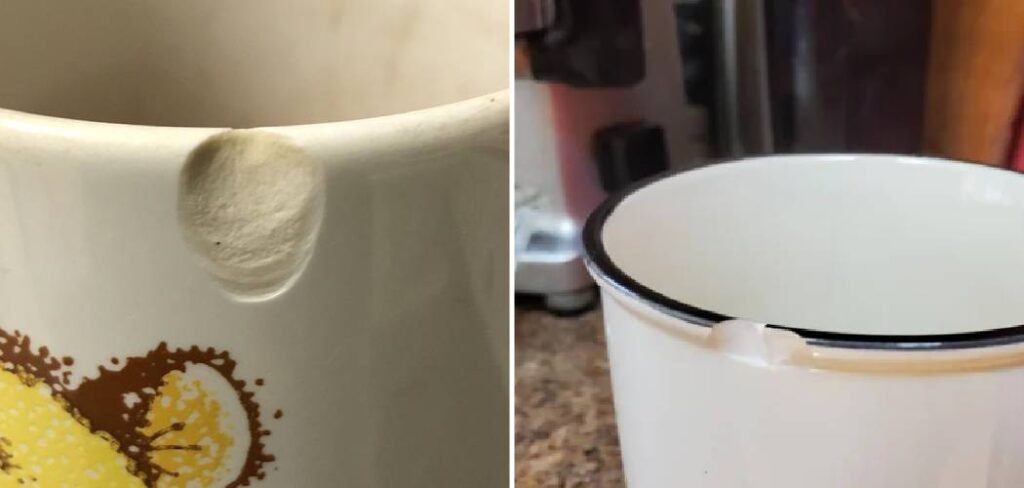
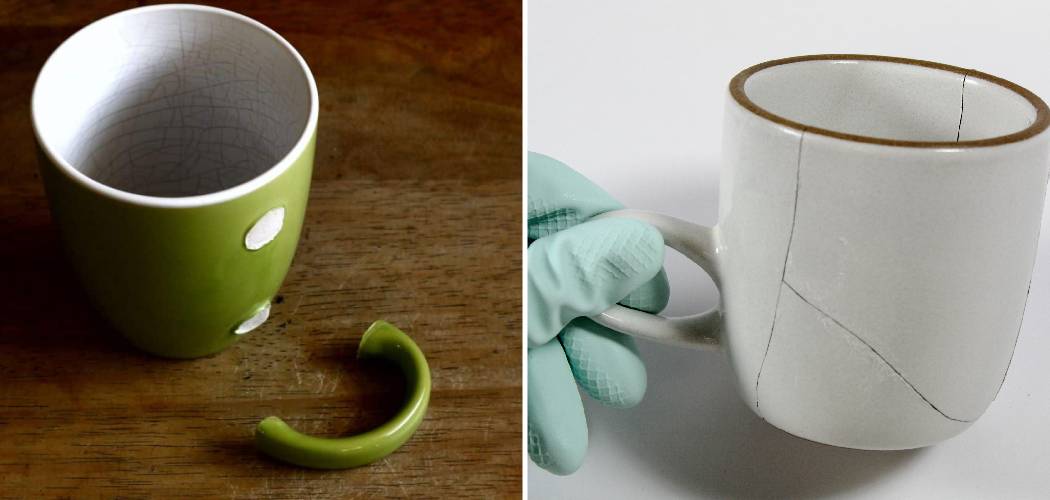
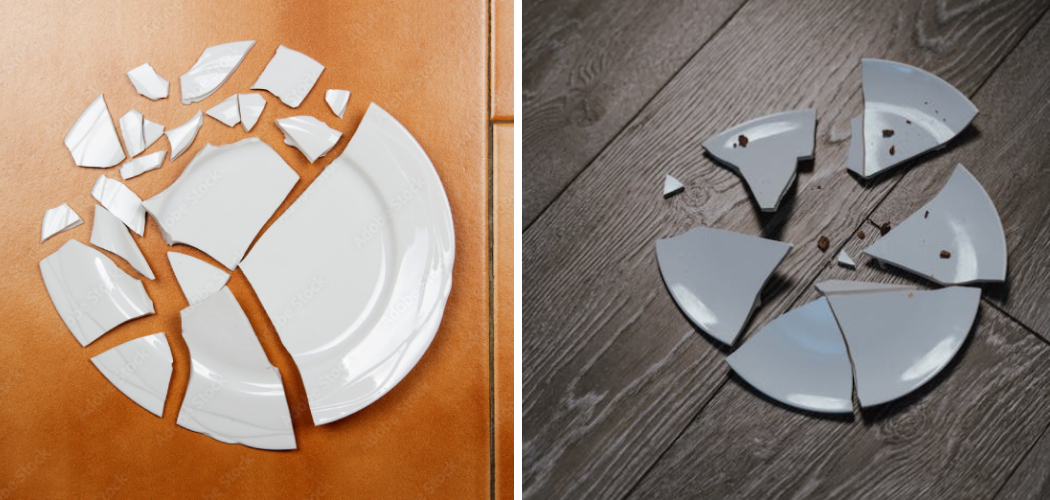
Next, you should also examine the extent of the break. Is it a clean break or are there multiple chips and cracks? Is it just a small hairline fracture or is it completely shattered? This will help assess whether the mug can be repaired or if it needs to be replaced.
Determining the Best Method for Repair
Once you have identified the type and extent of the break, you can decide on the best method for repairing your ceramic mug. There are various methods to fix a broken ceramic mug, such as using super glue, epoxy adhesive, or even a specialized ceramic repair kit. Each method has its own advantages and limitations, so it’s important to choose the one that will work best for your specific situation.
10 Methods How to Fix a Broken Ceramic Mug
1. Glue:
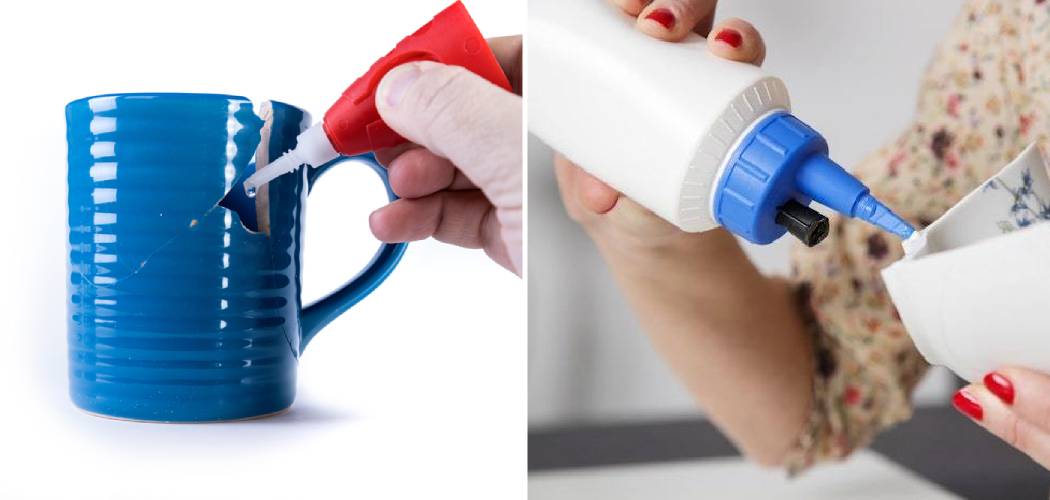
One of the most common methods for fixing a broken ceramic mug is to use glue. You can use either a two-part epoxy glue or super glue to reattach the pieces together. Make sure to clean both surfaces before applying the glue and allow it to dry completely before using the mug again.

2. Tape:
Another option is to use tape, such as duct tape or masking tape, to hold the pieces together while the glue dries. This method is especially helpful if you need a quick fix and don’t have time for the glue to fully set.
3. Heat:
If you have access to a kiln, you can try heating up the broken pieces and then pressing them back together while they are hot. This will cause them to fuse together when they cool down and create a stronger bond than with just glue alone.
4. Filler:
If there are gaps between the broken pieces, you may want to fill them in with an appropriate filler material, such as clay or epoxy putty, before gluing them back together. This will help ensure that your mug is strong enough for everyday use once it has been repaired.
5. Mesh:
If your mug has large cracks, you may want to try using mesh reinforcement in order to strengthen it before gluing it back together. You can purchase mesh specifically made for ceramics at most craft stores or online retailers that specialize in pottery supplies and tools.
6. Clamps:
You may also find that using clamps helps keep everything in place while your mug is drying after being glued back together or filled with filler material. Position clamps around the edges of your mug so that they are holding everything tightly together until everything has dried completely and securely bonded back into one piece again.
7. Sandpaper:

Before attempting any repairs on your ceramic mug, make sure that all of the edges are smooth by lightly sanding them with fine-grit sandpaper if needed. This will ensure that when you do reattach the pieces, they will fit snugly against each other without any gaps where air could escape and weaken your repair job over time due to wear and tear from regular use of your mug after it has been fixed up again good as new!
8. Paints & Sealers:
After all of your repairs have been completed, consider painting or sealing your newly fixed ceramic mug in order to give it an extra layer of protection against future breakage or damage from regular use over time once again! There are many different types of paints and sealers available on the market today specifically designed for ceramics so be sure to research which one would work best for what type of finish you’re looking for on your finished product!
9. Ceramic Repair Kits:
For those who don’t feel comfortable attempting their own repairs on their beloved ceramic mugs at home, there are several kits available on the market today specifically designed for this purpose! These kits typically include all of the necessary materials needed such as adhesives, fillers, mesh reinforcements (if needed), paints/sealers (if desired), etc., making them perfect for anyone who wants a hassle-free repair experience!
10. Professional Repairs:
Lastly, if all else fails and none of these DIY solutions seem like they’ll do the trick in fixing up your ceramic mugs again as good as new, then consider taking them to a professional pottery studio nearby that specializes in repairing ceramics! Professional potters have years of experience working with various types of ceramics, so chances are they’ll be able to get yours looking great again in no time flat!
Things to Consider When Fixing a Broken Ceramic Mug
There’s nothing more frustrating than accidentally breaking your favorite ceramic mug. But don’t worry, with the right tools and techniques, you can easily fix it and make it as good as new.
Firstly, before attempting to fix your broken ceramic mug, it’s important to assess the extent of the damage. If it’s a simple crack or chip, you may be able to fix it yourself. However, if the mug is shattered into many pieces, it’s best to seek professional help.

Once you’ve determined that the damage is manageable, gather all the necessary materials. This includes super glue or epoxy adhesive, disposable gloves, rubbing alcohol, sandpaper, and any other decorative materials you might want to add. It’s also important to have a clean and flat work surface.
Next, put on your disposable gloves to protect your hands from any potential sharp edges. Then, lightly sand the broken edges of your mug with sandpaper. This will help create a rough surface for the adhesive to bond with.
Before gluing the pieces back together, it’s crucial to clean them thoroughly with rubbing alcohol. This will remove any dirt or oils that may prevent the adhesive from bonding properly.
Now, carefully apply a small amount of super glue or epoxy adhesive to one of the broken edges and press it against its corresponding piece. Hold them together for a minute to allow the adhesive to set. Repeat this process for each broken piece until your mug is fully reassembled.
Common Mistakes to Avoid When Fixing a Broken Ceramic Mug
When it comes to fixing a broken ceramic mug, there are certain common mistakes that people tend to make. These mistakes can either result in the mug not being fixed properly or even causing further damage to the mug. To avoid any mishaps and ensure your beloved mug is fixed correctly, here are some common mistakes you should avoid when attempting to fix a broken ceramic mug.
Using the wrong adhesive
One of the most common mistakes people make when fixing a broken ceramic mug is using the wrong type of adhesive. Not all adhesives are suitable for use on ceramics, and using the wrong one can result in your mug not being fixed properly or even causing damage to it. It is important to choose an adhesive specifically designed for use on ceramics, such as a super glue or epoxy.

Not prepping the surfaces properly
Another mistake people often make is not preparing the broken pieces of the mug properly before applying the adhesive. It is important to thoroughly clean and dry both surfaces that will be glued together. Any dirt, debris, or moisture can prevent the adhesive from bonding correctly and result in a weak bond.
Rushing the drying process
Once you have applied the adhesive and glued the broken pieces together, it is important to give it enough time to dry properly. Many people make the mistake of rushing this process and end up handling or using the mug too soon, causing the bond to break and the mug to break again. It is best to follow the instructions on the adhesive and allow enough time for it to fully dry and cure before using the mug.
Conclusion
With this knowledge, you can save a beloved mug from the trash bin and have it protecting your hands in no time. Perhaps some of the techniques mentioned could even become a part of your creative outlet! Be sure to use caution when proceeding with DIY mending methods to ensure you don’t injure yourself or cause further damage to your ceramic mug. Remember, those pieces of ceramic may seem insignificant but they may each hold stories that have lasted for years. Don’t just throw them away – there is always a solution! Have fun finding yours on how to fix a broken ceramic mug and make it as good as new again.
