Firing silver clay, a fascinating and versatile material, is a crucial step in the transformative journey from malleable clay to a stunning piece of silver jewelry. Whether you’re a jewelry artisan or an aspiring crafter, understanding how to fire silver clay is an essential skill. Silver clay, composed of fine silver particles and an organic binder, undergoes a remarkable metamorphosis during the firing process.
In this comprehensive guide, we will unravel the intricacies of firing silver clay, exploring the different methods such as kiln firing and torch firing. From preparing your piece for firing to mastering the temperatures and timings, we’ll provide you with the knowledge and techniques needed to achieve beautiful, professionally finished silver jewelry. Join us on this crafting adventure as we delve into the art of firing silver clay, unlocking the secrets to turning your creative visions into timeless, wearable art.
Table of Contents
Importance of Firing Silver Clay to Create Solid Metal Jewelry
The process of firing silver clay is an essential component in the creation of solid metal jewelry. When heated to the appropriate temperature, the organic binder in the clay burns off, leaving behind a piece composed of pure metal. This transformation allows for the creation of durable, long-lasting jewelry pieces that retain the intricate designs and details stamped into the clay. Therefore, mastering the technique of firing silver clay is pivotal for any jewelry maker aiming at producing high-quality silver pieces.
Types of Silver Clay
The world of silver clay offers a diverse range of options to cater to different crafting needs and preferences. Among the most popular types are PMC (Precious Metal Clay) and Art Clay Silver.
PMC, the pioneer in silver clay, is available in three distinct variants: PMC3, PMC+ and PMC Standard. PMC3, which can be fired at a lower temperature, is excellent for intricate designs and delicate pieces. PMC+ and PMC Standard require higher firing temperatures but result in slightly denser and stronger finished pieces.
Art Clay Silver, on the other hand, offers a product range that includes Art Clay Original, Art Clay 650, and Art Clay 950. Art Clay 650 and Art Clay 950 are designed to be fired at somewhat higher temperatures and are noted for their increased strength and resilience, making them ideal for jewelry pieces that require enhanced durability.
Understanding the properties and firing requirements of each type of silver clay can significantly influence the success of your jewelry-making project, as well as the longevity and durability of your finished pieces.
Gathering Materials and Tools
Before you begin the process of firing silver clay, it is essential to gather all the necessary materials and tools. The required tools may slightly differ depending on the type of firing method you choose (kiln or torch), but the following items are generally necessary for both:
- Silver Clay: Choose the type of silver clay that best suits your project’s needs, whether it’s PMC or Art Clay Silver.
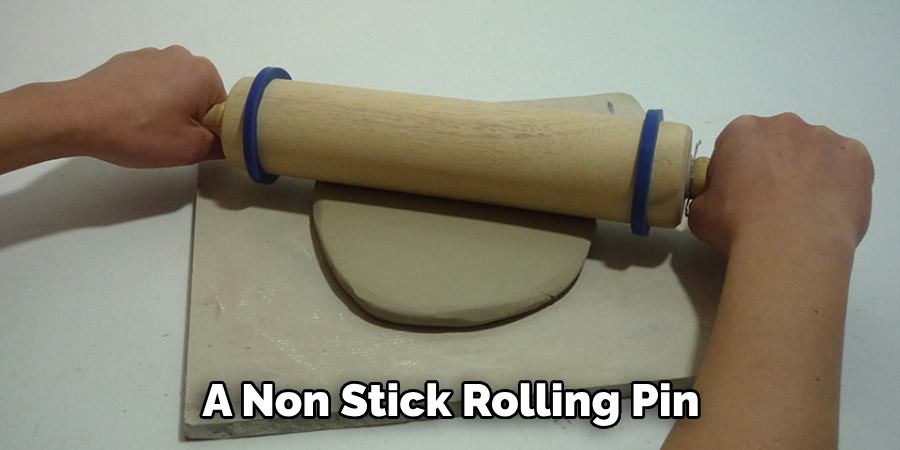
- Rolling Pin: A non-stick rolling pin is crucial for evenly rolling out your clay.
- Clay Shaping Tools: These tools will help shape, carve, and add intricate details to your design.
- Sandpaper or Clay Files: To smooth out any rough edges on your unfired piece.
- Kiln or Torch: A kiln is used for controlled, consistent heating, while a torch is typically used for smaller pieces.
- Heat-Resistant Surface: This is imperative for safety when firing your clay, as it can reach very high temperatures.
- Timer or Pyrometer: For monitoring the firing time and temperature.
- Fire-Resistant Gloves and Safety Glasses: Safety should always be of paramount importance when firing silver clay.
Once you have all your materials and tools assembled, you are ready to begin the captivating process of firing your silver clay.
Preparing the Silver Clay
The initial step in firing silver clay is preparing the material itself. Start by kneading the clay to soften it, making it more malleable and easier to shape. Use your rolling pin to roll out the clay on a clean, non-stick surface. Aim for an even thickness across the piece to ensure consistent firing.
Once rolled out, use your clay shaping tools to carve out your desired design. Whether you’re aiming for a simple, minimalistic piece or an intricate, detailed design, this is the stage where your creativity truly comes into play. Remember to maintain a steady hand and apply uniform pressure to avoid unanticipated indents or marks.
After shaping your piece, use sandpaper or clay files to smoothen the edges and surface, ensuring a polished and professional finish. Be careful not to file away any intended details or designs.
Once your piece is shaped and smoothed, it’s time to let it dry. This can be achieved naturally by leaving it out in a dry, room-temperature environment, or by using a hairdryer or hotplate for faster results. It’s essential that the clay is entirely dry before firing to prevent any steam explosions caused by trapped moisture.
Upon completely drying, your silver clay piece is now ready for the firing process. During this stage, remember to handle your piece with care to keep your design intact and prevent any damage.
11 Methods How to Fire Silver Clay
1. Kiln Firing
Kiln firing is the most common and reliable method for firing silver clay. It involves placing the clay piece in a kiln and heating it to a specific temperature for a set amount of time. This method ensures consistent and even heat distribution, resulting in a strong and durable final product.
2. Torch Firing
Torch firing is another popular method for firing silver clay, especially for smaller pieces or when a kiln is not available. This method involves using a handheld torch to heat the clay piece until it reaches the desired temperature. While it can be more time-consuming and require more skill, torch firing allows for greater control over the heating process.
3. Stove Top Firing
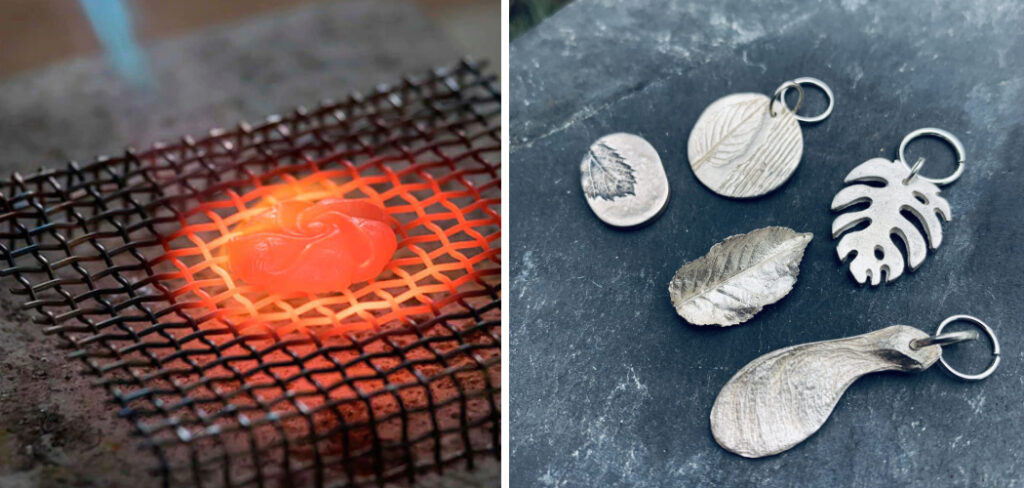
Stove top firing is a budget-friendly option for those who do not have access to a kiln or torch. This method involves placing the silver clay piece on a metal mesh or trivet and heating it over an open flame on your stove top. While this method may take longer than others, it can still produce good results with patience and practice.

4. Hot Pot Firing
Hot pot firing is similar to stove top firing but uses a small ceramic pot filled with vermiculite as the heat source instead of an open flame. The pot is heated on your stove top until it reaches the desired temperature, then the silver clay piece is placed inside and covered with the lid to retain heat.
5. Butane Torch Firing
Butane torch firing is another option for those without access to a kiln or larger torches. It involves using a small butane torch specifically designed for jewelry making to fire small silver clay pieces at high temperatures.
6. Microwave Firing
Microwave firing is a quick and convenient method that utilizes microwaves to heat up silver clay pieces. Special microwave-safe containers are used to hold the pieces while they are fired in short bursts of 30 seconds to a minute.
7. Electric Burnout Kiln Firing
Electric burnout kilns are specifically designed for firing metal clay and can be purchased at jewelry supply stores. They use electricity to heat the silver clay piece to the desired temperature in a controlled and even manner.
8. Charcoal Block Firing
Charcoal block firing involves placing the silver clay piece on a charcoal block and heating it with a torch until it reaches the desired temperature. The charcoal helps to distribute heat evenly and also serves as a support for the piece during firing.
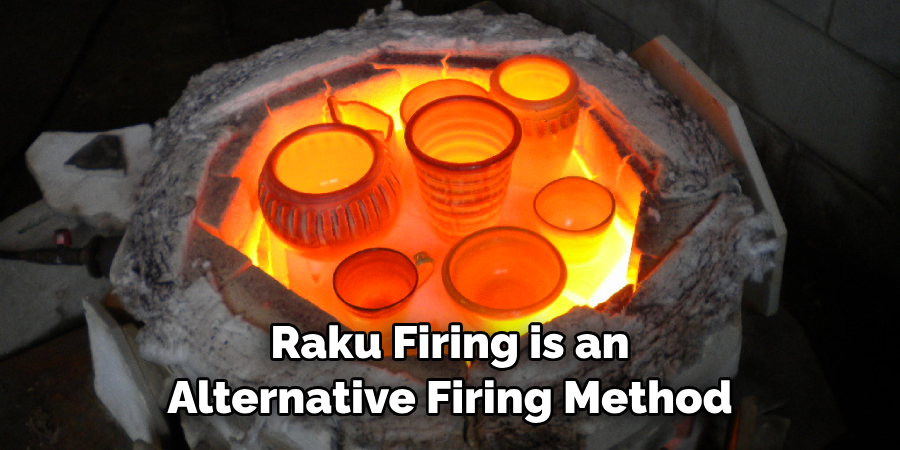
9. Raku Firing
Raku firing is an alternative firing method that produces unique, unpredictable results. It involves heating the silver clay piece in an outdoor kiln or open fire until it reaches its melting point, then quickly removing it from the heat source and quenching it in water or another cooling medium.
10. Bonfire Firing
For those looking for a more primitive approach, bonfire firing is an option that uses an open fire to heat up silver clay pieces. This method requires careful monitoring and control of the fire’s temperature to prevent overheating or under-firing the pieces.
11. Firing with a Torch
Firing with a torch is a versatile and accessible method for firing silver clay. This method is particularly suitable for those who may not have access to a kiln or prefer a more hands-on approach. To begin, place your dry silver clay piece on a heat-resistant surface. Then, light your torch and adjust the flame to a medium size. Carefully aim the flame at your piece, maintaining a distance of about 1-2 inches.
Keep the flame moving over the piece to ensure even heating, and watch for your clay to glow a light orange color – an indicator that sintering is occurring. Once glowing, reduce the flame and maintain this temperature for around 10 minutes for smaller pieces. After firing, let your piece cool down before handling. Remember to always wear safety goggles and fire-resistant gloves while using the torch, and ensure you’re working in a well-ventilated space.
Cleaning the Fired Silver
After firing, your silver clay piece will have a matte, white appearance, which is due to a thin layer of silver oxide that forms during firing. The next step is to clean this off to reveal the shiny silver underneath.
You will need a brass brush, some warm soapy water, and a bit of elbow grease! Soak your piece in the warm soapy water for a few minutes to soften the layer of silver oxide. Then, using your brass brush, gently scrub the piece under the water. Be careful not to scrub too hard, as you may inadvertently scratch or damage your piece.
Once you’ve brushed off all the oxide, you should see your piece start to shine. Rinely thoroughly and dry it off. At this point, your piece is almost finished. You may choose to leave it as it is, with a brushed matte finish, or you can polish it to a high shine using polishing papers or a polishing wheel.
Remember: patience is key during the cleaning process. It might take a little time, but the end result will be worth it!
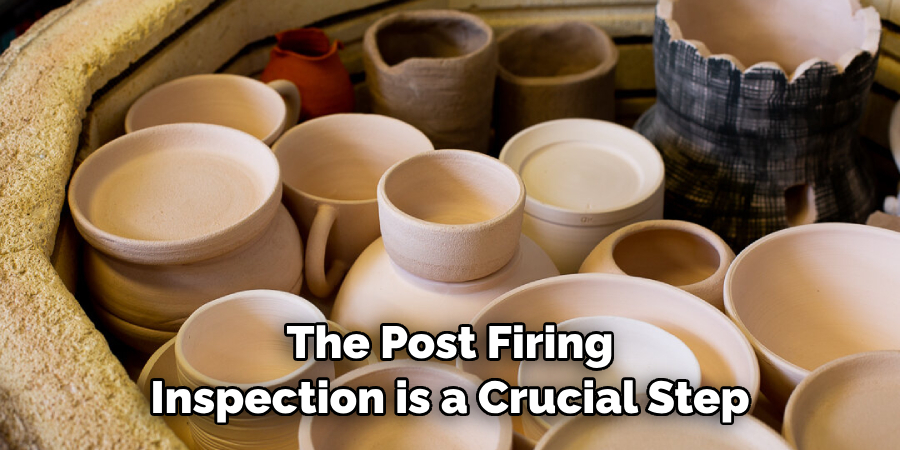
Post-Firing Inspection
The post-firing inspection is a crucial step in the process of firing silver clay. It involves carefully examining your fired piece to assess its quality and determine whether it has been successfully sintered. Look for a uniform color and smooth finish, which indicates that the silver clay has fully fused. Hold the piece up to the light to check for any cracks or imperfections that may have occurred during the firing process.
If you notice any areas that appear less dense, this could indicate that the piece was not heated evenly, and additional firing may be required. Always handle the piece with care during this stage to avoid damage. If you are satisfied with the result of your post-firing inspection, your piece is ready for the final finishing steps!
Finishing Touches
The last stage in the process of firing silver clay involves adding those final flourishes to truly make your piece shine. Depending on your desired look, this could involve polishing, adding patina, or setting gemstones.
Polishing
If you prefer your silver to have a glossy finish, use a professional jeweler’s polish or a polishing cloth to carefully buff the surface of your piece. Remember to polish gently and evenly to prevent scratching or distorting the silver.
Adding Patina
Adding patina can give your silver clay piece a more rustic or antique look. Patina is an oxidization process that darkens the silver, giving it an aged look. Various patina solutions are available, such as liver of sulfur, which can be mixed with warm water and applied to the silver. After applying the solution, rinse your piece thoroughly and buff it to bring out highlights.
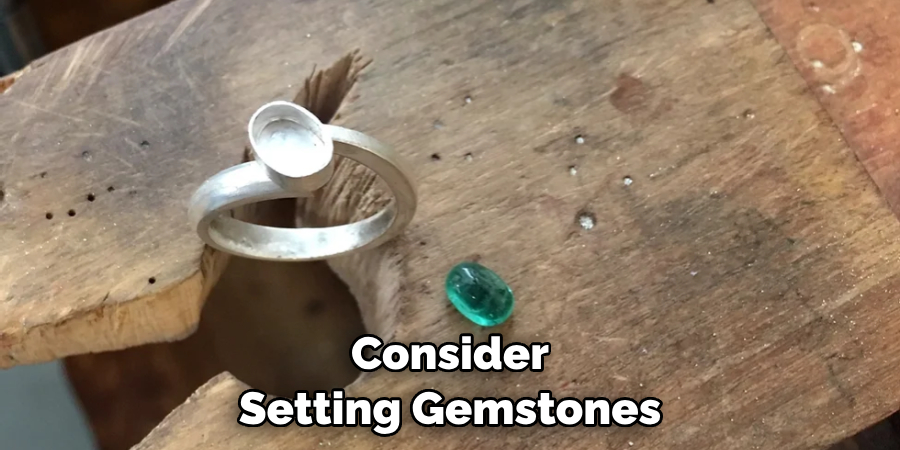
Setting Gemstones
If you wish to make your silver clay piece even more unique, consider setting gemstones. Ensure the gemstones you choose can withstand the firing process. Set your gemstone into the silver clay before firing, or drill a hole into the fired piece and set the stone using a bezel setting.
Conclusion
In conclusion, firing silver clay is not only a useful skill to have, but it can also be an incredibly fun and rewarding experience. By following these steps and tips, you can confidently fire your own silver clay projects with ease. Remember to always work in a well-ventilated area, use proper safety gear, and be patient with the firing process.
Once your piece has been fired and cooled, you will have a beautiful end product that you can be proud of. So go ahead and give it a try – who knows, this may become your new favorite hobby! And for those of you who are already familiar with firing silver clay, don’t forget to share your own tips and tricks in the comments below. Thanks for reading, and we hope this has given you some inspiration on how to fire silver clay!


