Are you looking for the best way to dry pottery and clay objects properly? Whether you’re a hobbyist, professional artist, teacher, or student, drying your creations safely is an essential part of the creative process. In this post, we’ll take a look at different methods for achieving optimal results when drying pottery and clay objects before firing them in a kiln.
We’ll be examining various techniques based on materials available, the timeframe needed, and desired outcome so that you have the knowledge and tools necessary to expertly complete any project with ease! Read on to get started learning about how to dry pottery and clay objects today!
To dry pottery and clay objects, place them in a well-ventilated area away from direct sunlight or heat sources to prevent cracking, and allow them to air dry gradually for several days to weeks depending on the size and thickness of the objects.
Table of Contents
What Is the Best Way to Dry Clay?
When it comes to drying clay, there are a few methods you can use. The most common method is air drying. Air drying involves leaving your clay pieces out in the open and allowing them to dry slowly over time. This is one of the safest ways to dry your pottery and clay objects since it helps prevent cracking.
You can also try using a kiln or oven to speed up the process. To do this, set your oven temperature to a low setting (around 200 degrees Fahrenheit). Place your pieces on an oven-safe surface in the oven for about 30 minutes before checking them for dryness. Make sure you check for cracks or any other signs of damage as too much heat can cause warping or discoloration of your pieces.
No matter which drying method you use, it is essential to take a slow and steady approach to ensure you don’t cause any damage to the pottery or clay objects. Allow your pieces plenty of time to dry out thoroughly before attempting any glazing or other decorative processes.
Additionally, be sure to store them in a cool and dry place where they won’t be exposed to moisture while they are still damp. With proper care and patience, you can help ensure that your pottery and clay objects last for years to come!

9 Methods How to Dry Pottery and Clay Objects
1. Air Drying
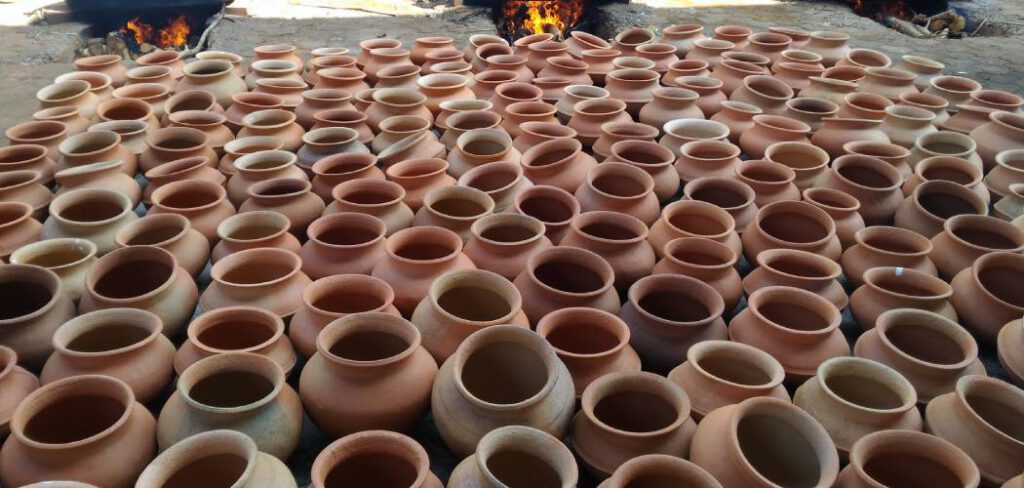
Air drying is the most common method for drying pottery and clay objects. It is also the slowest method, as it can take several days or weeks for the objects to dry completely. To air dry your pottery, simply set it out in a well-ventilated area and allow it to dry slowly and evenly.
To help the process along, you can use a fan to circulate the air around your pieces. Make sure that you protect your pottery from any dust or debris in the air by covering it with a thin cloth. Once the objects have dried completely, they should be sealed with a sealant to protect them from moisture.
2. Dehumidifier
A dehumidifier can be used to speed up the air-drying process. Simply place your pottery in a room with a dehumidifier and set it to a low setting. The dehumidifier will remove moisture from the air, which will help to speed up the drying process. Be sure to check the pottery periodically, as it can dry quickly in this environment.
If you are air-drying your clay with a dehumidifier, it is still important to use a fan for air circulation. To ensure that the pottery does not become overly dry, you can use a humidity gauge to monitor the moisture levels in the room. Try to maintain a relative humidity of 40-50%.
3. Oven
An oven can be used to quickly dry pottery and clay objects. However, it is important to use caution when using an oven, as it can be easy to over-dry your pottery, which can cause it to crack or break. To dry your pottery in an oven, simply place it on a baking sheet and set the oven to its lowest setting.
Allow the pottery to bake slowly in the oven until it is completely dry. Keep an eye on the pottery, and be sure to check on it every few minutes to ensure that it is not becoming overly dry. Once your pottery is completely dry, you can remove it from the oven and allow it to cool before handling it. However, oven drying is not recommended for thick or dense pieces of pottery.

4. Microwave
A microwave can also be used to quickly dry pottery and clay objects. However, like an oven, it is important to use caution when using a microwave, as it is possible to over-dry your pottery and cause damage. To dry your pottery in a microwave, simply place it on a microwavable safe plate and set the microwave to its lowest setting.
Allow the pottery to cook slowly in the microwave until it is completely dry. This process should take between three and five minutes. Be sure to check the pottery frequently to make sure it is not getting too hot or drying out too quickly.
5. Sunlight
Sunlight can be used to naturally dry your pottery and clay objects. Simply set your pottery in a sunny spot and allow the sun’s rays to slowly dry out the moisture. This method is best used in conjunction with another drying method, such as air drying or dehumidifying, as sunlight alone will not completely dry your pottery.
Note that direct sunlight might cause some of your pottery colors to fade, so it’s best to limit its exposure. Additionally, be aware that sunlight may not be enough to harden the pottery, so you will likely still need to bisque or high-fire your pieces.
6. Hair Dryer
A hairdryer can be used to quickly dry small pieces of pottery and clay objects. Simply hold the hair dryer about six inches away from the surface of the object and move it around until the object is completely dry. This method should only be used for small pieces of pottery, as larger pieces may require more time and effort to dry evenly.
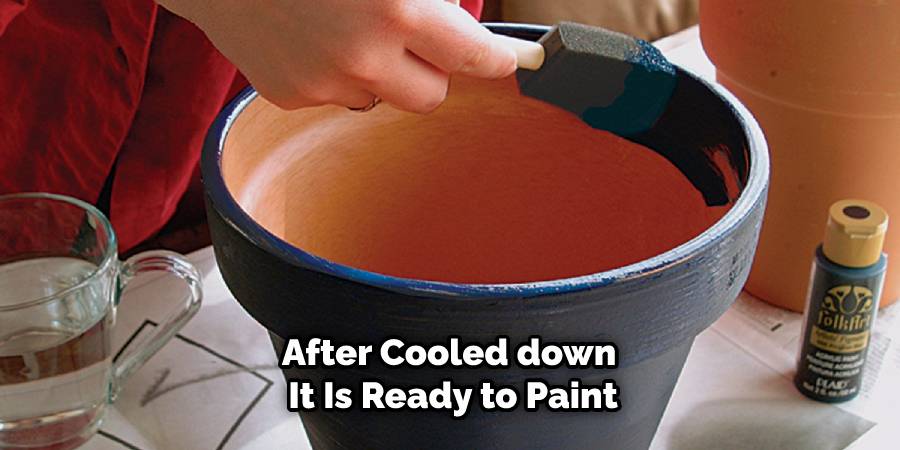
To get a more even drying, turn the hairdryer to a low setting and increase the distance between it and the object. Be sure to keep a close eye on the temperature of the object to make sure it does not become too hot. If the clay is becoming too hot, move the hairdryer further away from the object. Once the clay has cooled down and is completely dry, it is ready to be painted or fired in a kiln.
7. Fan
A fan can also be used to help speed up the drying process of your pottery and clay objects. Simply set up a fan so that it is blowing across the surface of your objects and allow them to dry evenly. This method works best when used in conjunction with another drying method, such as air drying or dehumidifying.
The fan will help the air circulate around your objects, helping them to dry faster and more evenly. However, be careful not to let the fan blow directly onto your objects, as this could cause them to become distorted. Also, make sure the fan is not too close to your objects, as the air blowing across them could be too powerful and cause them to dry unevenly.
8. Desiccant
A desiccant can be used to absorb excess moisture from the surface of your pottery and clay objects. Simply place a small amount of desiccant in an open container and set it near your pottery and clay objects. The desiccant will help to draw out moisture from the air, which will help speed up the drying process.
Be sure to replace the desiccant regularly, as it will become saturated with moisture over time. Depending on how much desiccant you use, you may need to replace it every few days or once a week. Desiccant is an inexpensive and easy way to dry pottery and clay objects.
9. Heat Lamp
A heat lamp can also be used to dry pottery and clay objects quickly and evenly. Simply set up a heat lamp so that it is shining directly on your object but not too close to cause damage or burning. Allow the heat lamp to shine on the object until it is completely dry.
Be sure to check on your object regularly and move it as necessary throughout the drying process. With this method, you can ensure that your pottery or clay object will be dry and ready to use in no time. If you are drying multiple objects, be sure to rotate them regularly, so they dry evenly.

Conclusion:
If you’re looking to preserve your unique, handcrafted pottery and clay pieces, it’s important to learn the tips and tricks of drying them safely. Having some basic knowledge of how to dry pottery and clay objects will help ensure that your finished pieces look as beautiful as they did when first made!
Now that you know all about the basic steps involved in drying pottery and clay objects, it’s time to get started. Put your newfound knowledge into action — there’s nothing more satisfying than taking one of your creations from wet to finished work of art!


