Clay is a versatile and malleable material that can be molded into various shapes and forms. One of the most popular techniques used in pottery is throwing clay on a potter’s wheel. However, the key to creating a perfect piece is to start with centered clay. In this article, we will guide you through the step-by-step process of how to center clay on the potter’s wheel.
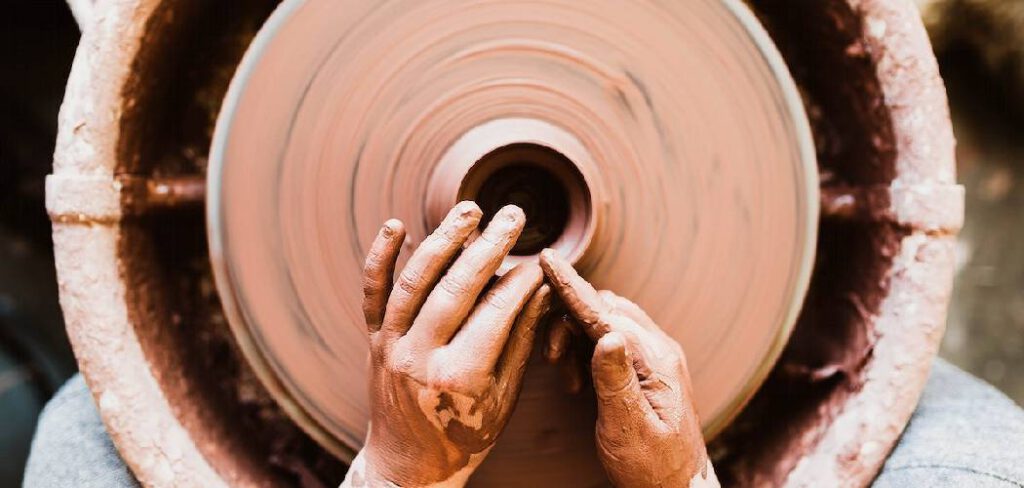
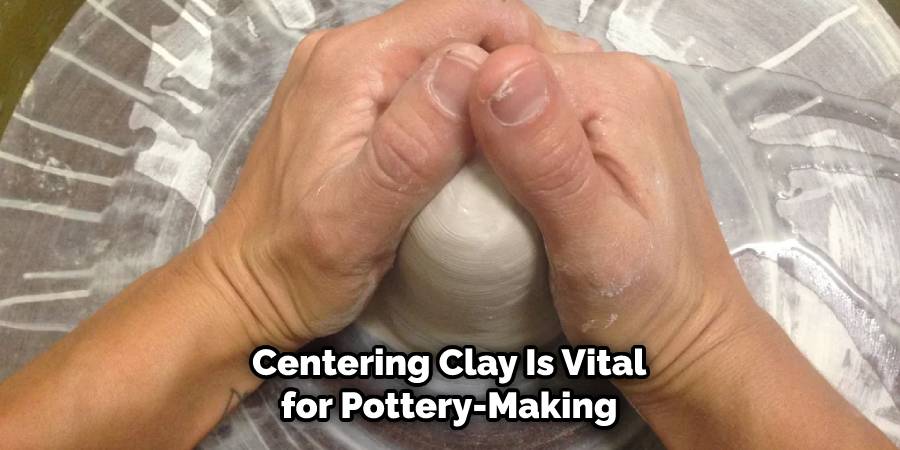
Centering clay is the first and most important step in the pottery-making process. Without centered clay, your pottery will be uneven, and the walls will be uneven in thickness, which will lead to a lopsided piece. The goal of centering clay is to create a symmetrical and balanced form, which will make your pottery look professional.
Table of Contents
Understanding the Importance of Centering Clay
Centering clay is a vital part of the pottery-making process. Without it, you will not be able to create a piece that is uniform in shape and size. A centered clay will also help you to throw the walls of the pot evenly, which will prevent it from cracking or warping during firing. Additionally, it will also ensure that the weight of the piece is evenly distributed, making it easier to work with.
Preparing Your Materials and Equipment
Before you begin, make sure you have all the necessary materials and equipment. You will need:
- Pottery wheel
- Clay
- Water
- Sponge
- Bucket
- Towel
- Wire tool
- Ribs
Preparing Your Clay
Before you can center your clay, you must prepare it. Cut off a piece of clay that is about the size of a fist. Knead it to remove any air pockets and make it pliable. Then, shape it into a ball and flatten the bottom so it can stick to the wheel.
Setting Up Your Wheel
Once you have prepared your clay, you can set up your wheel. Start by placing a bat on the wheel head, making sure it is secure. Then, turn on the wheel and adjust the speed to a slow-medium speed.
Positioning Your Clay on the Wheel
Place your prepared clay in the center of the bat. Make sure it is centered by gently tapping it down onto the bat.
Why is Wetting Clay Important?
Wet your clay by using a sponge to apply water to the surface. Be careful not to use too much water, as this can cause the clay to become too slippery and difficult to work with. Wetting your clay is important for a few reasons.
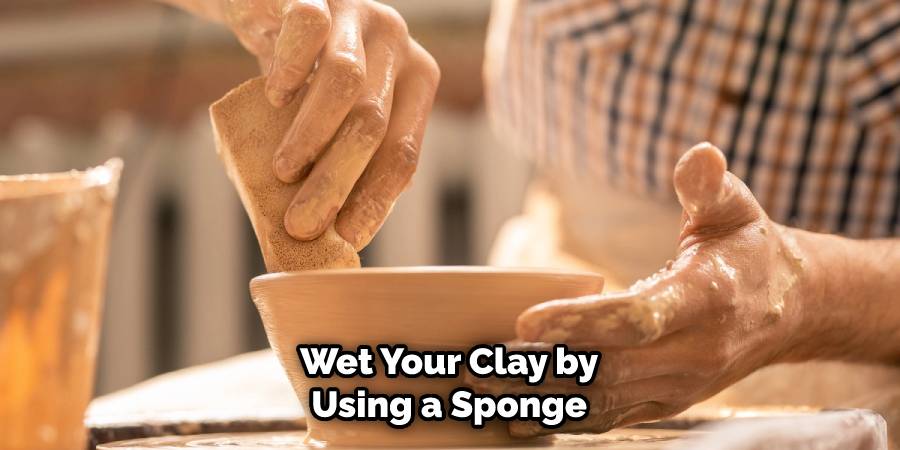
First, it makes the surface of the clay smoother so that it can be manipulated more easily on the potter’s wheel. It also helps to prevent the clay from drying out and shrinking as you work with it, which can cause warping or cracking in your final product.
Additionally, keeping your clay moist will help to keep the center of your pottery piece round and consistent. With a wet, pliable texture, it is easier to apply centering pressure evenly and keep it centered as you work.
10 Methods How to Center Clay on the Potter’s Wheel
1. Prepare Your Workspace
Before starting to center clay, it’s important to prepare your workspace. Make sure your potter’s wheel is clean and free of debris and that you have all the tools you need within reach. It’s also a good idea to have a bowl of water nearby to keep your hands and the clay moist.
2. Wedge the Clay
Before you can center the clay on the wheel, you need to wedge it. This involves kneading the clay to remove any air bubbles and ensure a consistent texture. Wedging also makes the clay more pliable and easier to center on the wheel.
3. Prepare the Wheel
Before starting to center the clay, make sure the wheel is spinning smoothly and at a comfortable speed. Adjust the speed as needed, and make sure the wheel head is level.
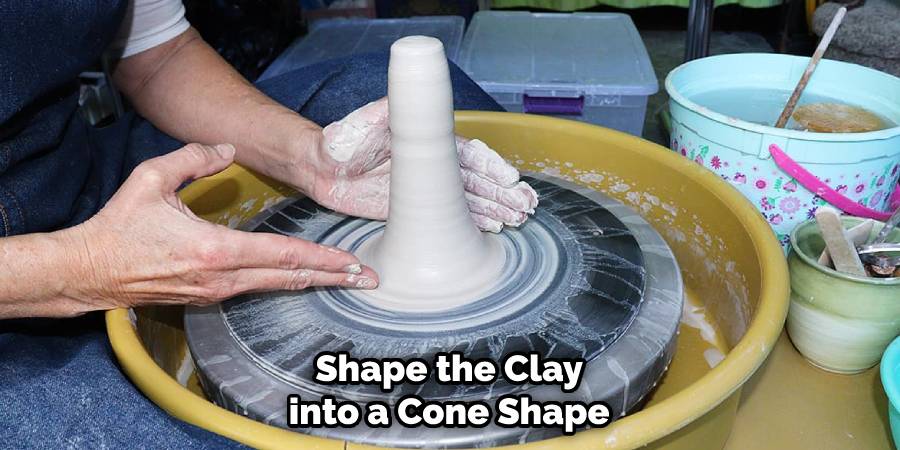
4. Center the Clay by Hand
One of the simplest methods for centering clay is to do it by hand. Start by placing the clay on the wheel head and pressing it down gently to secure it in place. Then, use your hands to shape the clay into a cone shape, with a point at the top. Once the clay is in a cone shape, use your hands to press down on the sides of the clay while simultaneously pulling it up towards you. Repeat this process until the clay is centered.
5. Center the Clay Using the Rib
Another method for centering clay is to use a rib tool. Place the clay on the wheel head and use a rib tool to press down on the sides of the clay while simultaneously pulling it up towards you. The rib tool will help create a smooth surface and remove any excess clay.
6. Use a Sponge
Using a sponge is another method for centering clay. Wet a sponge and place it on the wheel head. Then, place the clay on top of the sponge and use your hands to shape it into a cone shape. Use the sponge to press down on the sides of the clay while simultaneously pulling it up toward you.
7. Use a Centering Bat
A centering bat is a tool specifically designed for centering clay on the potter’s wheel. It is essentially a flat disc that is attached to the wheel head. To use a centering bat, place the bat on the wheel head and then place the clay on top of the bat. Use your hands to shape the clay into a cone shape and then use the bat to help center the clay.
8. Use the Kick Wheel
If you are using a kick wheel, the process for centering clay is slightly different. Start by positioning your foot on the treadle and gently kicking the wheel to start it spinning. Then, place the clay on the wheel head and use your hands to shape it into a cone shape. Use the momentum of the spinning wheel to help center the clay.
9. Use a Clay Grog
Clay grog is a material that is added to clay to make it more porous and easier to work with. Using a clay grog can make centering clay on the potter’s wheel easier, as it provides more texture and grip for your hands.
10. Practice, Practice, Practice
Finally, the most important method for centering clay on the potter’s wheel is to practice. The more you work with clay and practice centering it on the wheel, the better you will become. Don’t be discouraged if your first few attempts don’t go as planned.

Troubleshooting Tips
If your clay is not centering, try the following troubleshooting tips:
- Make sure your wheel is level
- Make sure your bat is secure
- Make sure your clay is moist enough
- Adjust the speed of your wheel
Finishing Your Clay
Once your clay is centered, you can begin to form it into the desired shape. Use your thumbs and fingers to create a wall, gradually working your way up. You can use rib tools to smooth out any bumps or ridges in the clay.
Clean-Up
After you have finished your clay, you will need to clean up your workspace. Use a wire tool to remove the excess clay from the bat and wheel head. Then, use a sponge to wipe down the wheel and bat.
Common Mistakes to Avoid
Here are some common mistakes to avoid when centering clay:
- Using too much water
- Applying too much pressure
- Not using enough pressure
- Not centering the clay properly
Conclusion
In conclusion, centering clay on the potter’s wheel is a fundamental skill in pottery that requires patience, practice, and a few techniques. As we have discussed, there are various methods for centering clay, including by hand, using a rib, a sponge, a centering bat, and a clay grog.
While each method has its unique advantages, they all rely on the same principles of pressure, movement, and finesse. It’s important to remember that centering clay is a process that takes time to master, and it’s okay to make mistakes along the way.
The key is to keep practicing and experimenting until you find a technique that works best for you. Thanks for reading, and we hope this has given you some inspiration on how to center clay on the potter’s wheel!
FAQs
How do I know if my clay is centered?
Your clay is centered when it spins evenly without wobbling.
How much pressure should I apply when centering clay?
You should apply firm but gentle pressure.
Why is centering clay important?
Centering clay is important because it creates a symmetrical and balanced form, which will make your pottery look professional.
How do I prevent my clay from flying off the wheel?
Make sure your clay is properly centered and wet, and use steady pressure when shaping it.
Can I use any type of clay for throwing on a potter’s wheel?
No, not all clays are suitable for throwing on a potter’s wheel. Make sure to choose clay that is specifically designed for throwing.


