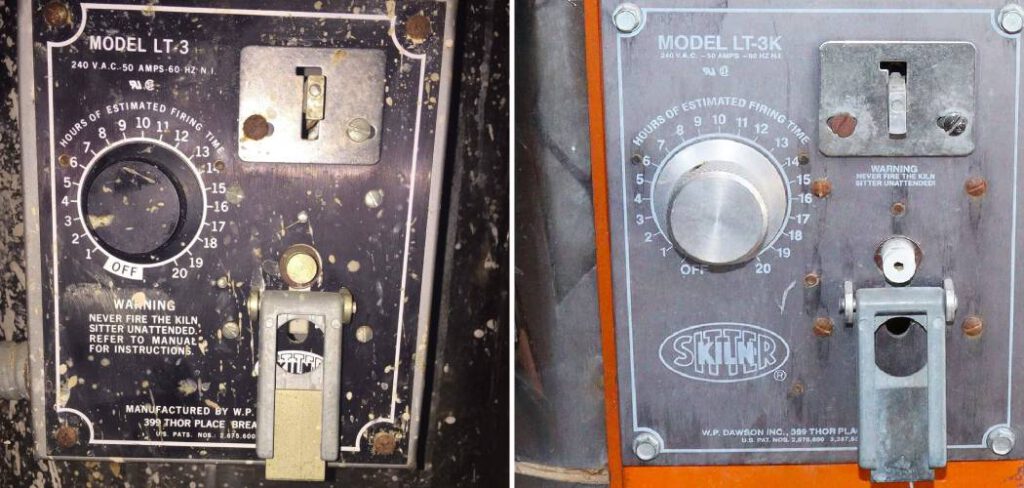
A kiln sitter is a device used to control the firing of a ceramic or pottery kiln. It consists of a ceramic tube that holds a sensing rod and a firing gauge. When the clay inside the kiln reaches the desired temperature, it melts and triggers the firing gauge, which shuts off the kiln.
However, to ensure accurate firings, it is important to calibrate your kiln sitter periodically. Calibrating your kiln sitter involves adjusting the firing gauge to ensure that it triggers at the correct temperature.
This can be done using a pyrometer, which measures the temperature inside the kiln. In this article, we will discuss step-by-step instructions on how to calibrate your kiln sitter for accurate firings, including how to test the firing gauge, adjust the gauge, and test the sitter’s accuracy. By following these instructions, you can ensure that your kiln sitter is properly calibrated, resulting in consistent and accurate firings of your ceramic or pottery projects.
Table of Contents
What Temperature Is a Glaze Firing?
Many potters and ceramicists use a glaze firing to finish their work. Glaze firings typically take place at higher temperatures than other firing types, often between cone 5 and 6 (2232 – 2287 degrees Fahrenheit). In order to achieve accurate results from your kiln sitter, it is important that you select the correct temperature for your glaze firing.
When selecting the temperature for a glaze firing, consider the types of glazes and materials that you will be using. Different glaze recipes require different temperatures in order to fire correctly. For example, some earthenware clays may require a lower temperature than stoneware clay when fired with the same glaze. Additionally, certain types of glazes may require higher temperatures to achieve desired results.
The type of kiln you are using will also affect the temperature required for a successful glaze firing. Some kilns can reach higher temperatures than others, and it is important to determine what your specific kiln can handle before selecting your temperature setting.
What Is the Most Accurate Way to Tell when the Kiln Has Reached the Desired Temperature?
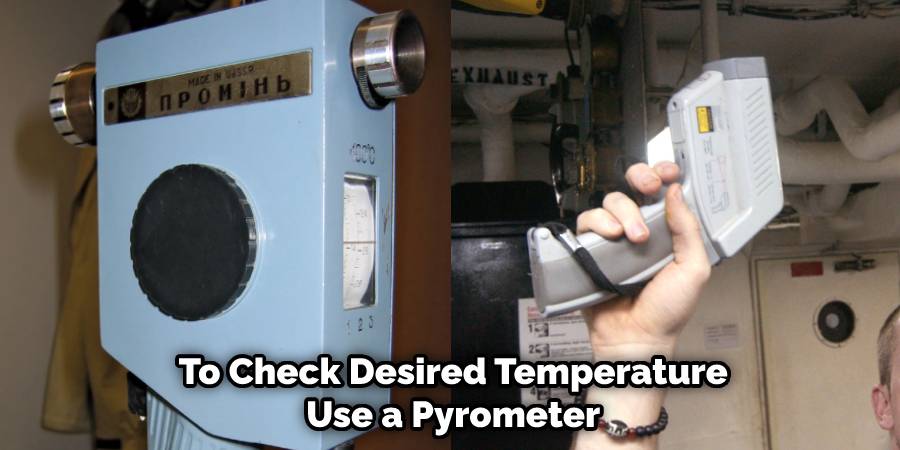
The most accurate way to tell when the kiln has reached the desired temperature is to use a pyrometer. A pyrometer measures temperatures that are higher than what regular thermometers can measure, and it does so with an accuracy that is much greater than any other type of temperature-sensing device. When using a pyrometer, you should place the probe in the hottest spot of the kiln during firing.
Readings taken at this point will give you a more accurate picture of the temperature inside your kiln and will let you know when it has reached your desired firing temperature. It is important to remember that all readings should be taken while the kiln is not being fired, otherwise, you will not get an accurate reading.
10 Methods How to Calibrate Your Kiln Sitter for Accurate Firings
1. Check the Firing Gauge
The firing gauge is the component of the kiln sitter that triggers the shut-off mechanism once a specific temperature has been reached. Start by checking the firing gauge to ensure that it is not bent or damaged, as this can cause inaccurate temperature readings. Use a caliper or micrometer to check the diameter of the firing gauge to ensure it is the correct size for your kiln. If it is too large or small, replace it with the recommended size for your kiln.
2. Test the Firing Gauge
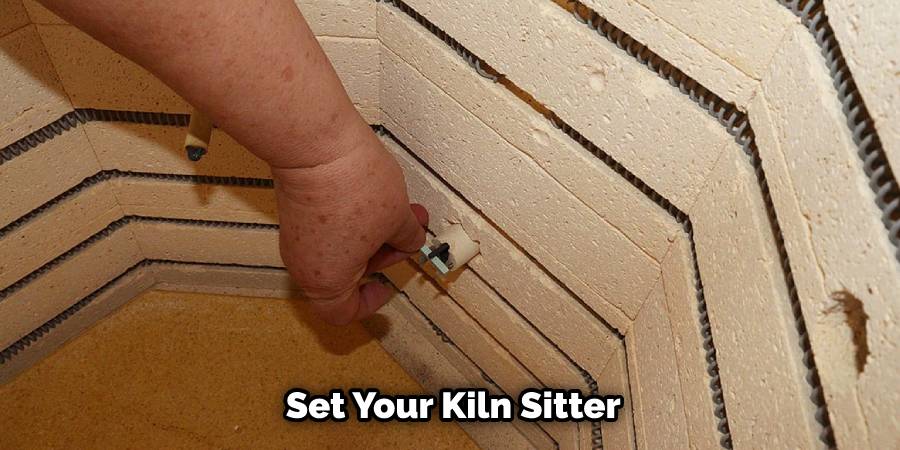
To test the firing gauge, place a cone on the sensing rod and set the firing gauge to the desired temperature. Fire the kiln and observe the gauge during the firing to ensure that it shuts off the kiln at the correct temperature. If the gauge shuts off the kiln too early or too late, adjust the gauge accordingly. To adjust the gauge, loosen the screw on top of the kiln and turn it clockwise to raise the temperature that the gauge shuts off at or turn it counter-clockwise to lower the temperature.
3. Use a Pyrometer
A pyrometer is a device used to measure the temperature inside the kiln. It is an essential tool for calibrating your kiln sitter. Use the pyrometer to monitor the temperature inside the kiln during a firing and compare it to the temperature indicated by the firing gauge. Adjust the gauge if necessary to ensure it accurately reflects the temperature inside the kiln. If the temperature of the kiln is higher than the firing gauge indicates, increase the set point by one number.
4. Adjust the Firing Gauge
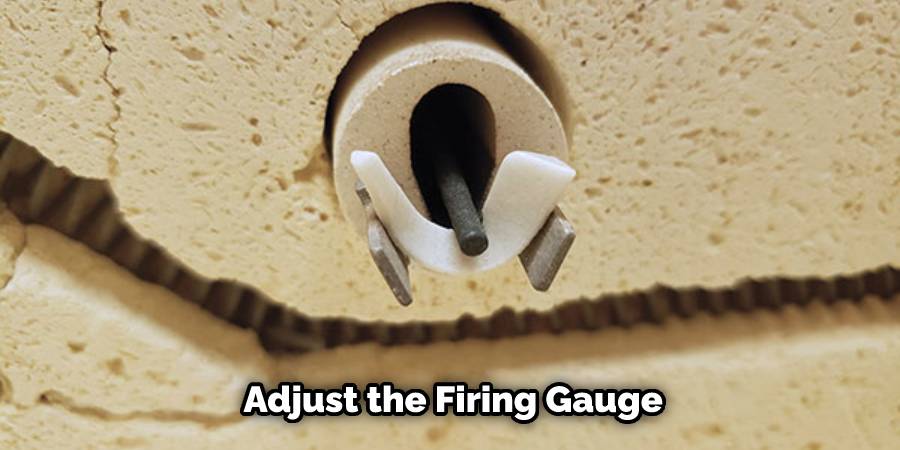
To adjust the firing gauge, turn the gauge’s adjusting screw to increase or decrease tension on the sensing rod. Test the gauge after each adjustment until it triggers the shut-off mechanism at the desired temperature. Be sure to make small adjustments to avoid overcorrecting the gauge.
5. Replace the Sensing Rod
If the sensing rod is bent, damaged, or worn, it may cause inaccurate temperature readings. Replace the sensing rod if necessary to ensure accurate firings. To replace the sensing rod, turn the manual knob counterclockwise to remove the kiln sitter, then unscrew and remove the top plate. Carefully pull out the sensing rod, then replace it with the new one. Reassemble all of the components and ensure that they are tightly fitted to prevent gas from leaking.
6. Clean the Kiln Sitter
Dirt, dust, and debris can accumulate on the kiln sitter, causing it to malfunction. Clean the kiln sitter regularly to maintain accurate temperature readings and consistent firings. Take a damp cloth and wipe down the kiln sitter, being careful not to damage any of its delicate components. Allow it to completely dry before proceeding to the next step.
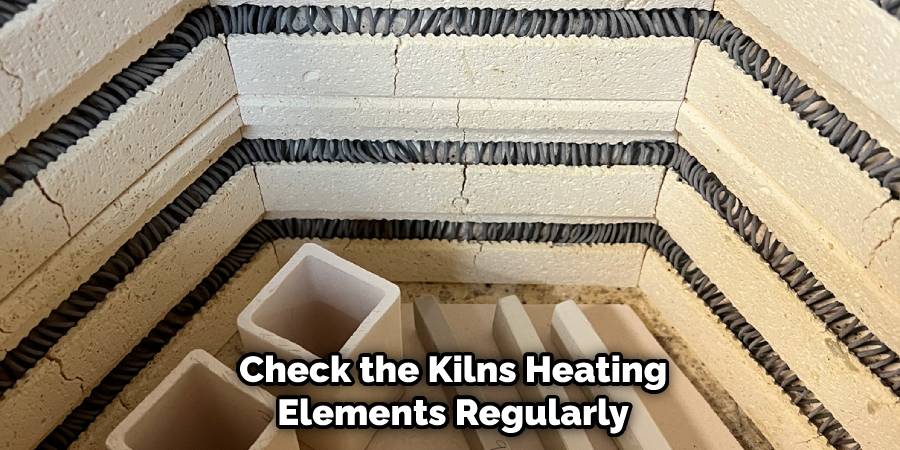
7. Check the Kiln’s Elements
The kiln’s heating elements can also affect temperature readings and firing accuracy. Check the elements regularly to ensure they are in good condition and functioning properly. Look for signs of wear or damage and replace any that are not up to spec. Once you have replaced any faulty elements, let your kiln cool down and restart the calibration process. This will ensure that your new element is working correctly and giving accurate temperature readings.
8. Check the Kiln’s Thermocouple
The thermocouple is another component of the kiln that can affect temperature readings. Check the thermocouple regularly to ensure it is properly positioned and functioning correctly. If the thermocouple is too far away from the heat source, it may return inaccurate readings. Additionally, if the wires are frayed or damaged, they will not function correctly and should be replaced.
9. Monitor Firing Times
Firing times can also affect the accuracy of the kiln sitter. Monitor firing times regularly to ensure they are consistent and not causing the kiln sitter to trigger too early or too late. If you notice that the kiln sitter is triggering too early or too late, you may need to adjust the settings accordingly. Additionally, if the firing times seem to be taking too long, consider checking the elements for any signs of damage or improper connection.
10. Consult the Manufacturer’s Instructions
Every kiln sitter is different and may have specific calibration instructions provided by the manufacturer. Consult the manufacturer’s instructions for your kiln sitter to ensure proper calibration and accurate firings.
Some Common Mistakes When Calibrating Your Kiln Sitter for Accurate Firings:
1. Not Making Sure the Control Rod Is Properly Adjusted:
The control rod should be adjusted so that it protrudes less than 1/8 inch below the bottom edge of the face plate. If not, it can lead to inaccurate firings or even kiln damage over time.
2. Setting Too Low of a Temperature for Your Firing Cycle:
It’s important to make sure that you set your Kiln Sitter for at least a few degrees higher than what you expect your target temperature to be during the firing cycle in order to ensure an accurate firing.
3. Not Checking for Proper Alignment between the Cone and Its Holder:
Before every use, you should make sure that there is no gap between the cone and its holder, as this will cause inaccurate timing of the firing cycle.
4. Ignoring the Instructions for Your Particular Model:
Every Kiln Sitter model has different instructions that you should follow to ensure an accurate firing; neglecting to do so could lead to poor results.
5. Not Using a Pyrometer:
Using a pyrometer in conjunction with the Kiln Sitter is important for accurate firings, as it allows you to track your progress more accurately throughout the firing cycle.
Conclusion:
In conclusion, calibrating your kiln sitter is a crucial step to ensure accurate firings in your ceramic projects. A properly calibrated kiln sitter can help prevent over or under-firing, leading to a waste of time, effort, and resources. By following the steps outlined in this article, you can easily calibrate your kiln sitter and achieve consistent results in your firing process.
Remember to carefully read and understand the manufacturer’s instructions for your particular kiln sitter model. Take the time to properly clean and prepare your kiln sitter components before starting the calibration process. Hopefully, this article gave you some helpful tips about how to calibrate your kiln sitter for accurate firings successfully, so now that you have the proper knowledge on how to get the job done, why not give it a try today?


