
How to Glaze Pottery for an Even, Finished Surface
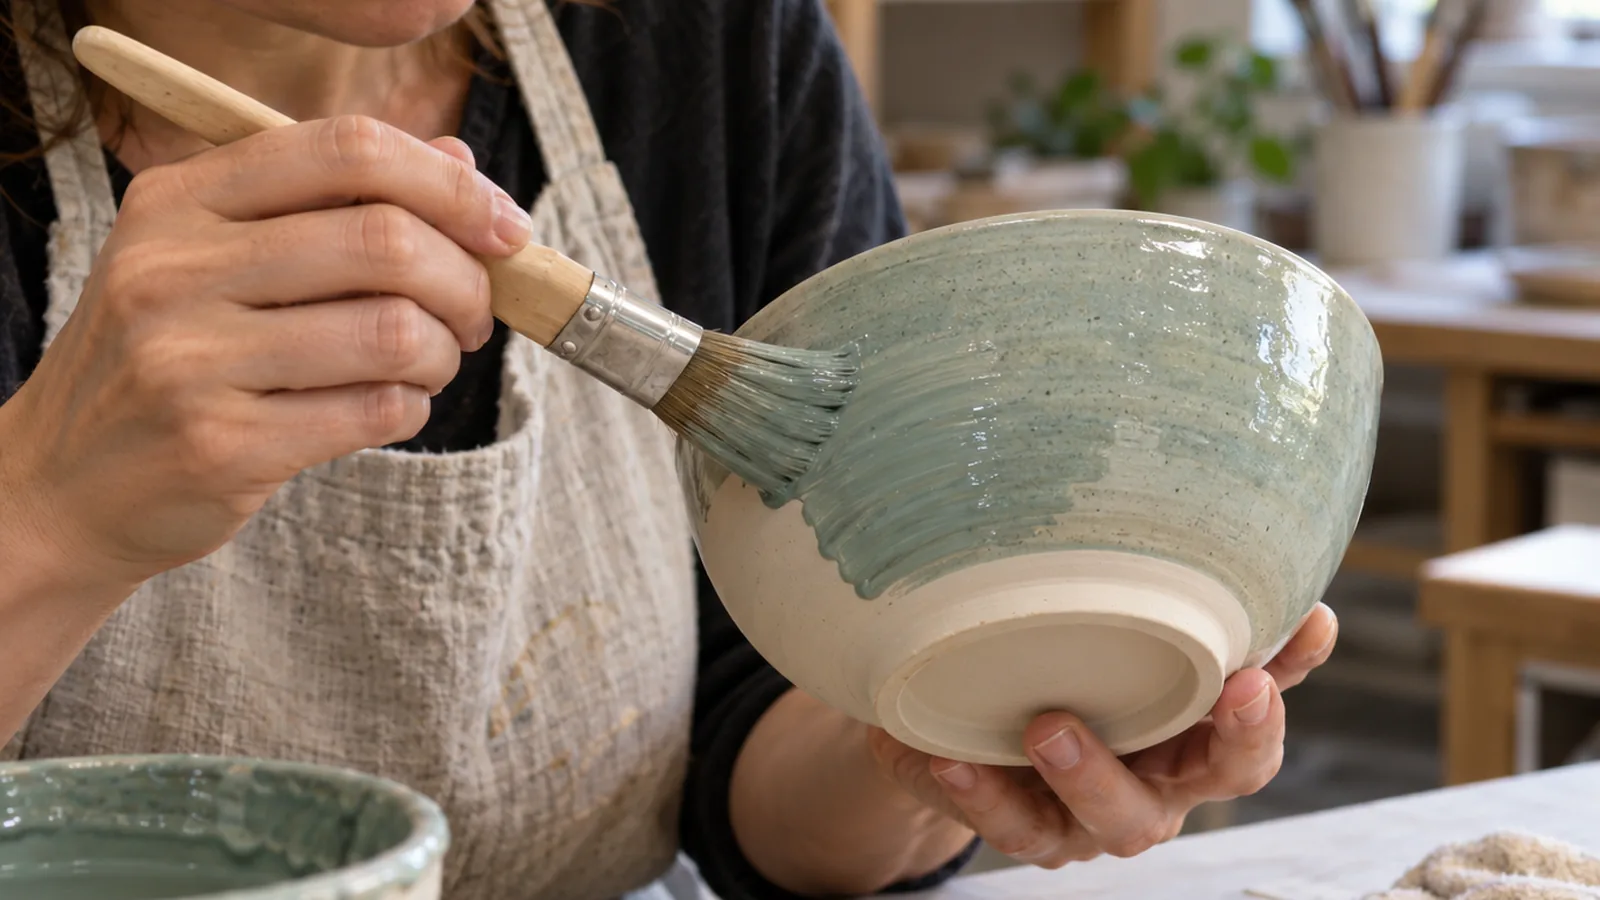
To understand how to glaze pottery, clean bisque-fired clay with a damp sponge, apply a glaze made for your clay and firing range, then fire it to the glaze’s specified cone or temperature. Keep glaze off the kiln-shelf contact surface, usually the foot, or the piece can fuse to the shelf. Coat count and drying time vary by glaze, so use its directions.
Quick answer
How do you glaze pottery?
Clean bisque-fired pottery with a clean, damp sponge without saturating it, then apply glaze and let it dry before firing. Use a glaze compatible with the clay and fire the piece to the glaze’s specified cone or temperature. Application method, coat count, drying time, and firing schedule vary by glaze, so use the directions for your product.
- Check that the clay and glaze firing requirements match.
- Gather the glaze, its specified application tools, and a clean sponge.
- Wipe dust from the bisque with a damp sponge; don’t saturate it.
- Prepare and apply the glaze using its specified method, consistency, coat count, and drying time between coats.
- Remove glaze from the foot and other kiln-shelf contact areas unless using a suitable stilt or bisque cookie.
- Let the glaze dry, then glaze-fire with the glaze’s specified schedule and a compatible clay body.
How to glaze pottery step by step
Use 8 steps to prepare the bisque-fired piece, apply glaze, clear the kiln-contact surface, dry it, and fire it to the glaze’s specified maturity. Choose only a glaze and clay body with compatible firing requirements.
| Glaze type | Common starting point | Source |
|---|---|---|
| Commercial brush-on glaze | 3 coats, dried between coats | amaco.com ceramicartsnetwork.org |
Three coats are a starting point for many commercial brush-on glazes, not a rule for every product. The glaze’s instructions determine its application method, coat count, drying between coats, and firing schedule.
- Check compatibility. Read the clay and glaze instructions, and confirm their firing requirements match before you begin.
- Gather your materials. Set out the glaze and the application tools its instructions call for; include a clean sponge for removing bisque dust.
- Clean the bisque. Wipe the piece with a clean, damp sponge to remove dust, without saturating the clay.
- Prepare the glaze. Prepare it as the product instructions direct, including any consistency requirements for your chosen application method.
- Apply the glaze. Use the method specified for that glaze and piece, and follow its directions for coat count and drying between coats.
- Clear the base. Remove glaze from the foot or any other surface that will touch the kiln shelf, unless you’re using a suitable stilt or bisque cookie.
- Let the piece dry. Allow the glaze to dry before firing.
- Glaze-fire the piece. Use the glaze’s specified firing schedule and a clay body compatible with that firing.
Which glazing method should you use?
Choose the method your glaze is formulated for, then match it to the piece’s shape, size, and the coat thickness you want; no method suits every glaze.
- Dipping: Use it when the glaze instructions allow dipping and you want to coat a piece efficiently; it can produce a consistent coat, though drips may form.
- Brushing: Choose it for a glaze intended for brushing, especially when dipping doesn’t fit the piece or your application needs; brushing can leave uneven coverage or brush marks.
- Pouring: Consider it for coating the inside of a vessel or combining with dipping, if the glaze instructions permit it. Pouring glaze is usually prepared a little thinner than dipping glaze, since overlapping applications can build excess thickness and cause running.
The glaze’s formulation and prepared consistency affect which methods work, so check the product directions before choosing. The piece’s shape and size also matter, as does the thickness you intend to apply. A method that works for one glaze or form may not suit another.
If the instructions allow more than one method, choose based on the surface you need to reach and how you can control the coat. Dipping may be efficient for an even coat, while pouring can reach inside a vessel; brushing offers another option but may leave marks.
How do you prevent common glaze problems?
Uneven coats, crawling, pinholes, and glaze on kiln-contact surfaces have specific fixes: adjust coat thickness, clean the bisque, and keep glaze off the shelf-contact area.
A coat that’s too thin can let the clay color show through, while a coat that’s too thick can run or pool during firing. Aim for the thickness specified for your glaze, and avoid adding extra glaze where applications overlap, especially when pouring.
Crawling leaves bare patches where glaze pulls away from the surface. Dust or grease, an overly thick layer, and poor adhesion can contribute, so clean dusty bisque and let the glaze dry before firing. If patches keep appearing, check the application directions for your glaze, since suitable methods and coat thickness depend on the product.
Pinholes form when bubbles burst and the glaze doesn’t heal over. Gas release, an underfired or viscous glaze, and an overly thick application can contribute.
Keep glaze off the surface that touches the kiln shelf, often the foot or bottom; glaze there can fuse the pot to the shelf. A suitable stilt or bisque cookie can be used when glaze on that area is intended. If the glaze has reached a shelf-contact area, remove it before firing rather than risk the pot fusing to the shelf.
What changes the glaze firing requirements?
Firing requirements vary by glaze, clay body, and kiln setup. Match the glaze’s stated cone or temperature to a compatible clay body and a kiln that can reach the required heat work. Follow the glaze’s stated cone or temperature, since application and firing requirements vary. The clay body also has its own firing range, and the fit between the clay and glaze affects the finished surface.
In the usual two-firing process, you apply glaze after the bisque firing, then fire the piece again to mature the glaze. Broad categories can help you identify a glaze’s general firing range: low-fire is cone 06–04, mid-range is cone 4–7, and high-fire is cone 8–10. Those categories don’t replace the glaze’s stated firing instructions.
If you use a nonstandard kiln or firing setup, confirm that it can reach the glaze’s required temperature and conditions before choosing your clay and glaze. Ordinary open-fire or pit firing isn’t a reliable substitute for the heat work needed to mature ordinary ceramic glaze; pit firing is commonly used for smoke-fired, unglazed surfaces.
Frequently Asked Questions
How long should pottery glaze dry before firing?
Let the final coat dry completely before loading the piece into the kiln; the needed time depends on the glaze, coat thickness, and conditions, so there’s no single drying time for every piece. Dry each coat for the period the glaze directions specify, and don’t fire while the surface is still wet.
How long does a pottery glaze firing take?
A glaze firing takes the time required by the kiln’s firing schedule to reach the glaze’s specified maturity, and the schedule varies by glaze and kiln setup. Use the glaze’s stated cone or temperature and a compatible clay body; a cone number alone doesn’t give the full firing duration.
Why does pottery glaze look different after firing?
Glaze changes appearance as it matures in the kiln, and the result depends on the glaze, its application, and whether it reached the specified firing conditions. Uneven coat thickness can leave clay showing through or cause running, while a mismatch between glaze and clay can lead to crazing or shivering.
Is glazed pottery food safe?
A fired glaze isn’t automatically food safe; the glaze and clay must be suited to the intended use, and the piece must be fired as specified. Avoid treating pit-fired pottery as functional tableware, since it’s generally decorative rather than food-safe.
Can glazed pottery go in the dishwasher?
Check the glaze and clay product guidance for dishwasher use, since firing compatibility alone doesn’t establish that a finished piece is dishwasher-safe. If you don’t have care guidance for the specific piece, hand-washing is the cautious option.
Conclusion
If you’re choosing between glaze methods, use the one the product is made for; when the directions allow several, pick the method that reaches the surface you need while letting you control the coat. For a brush-on glaze, use its stated coat count and drying directions rather than defaulting to a general coat count.
Before you start, match the glaze’s firing requirements to your clay body and kiln. Then clean the bisque, apply the glaze as directed, clear the kiln-contact surface, and use the glaze’s firing schedule.
Sources
- amaco.com (amaco.com)
- ceramicartsnetwork.org (ceramicartsnetwork.org)
- ceramicartsnetwork.org (ceramicartsnetwork.org)
- maycocolors.com (maycocolors.com)
- amaco.com (amaco.com)
- 6716b4442afc1 (amaco.com, Mon, 21 Oct 2024 20:06:28)
- ceramicartsnetwork.org (ceramicartsnetwork.org)
- ceramicartsnetwork.org (ceramicartsnetwork.org)
- ceramicartsnetwork.org (ceramicartsnetwork.org)
- ceramicartsnetwork.org (ceramicartsnetwork.org)
- ceramicartsnetwork.org (ceramicartsnetwork.org)
- ceramicartsnetwork.org (ceramicartsnetwork.org)
- ceramicartsnetwork.org (ceramicartsnetwork.org)
